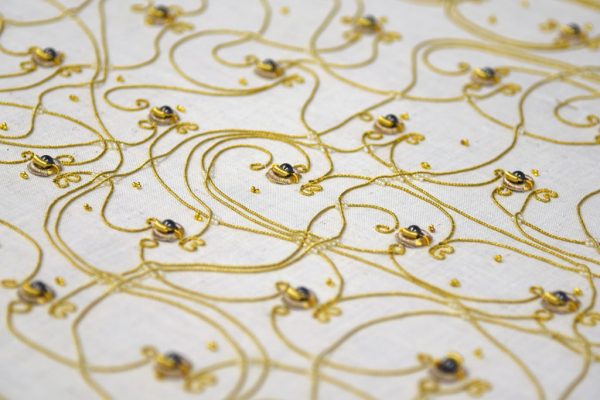
By now we’ve all seen ways to manufacture your own PCBs. There are board shops who will do small orders for one-off projects, or you can try something like the toner transfer method if you want to get really adventurous. One thing we haven’t seen is a circuit board that’s stitched together, but that’s exactly what a group of people at a Vienna arts exhibition have done.
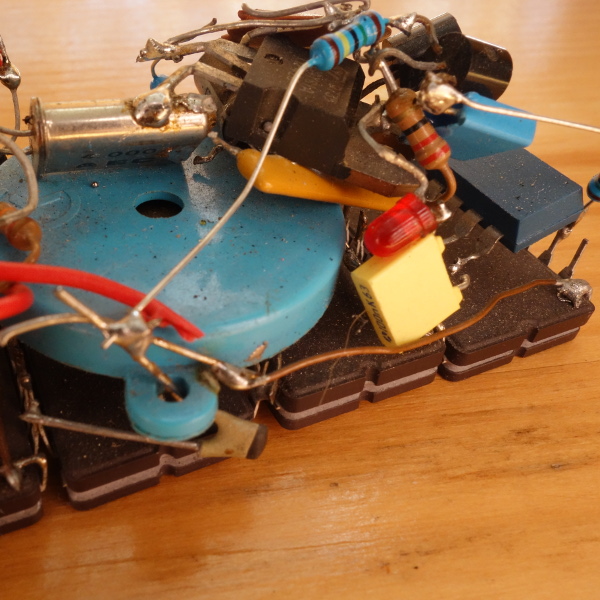
The circuit is stitched together on a sheet of fabric using traditional gold embroidery methods for the threads, which function as the circuit’s wires. The relays are made out of magnetic beads, and the entire circuit functions as a fully programmable, although relatively rudimentary, computer. Logic operations are possible, and a functional schematic of the circuit is also provided. Visitors to the expo can program the circuit and see it in operation in real-time.
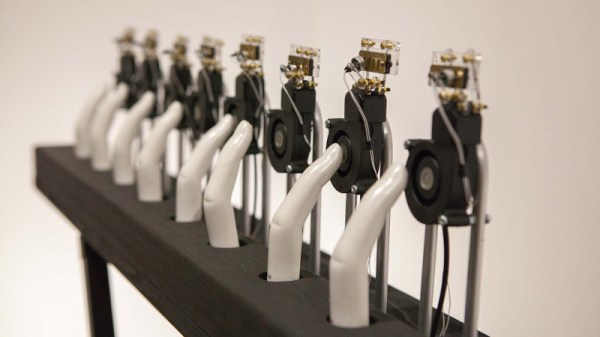
While this circuit gives new meaning to the term “wearables”, it wasn’t intended to be worn although we can’t see why something like this couldn’t be made into a functional piece of clothing. The main goal was to explore some historic techniques of this type of embroidery, and explore the relationship we have with the technology that’s all around us. To that end, there have been plenty of other pieces of functional technology used as art recently as well, but of course this isn’t the first textile computing element to grace these pages.
Thanks to [Thinkerer] for the tip!

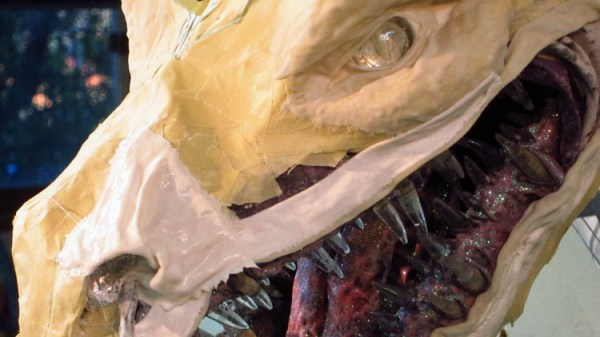
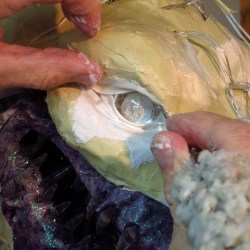 [Dan] feels that paper maché is an under-utilized and under-rated medium, and he puts out some stunning work on
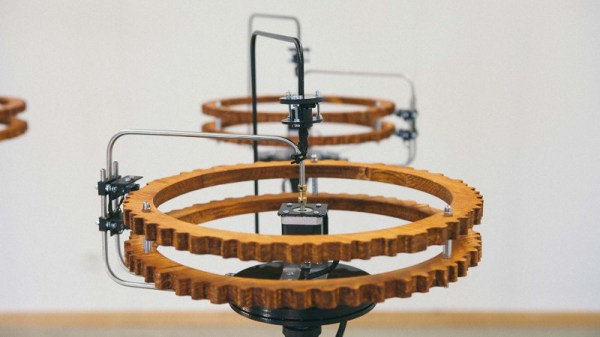
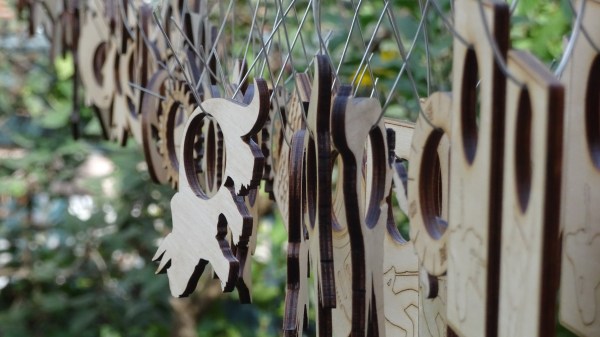
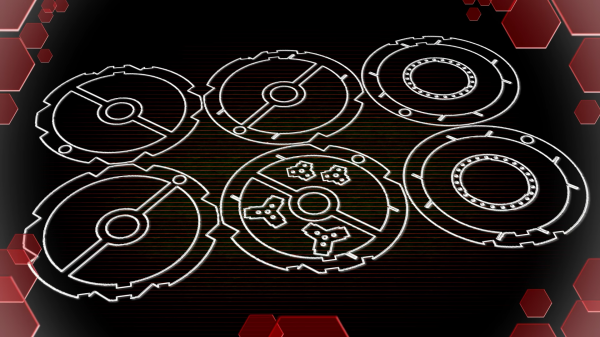
 It all began when the kids were taken to a local fab lab at the École Polytechnique and made some laser-cut napkin holders from plywood for personal use. Later, they decided to design, manufacture, and sell them at the Ottawa Maker Faire. Money for the plywood came from piggy banks, 23 different designs made the cut, and a total of 103 rings were made. A display board and signs made from reclaimed materials rounded out the whole set.