Stores will sell you all kinds of gaudy holiday ornaments, but there’s nothing like the style and class achieved by building your own. [w3arycod3r] did just that, whipping up the fun and festive Neodriver Ornament.
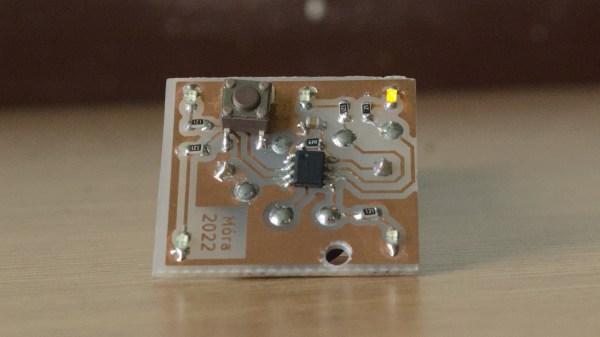
It’s a battery-powered build, and runs off an rechargeable 18650 cell which provides several days of operation at a low duty cycle. An ATtiny85 is charged with sending out commands to various NeoPixel devices, from rings to rectangular arrays. [w3arycod3r] then designed various PCBs that could carry the hardware and battery in a well-balanced package that would hang nicely when suspended from a ribbon on a Christmas tree.
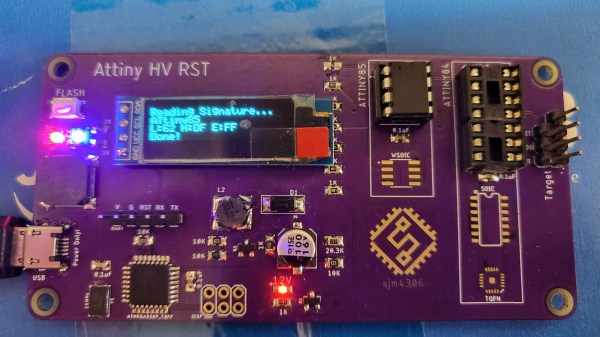
As is always the fun part with addressable LEDs, [w3arycod3r] whipped up some fun animations to suit. The 5×5 rectangular arrays of NeoPixels are able to deliver scrolling text, while another animation blips out the RNA sequence of everyone’s least favorite coronavirus, SARS-CoV-2. Getting everything to fit into a ATtiny85’s 8 KB of code space and 512 byte EEPROM was a challenge, but slimming down the Adafruit NeoPixel library and using direct AVR register manipulation in place of regular Arduino functions helped.
Overall, it’s a fun holiday build that looks great on the tree. Alternatively, consider making yourself some rheoscopic ornaments this holiday season. And, if you’ve whipped up your own fun holiday build, throw it on the tipsline!