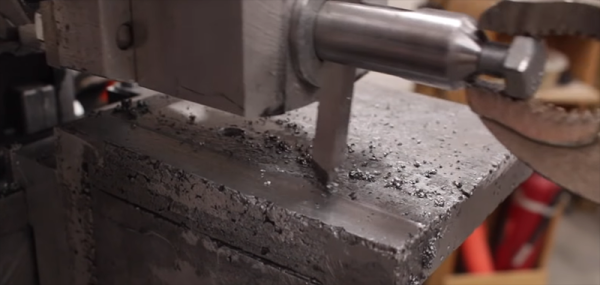
Shaper tools were, at one time, a necessary tool for any machine shop. With a shaper and a lathe, you can rebuild or manufacture almost anything. At the very least, you can make the tool to manufacture anything. For the last few months, [Makercise] has been working on building his own homemade shaper, and now it’s making chips. (YouTube, also embedded below.)
First off, what exactly is a metal shaper? It’s not commonly seen in machine shops these days, but at the turn of the last century, these were popular and practical machines to cut keyways into a piece of stock. Effectively, it’s kind of like a jigsaw, in that it cuts with a reciprocating action and is able to plane the entire surface of a metal plate. Today, if you want to surface a piece of stock, you would just throw it onto the Bridgeport, but there are still some use cases for a metal shaper.
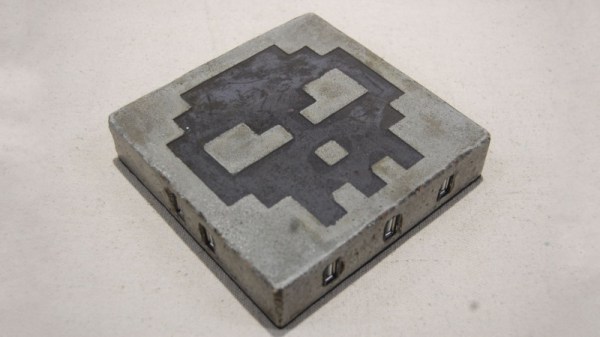
The design of this shaper comes directly from the Gingery series of books, the famous series of books that are step-by-step instructions on how to build a machine shop starting from the technology of rubbing two sticks together. [Makercise] has built one of these machines before, the metal lathe, and the second in the Gingery series of books after a foundry, and the next book is instructions on how to build a mill.
Sure, [Makercise] is using modern tools and modern techniques to build this shaper. There’s a CNC machine involved, and nobody is going to Greenland to make aluminum anymore. Still, this is a flat piece of metal made from scratch, an a great example of how far you can take home machining in a post-apocalyptic scenario.