LoRa and LPWANs (Low Power Wide Area Networks) are all the range (tee-hee!) in wireless these days. LoRa is a sub 1-GHz wireless technology using sophisticated signal processing and modulation techniques to achieve long-range communications.
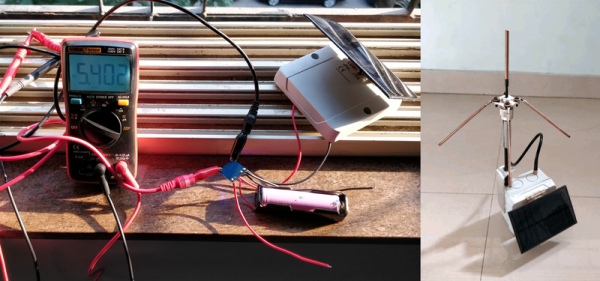
With that simplified introduction, [Omkar Joglekar] designed his own LoRa node used for outdoor sensor monitoring based on the HopeRF RFM95 LoRa module. It’s housed in an IP68 weatherproof enclosure and features an antenna that was built from scratch using repurposed copper rods. He wrote up the complete build, materials, and description which makes it possible for others to try their hand at putting together their own complete LoRa node for outdoor monitoring applications.
Once it’s built, you can use this simple method to range test your nodes and if you get really good, you might be setting distance records like this.