The Super NES is arguably the best known console of the 16-bit era. It typically came in the form of a grey box with either grey or purple buttons, and an angular or streamlined design, depending on whether you lived in North America, Europe or Asia. Compact and mini versions followed later, but there were also a few lesser-known models released during the SNES’s heyday in the early 1990s. One of these was the Sharp SF1: a CRT television with a built-in Super Nintendo. The cartridge slot was located at the top, with the controllers connecting at the front. The internal video connection even provided better image quality than a typical SNES setup.
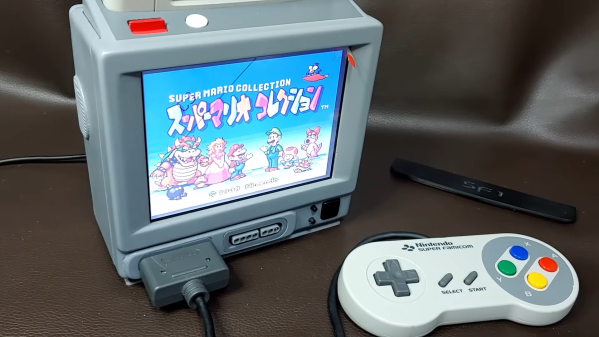
The SF1 was never sold outside Japan and is quite rare nowadays. But even if you can find one, the bulky CRT will take up a lot of space in your home. [Limone] therefore decided to build himself a smaller replica instead. His “SF1 mini” comes in a 3D printed case that holds a 5.5″ TFT screen, stereo speakers, and connections for game paks and game pads.
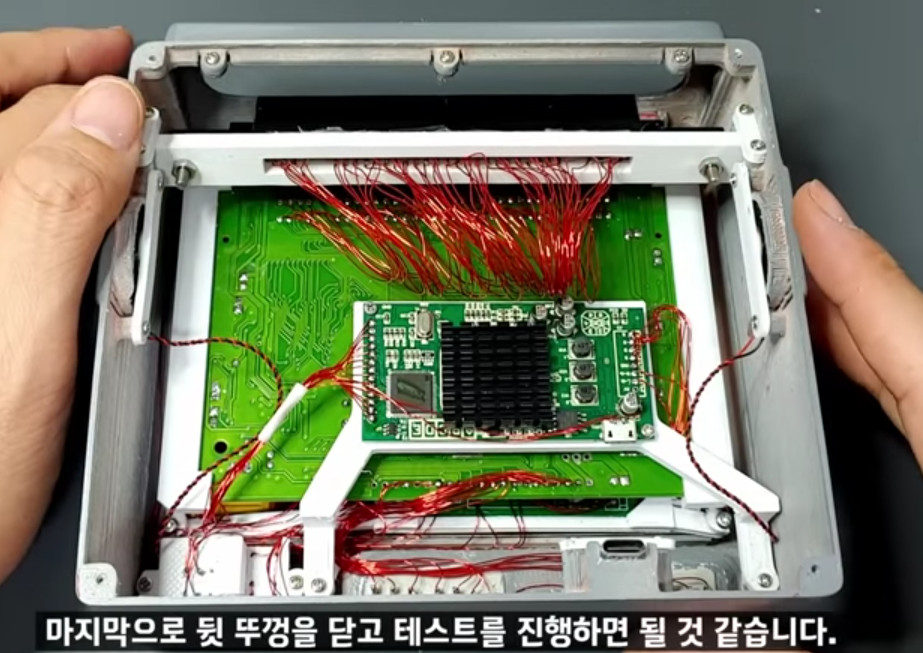
Thankfully, [Limone] didn’t sacrifice an original SNES to make this project: instead, he used a DIY Super Nintendo kit developed by a company called Columbus Circle. This kit contains a modern replica of a SNES motherboard and is intended for custom builds like this. However, the layout of the motherboard didn’t match [Limone]’s intended design, so he desoldered several components and re-attached them using a huge web of magnet wire. An RGB-to-HDMI converter connects the SNES’s video output to the TFT screen and provides for remarkably sharp graphics.
[Limone] explains the build process in detail in the video embedded below (in Korean, with English subs available). We’ve seen a couple of neat SNES replicas, some small and some particularly tiny, but this has to be the first SF1 replica.
Continue reading “The SF1 Mini Is A Homebrew Version Of An Obscure Nintendo Console”