The gold standard for graphing calculators, at least in the US, are the Texas Instruments TI-84 series. Some black sheep may have other types, but largely due to standardized testing these calculators dominate the market. Also because of standardized testing, these calculators have remained essentially unchanged for decades. While this isn’t great for getting value for money, it does mean that generations of students have been able to hack on these calculators to do all kinds of interesting things as [George Hilliard] outlines.
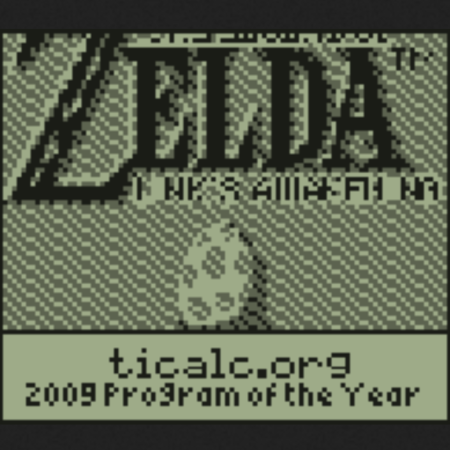
Even before the creation of these graphing calculators, the z80 processor behind them was first produced over four decades ago and was ubiquitous in the computer scene at the time, which also lends to its hackability. There’s plenty to catch up on here, too, from custom TI games that trick the two-tone display into grayscale to Game Boy emulators that can play Zelda since the TI and Game Boy share the same processors. There are also several methods of running native code or otherwise “jailbreaking” these devices to run arbitrary code.
It looks like the world of TI hacking is alive and well now, and with several decades of projects to browse there’s always something new to find. As it stands, there may be more decades of these types of projects to come, since neither TI nor the various testing standardization companies and government agencies show any signs of changing any time soon.
Thanks to [Adrian] for the tip!
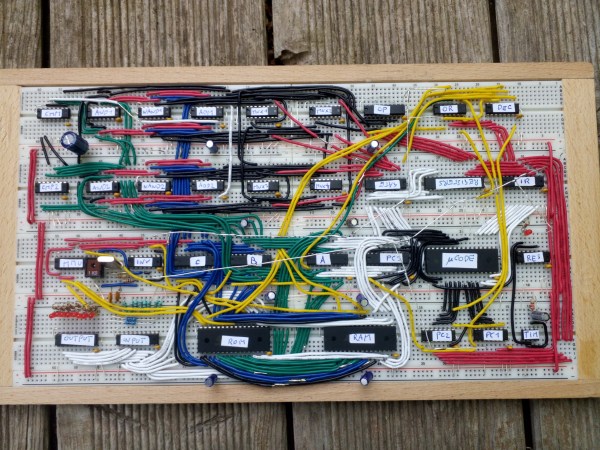
 The total circuit is incredibly compact for a complete CPU, using just 33 chips. This includes 64 KB of flash to store programs as well as a 555 timer to generate a clock signal. I/Os are limited to simple eight-bit input and output buses, but a sixteen-bit address bus gives it plenty of space to add ROM, RAM or fancier interfaces.