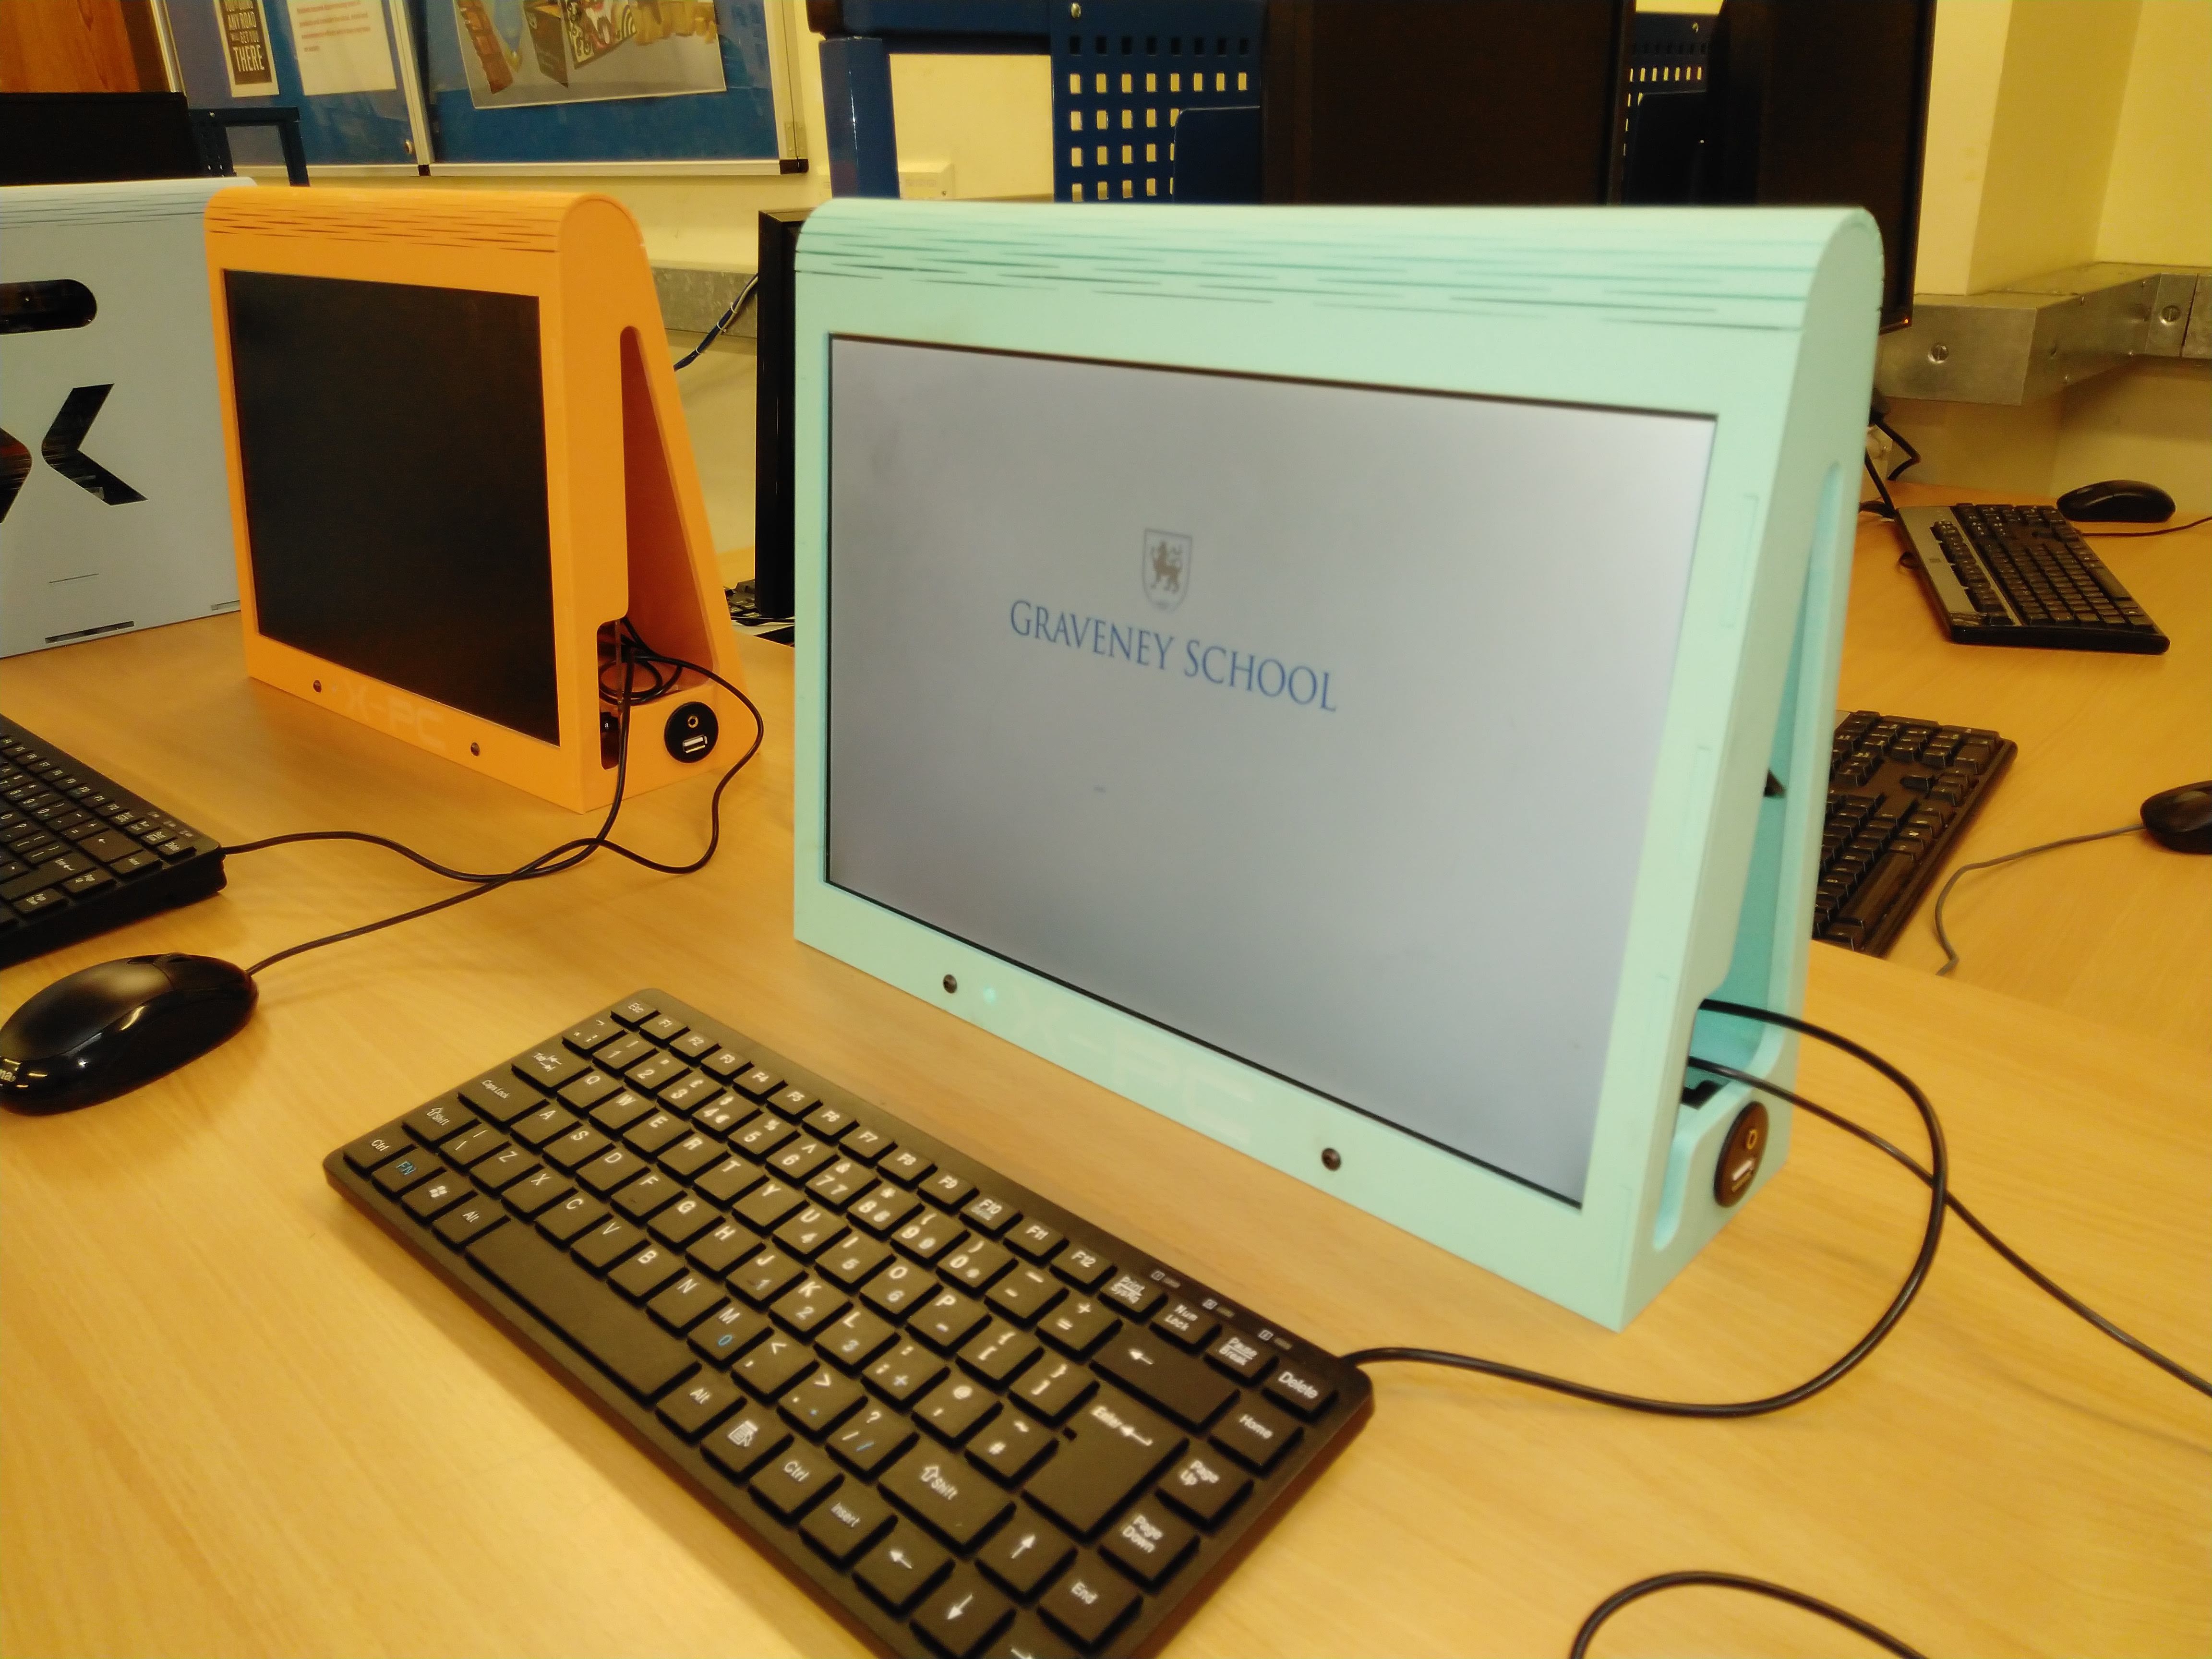
There’s one certainty wherever schoolchildren come into contact with computers: the hardware will inevitably emerge worse for the encounter. The school laptops managed by [Neil Lambert] certainly suffered, losing keys and power supplies aplenty. Faced with a pile of broken machines, he came up with the X-PC, a stylish all-in-one desktop computer built around the innards of a laptop.
 Inside a modern laptop there is surprisingly little in the way of parts, now that removable media drives are largely a thing of the past and once the battery has been removed from the equation. When the keyboard and trackpad are subtracted and replaced with USB equivalents the inner workings are reduced to a relatively compact motherboard and hard drive alongside the screen.
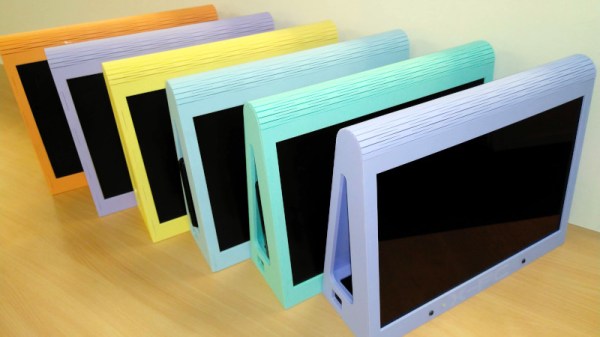
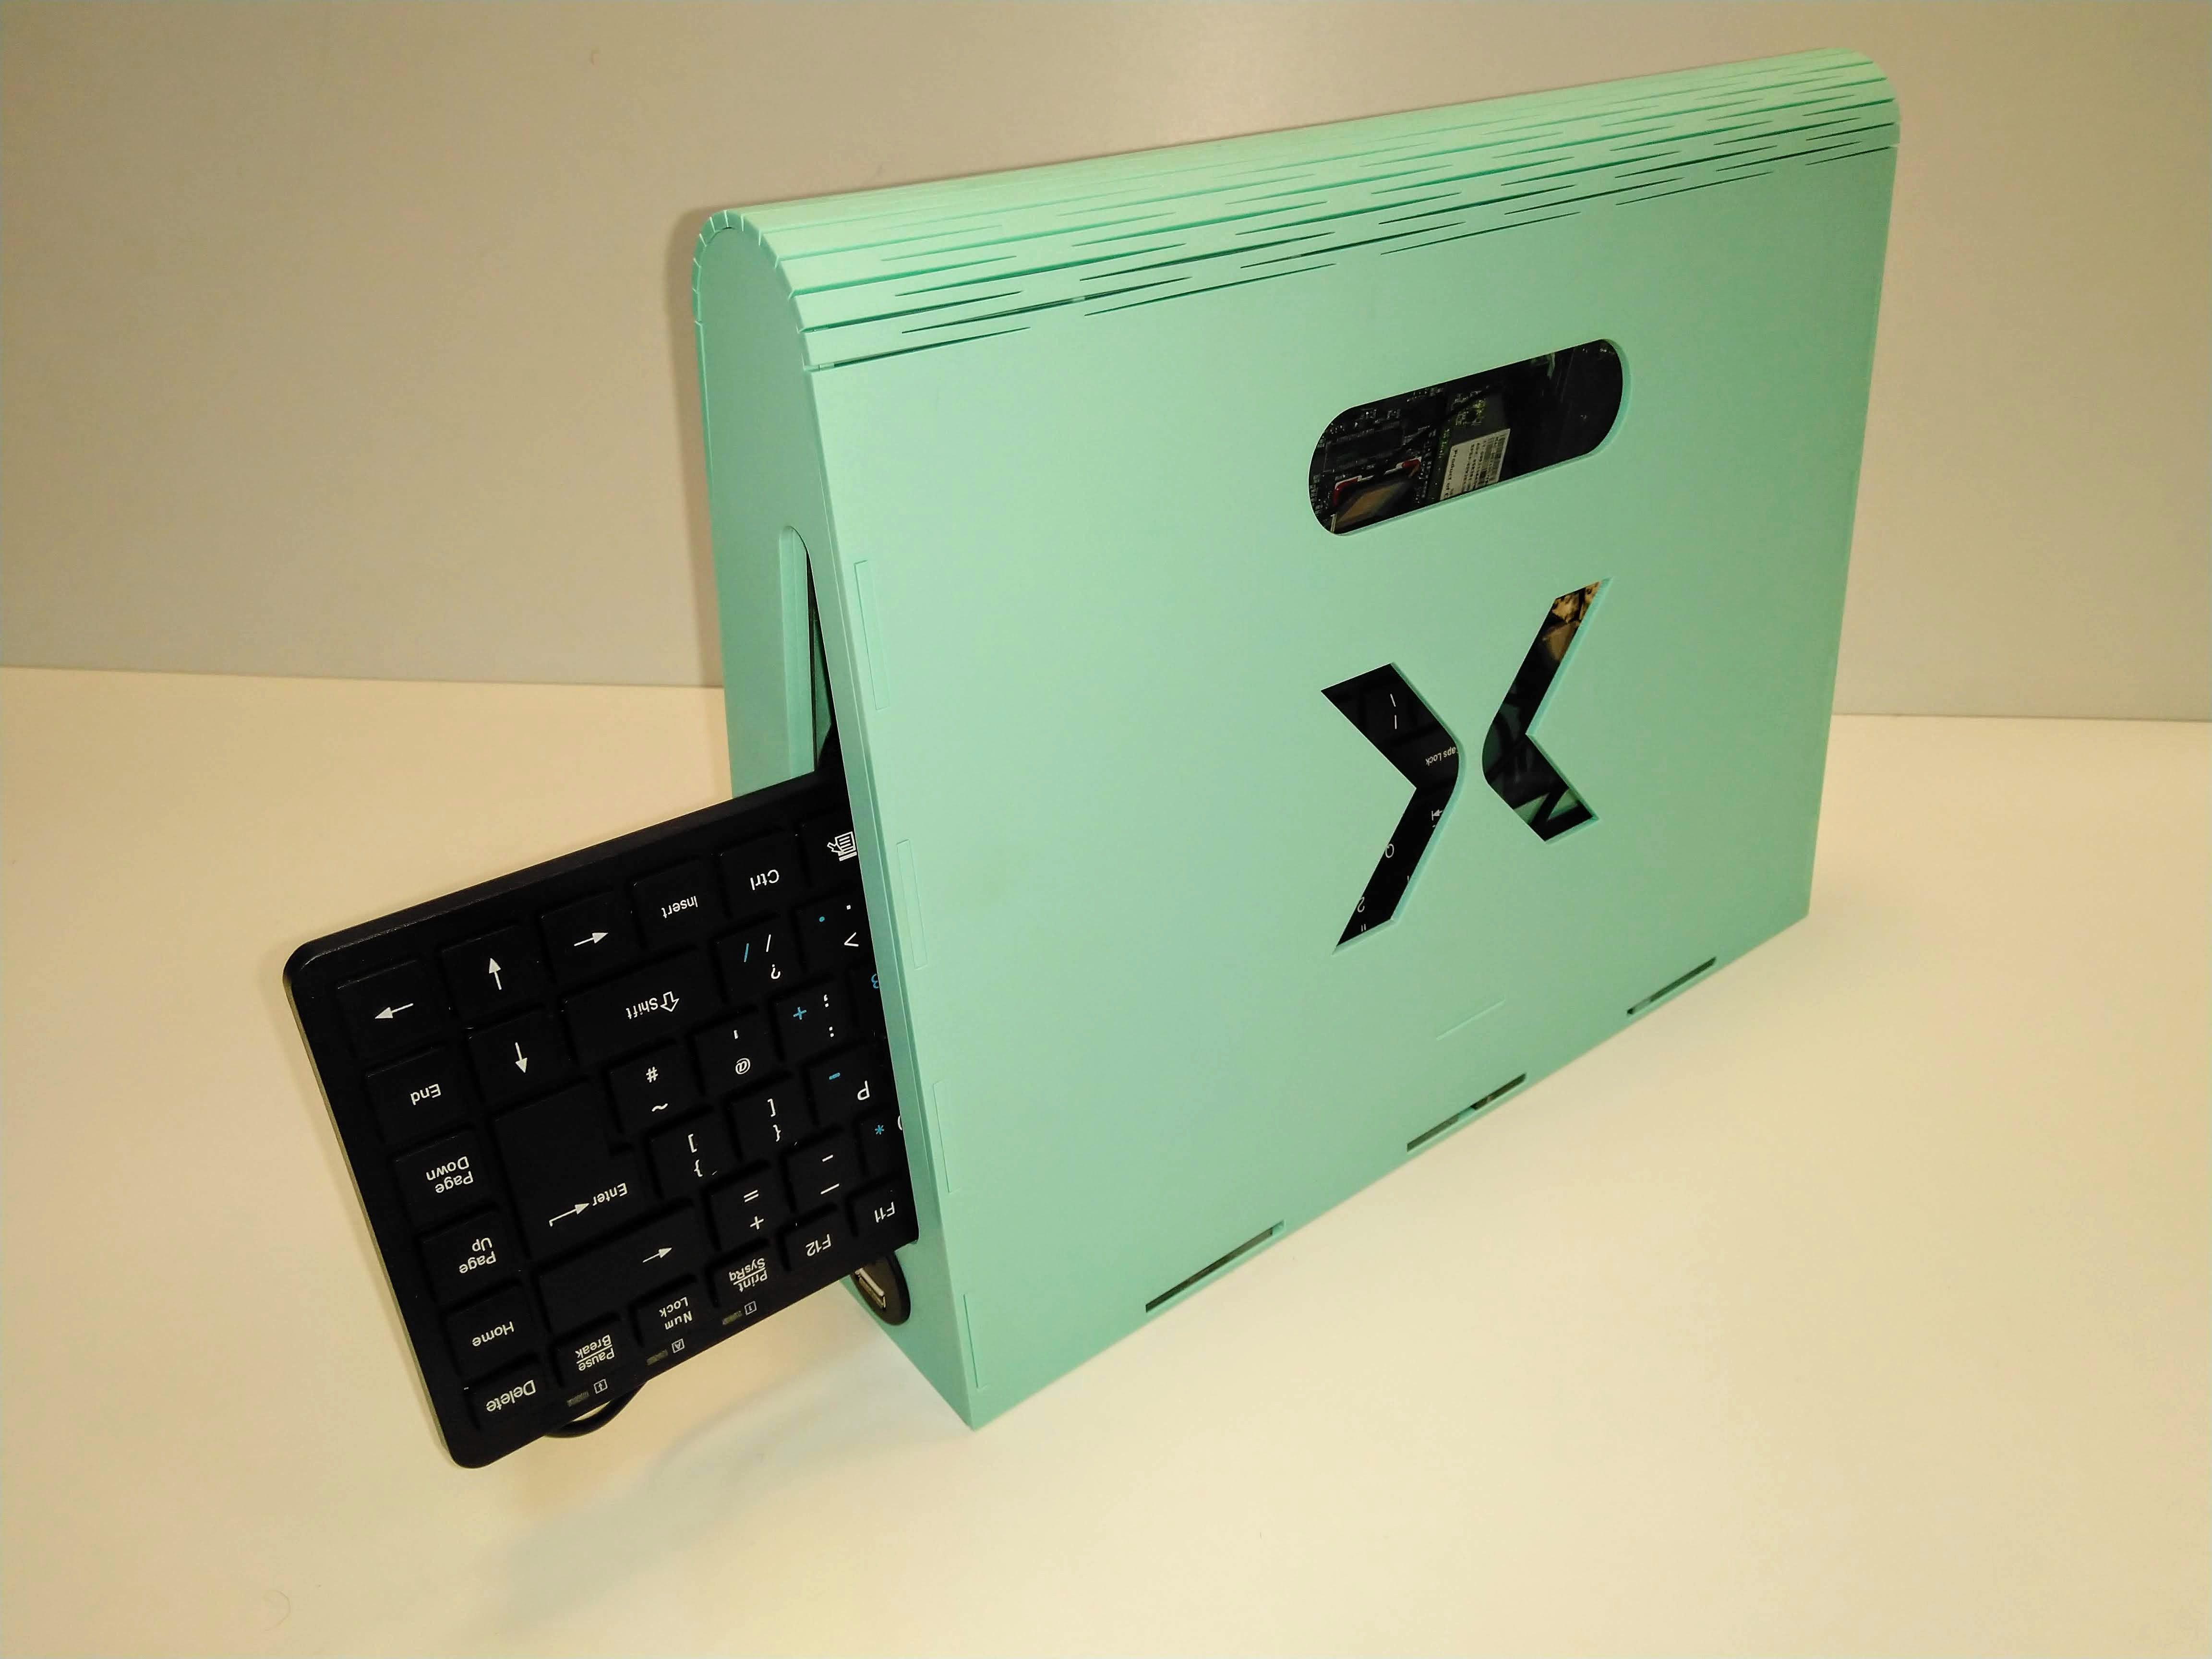
The screen is encased in a lasercut frame that also mounts the motherboard. It includes a lasercut cover that folds over the top in a living hinge to create an A-frame case that also holds the power supply. As an extra bonus the centre of the A provides handy storage for a keyboard.
Most of us will have encountered enough older laptops with broken parts to recognise the value in this build, seeing how it can transform junk into a useful machine. This certainly isn’t the first time we’ve seen someone try a similar build.