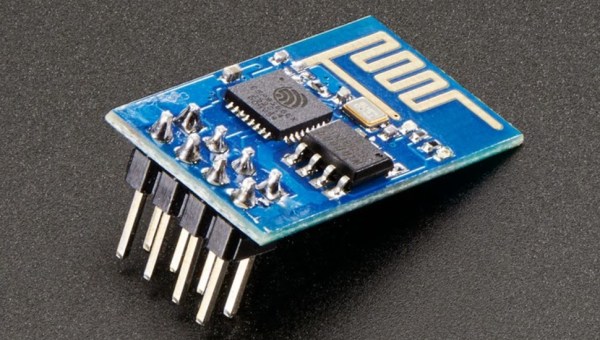
Support libraries, good application notes, and worked examples from a manufacturer can really help speed us on our way in making cool stuff with new parts. Espressif Systems has been doing a good job with their ESP8266 product (of course, it doesn’t hurt that the thing makes a sub-$5 IOT device a reality). Only recently, though, have they started publishing completed, complex application examples. This demo, a networked MP3 webradio player, just popped up in Github, written by the man better known to us as Sprite_tm. We can’t wait to see more.
The MP3 decoder itself is a port of the MAD MP3 library, adapted for smaller amounts of SRAM and ported to the ESP8266. With a couple external parts, you can make an internet-connected device that you can point to any Icecast MP3 stream, for instance, and it’ll decode and play the resulting audio.
What external parts, you ask? First is something to do the digital-to-analog conversion. The application, as written, is build for an ES9023 DAC, but basically anything that speaks I2S should be workable with only a little bit of datasheet-poking and head-scratching. Of course, you could get rid of the nice-sounding DAC chip and output 5-bit PWM directly from the ESP8266, but aside from being a nice quick demo, it’s going to sound like crap.
The other suggested external IC is an SPI RAM chip to allow for buffering of the incoming MP3 file. WiFi — and TCP networks in general — being what they are, you’re going to want to buffer the MP3 files to prevent glitching. As with the dedicated DAC, you could get away without it (and there are defines in the “playerconfig.h” file to do so) but you’ll probably regret it.
In sum, an ESP8266 chip, a cheap I2S DAC, and some external RAM and you’ve got a webradio player. OK, maybe we’d also add an amplifier chip, power supply, and a speaker. Hmmm…. and a display? Or leave it all configurable over WiFi? Point is, it’s a great worked code example, and a neat DIY device to show your friends.
The downsides? So far, only the mono version of the libMAD decoder / synth has been ported over to ESP8266. The github link is begging for a pull request, the unported code is just sitting there, and we think that someone should take up the task.
Other Resources
In our search for other code examples for the ESP8266, we stumbled on three repositories that appear to be official Espressif repositories on Github: espressif, EspressifSystems, and EspressifApp (for mobile apps that connect to the ESP8266). The official “Low Power Voltage Measurement” example looks like a great place to start, and it uses the current version of the SDK and toolchain.
There’s also an active forum, with their own community Github repository, with a few “Hello World” examples and a nice walkthrough of the toolchain.
And of course, we’ve reported on a few in the past. This application keeps track of battery levels, for instance. If you’ve got the time, have a look at all the posts tagged ESP8266 here on Hackaday.
You couldn’t possibly want more resources for getting started with your ESP8266 project. Oh wait, you want Arduino IDE support?
Thanks [Sprite_tm] for the tip.
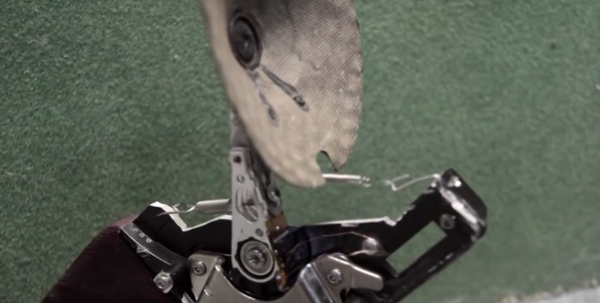
 The drive’s arm and voice coil actuator are the key parts of this project. It was modified with a metal extension so that a paper cone cut from an audio speaker could be attached, an idea used in microphone projects we’ve previously featured. Copper wire scavenged from the speaker was then soldered to voice coil on the arm as well as an audio jack. In the first version of the Hard Drive Microphone, the arm is held upright with a pair of springs and vibrates when the cone catches sound.


 [François] started off by listening to the audio of some recorded games. Whenever a goal is scored, the commentator yells out and the goal horn is sounded. This makes it pretty obvious to the listener that a goal has been scored, but detecting it with a computer is a bit harder. [François] also wanted to detect when his home team scored a goal, but not when the opposing team scored, making the problem even more complicated!


