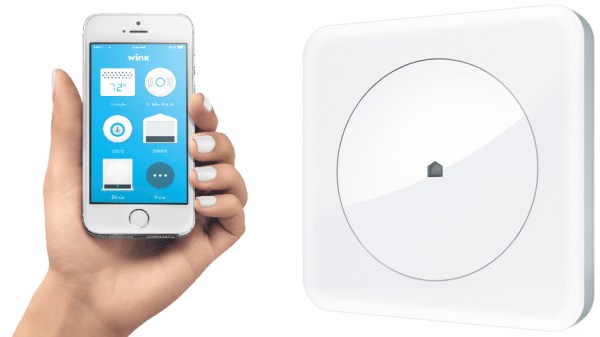
As home automation grows more and more popular by the day, the free market is taking notice and working to supply the demand. The Wink Hub is a part of this current trend. It’s a device that allows many of your wireless devices to talk to one another. Things like lights, thermostats, door locks, garage doors…and many other devices can all connect to the hub. Typically, you use a program on your phone or tablet to control these devices. But because this is a closed source gadget, it can’t connect to everything, until now. A hacker was not only able to root the device, but he also gained the ability to connect to devices it was never designed to connect to.
[Michael] was able to get root and take control of some of the devices used with one of Wink’s main competitors – SmartThings. The process is not for the faint of heart and requires at least a yellow belt in Linux-Fu. [Michael] points out that you should use a Wink Hub that you don’t care about as the possibility of bricking it is there if something goes wrong.
We’ve seen a few instances of rooting the Wink and are happy to see these hacks maturing. It’s a shame the thing is locked down since the multiple radios make the hardware capable of being a great cross-platform hub. For legacy and better user experience, cross-platform operation is paramount. The industry isn’t moving in that direction… Phillips recently removed support for devices outside the Hue family. But the community wants this functionality and their push back led to a hasty reversal of Phillips’ changes. Hackers like [Michael] are showing what your home could be like if connected devices were free to interact with one another.