
It seems that finding an appliance without some WiFi connectivity and an app to load your laundry data into the cloud is an increasingly difficult thing to do in the 2020s. Many of us resolutely refuse to connect these smart appliances to the Internet, but not because we don’t see the appeal — we just want to do it on our own terms.
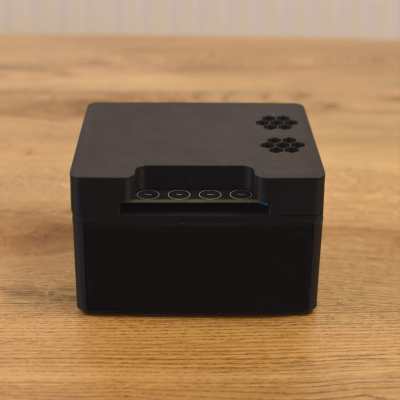
[Terence Eden] did just this with his rice cooker, using a surprisingly straightforward approach. He simply connected it to the mains via an energy monitoring smart plug, and that was the hardware part, done. Of course, were it that simple we probably wouldn’t be featuring this here, as the meat of this project lies in connecting it to his smart home systems and getting something useful from it.
He’s using Home Assistant, and after a bit of messing about had it part of his home automation system. Then it was time for Appliance Status Monitor, which allowed him to easily have the rice cooker send him a notification once it has done its thing by monitoring the power it was using. All online, part of a smart home, and not a byte of his data captured and sold to anyone!
This isn’t the first home automation project we’ve brought you from this source.


 The build is based on an ESP32 Lyrat development board. Unlike most devboards, this one has two 3 watt audio outputs and mics on board, making it perfect for a build like this one. The Lyrat was paired with some NeoPixel LEDs and a pair of Dayton Audio 1.5″ speakers to enable it to interact with the user both audibly and visually.


