For those times when you’d rather not get sucked down another internet rabbit hole when you really just wanted the weather, an ambient display can be great. [AlexanderK106] built a simple ambient display to know the probability the Northern Lights would visit his town.
Starting with a NodeMCU featuring the ESP8266, [AlexanderK106] walks us through a beginner-friendly tutorial on how to do everything from configure the Arduino IDE, the basics of using a breadboard. finding a data source and parsing it, and finally sticking everything into an enclosure.
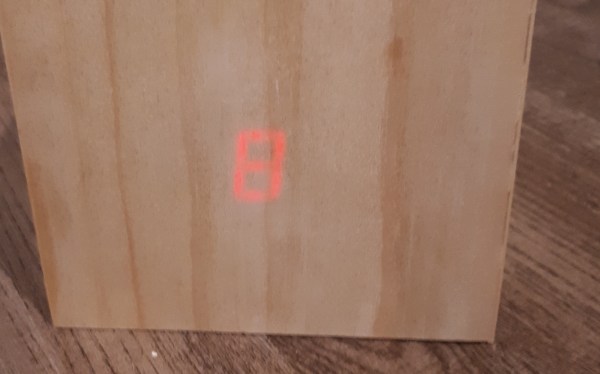
The 7-segment display is taped and set into the back of the 1/4″ pine with enough brightness to shine through the additional layer of veneer on top. The display is set to show one digit and then the next before a three second repeat. A second display would probably make this easier to use day-to-day, but we appreciate him keeping it simple for this tutorial.
Looking for more ambient displays? Checkout the Tempescope or this clock that lets you feel the temperature outside!