Up here in the Northern Hemisphere, mosquitoes and other flying pests are the last thing on anyone’s mind right now. The only bug that’s hindering gatherings at the moment goes by the name of COVID-19, but even if we weren’t social distancing, insects simply aren’t a concern at this time of year. So it’s little surprise that these months are often the best time to find a great deal on gadgets designed to deter or outright obliterate airborne insects.

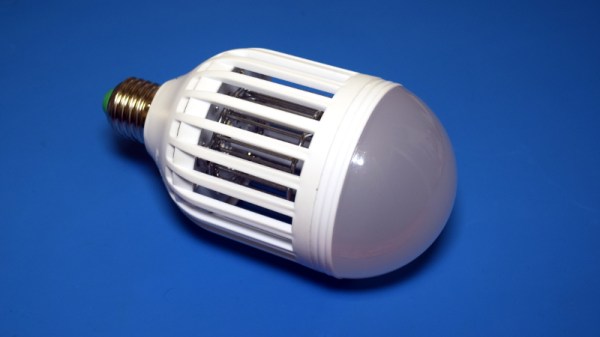
Case in point, I was able to pick up this “Bug Zapper LED Bulb” at the big-box hardware store for just a few bucks. This one is sold by PIC Corporation, though some press release surfing shows the company merely took over distribution of the device in 2017. Before then it was known as the Zapplight, and was the sort of thing you might see advertised on TV if you were still awake at 3 AM. It appears there are several exceptionally similar products on the market as well, which are likely to be the same internally.
In all fairness, it’s a pretty clever idea. Traditional zappers are fairly large, and need to be hoisted up somewhere next to an electrical outlet. But if you could shrink one down to the size of a light bulb, you could easily dot them around the porch using the existing sockets and wiring. Extra points if you can also figure out a way to make it work as a real bulb when the bugs aren’t out. Obviously the resulting chimera won’t excel at either task, but there’s certainly something to be said for the convenience of it.
Let’s take a look inside one of these electrifying illuminators and see how they’ve managed to squeeze two very different devices into one socket-friendly package.