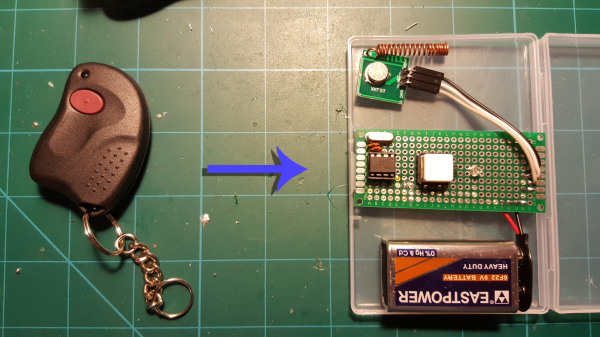
Ever make something just to see if you could? Yeah, we thought so. [serverframework] wanted to see if he could clone the remote that opens his neighborhood gate, inspired by the long distance ding-dong-ditch efforts of [Samy Kamkar].
This clone uses an ATtiny85 and an RF module to emulate and send the frequency that the gate is waiting for. To accomplish that, [serverframework] had to figure out both the operating frequency and the timing used by the remote. The crystal inside seemed to indicate 295 MHz, and a quick check of the device’s FCC registration confirmed it. Then he used an SDR dongle to watch the data coming across when he pressed the button, and ran it through Audacity to figure out the timing.
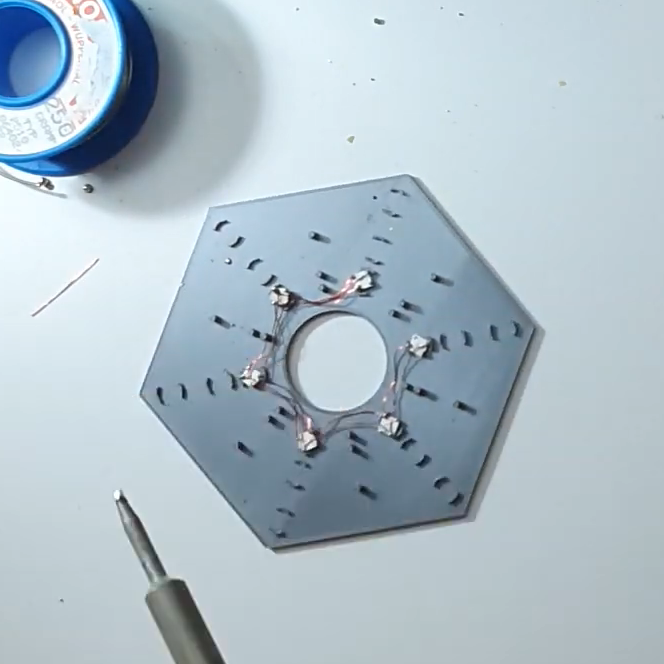
Unfortunately, the 295 MHz crystal is a rare beast, so [serverframework] had to transplant the original to the donor RF module. Then it was just a matter of programming the ATtiny85 to send the frequency with the right timing. It actually does a better job since the original has no timing crystal, and the ‘tiny is clocked with a standard 16 kHz oscillator. The code is available within [serverframework]’s excellent write-up, and you can see a tiny demo after the break.
There’s more than one way to clone a gate remote. This one leverages MQTT to turn friends’ phones into remotes.
Continue reading “Cloned Gate Remote Does It (Slightly) Better”