When it comes to cyber security, there’s nothing worse than storing important secret data in plaintext. With even the greenest malicious actors more than capable of loading up a hex editor or decompiler, code can quickly be compromised when proper precautions aren’t taken in the earliest stages of development. To help avoid this, encryption can be used to hide sensitive data from prying eyes. While a simple xor used to be a quick and dirty way to do this, for something really sophisticated, polymorphic encryption is a much better way to go.
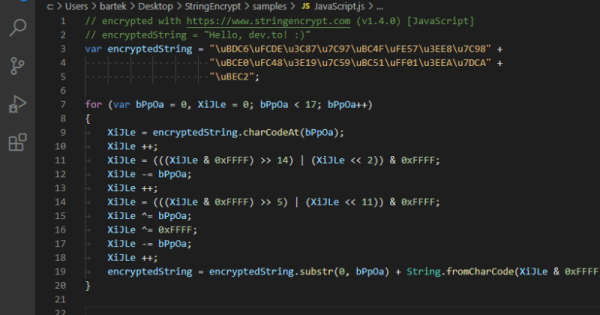
A helpful tool to achieve this is StringEncrypt by [PELock]. An extension for Visual Studio Code, it’s capable of encrypting strings and data files in over 10 languages. Using polymorphic encryption techniques, the algorithm used is unique every time, along with the encryption keys themselves. This makes it far more difficult for those reverse engineering a program to decrypt important strings or data.
While the free demo is limited in scope, the price for the full version is quite reasonable, and we expect many out there could find it a useful addition to their development toolkit. We’ve discussed similar techniques before, often used to make harder-to-detect malware.
[Thanks to Dawid for the tip!]