KiCad ya es una gran herramienta para la captura esquemática y el diseño de PCB, pero el software sólo funciona si es posible utilizarlo. Para los mil millones de personas que no hablan inglés, esto significa que el idioma es la barrera más grande al momento de utilizar el mejor software para desarrollo de hardware. En los últimos meses, [ElektroQuark] ha estado liderando esfuerzos de localización al español de KiCad y estos se encuentran finalmente completados. También ha iniciado un foro de KiCad en idioma español para llevar el desarrollo de software hacia uno de los idiomas más hablado del planeta.
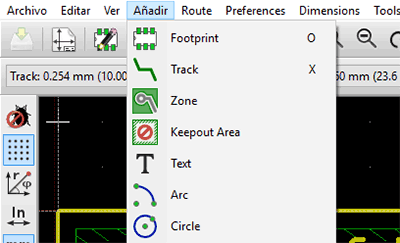 Mientras que ha habido otros intentos por localizar KiCad a otros idiomas, la mayoría de estos proyectos se encuentran incompletos. En una actualización de KiCad hace algunos meses, la localización al español ya contaba con algunas cadenas ya traducidas, pero no demasiadas. Los esfuerzos de [ElektroQuark] han acercado KiCad a millones de hablantes nativos de español, no solo algunos de sus menús.
El español es la segunda lengua más hablada del planeta, mientras que el inglés es la tercera. Teniendo en cuenta solamente este hecho, parece absurdo que casi todas las herramientas de software para capturas esquemáticas y diseño de PCB sean localizados sólo al chino o al inglés. Los esfuerzos de [ElektroQuark] por localizar KiCad al español son un gran avance para un ya impresionante software.