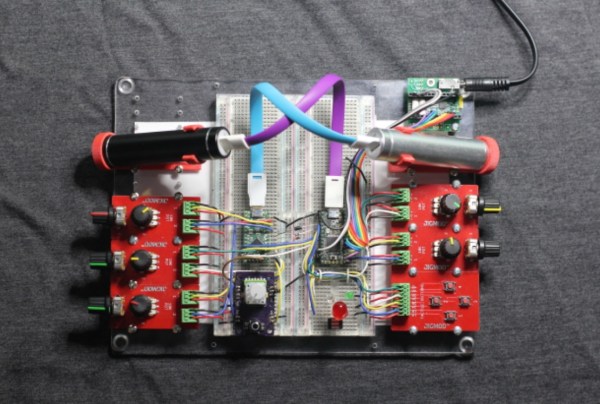
[Bruce Land] switched his microprocessor programming class over from Atmel parts to Microchip’s PIC32 series, and that means that he’s got a slightly different set of peripherals to play with. One thing that both chips lack, however is a digital-to-analog converter (DAC). Or do they? (Dun-dun-dun-duuuuhnnnn!)
The PIC part has a programmable, sixteen-level voltage reference. And what is a Vref if not a calibrated DAC? With that in mind, [Bruce] took to documenting its performance and starting to push it far beyond the manufacturer’s intentions. Turns out that the Vref has around 200 kHz of bandwidth. (Who would update a voltage reference 200,000 times per second?)
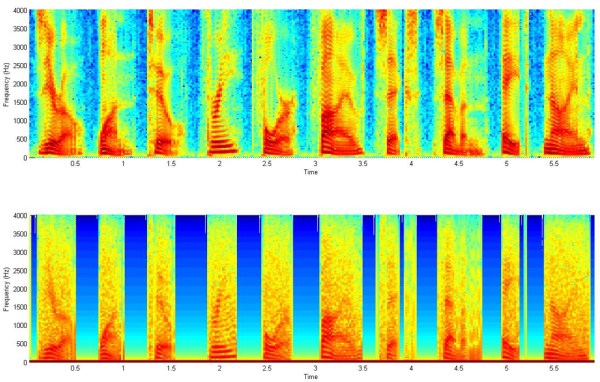
Anyway, [Bruce] being [Bruce], he noticed that the bits weren’t changing very often in anything more than the least significant bit: audio waveforms, sampled fast enough, are fairly continuous. This suggests using a differential PCM encoding, which knocks the bitrate down by 50% and saves a lot on storage. (Links to all the code for this experiment is inline with his writeup.)
The audio hacks that come out of [Bruce]’s Cornell ECE classes are always a treat. From the lock that you have to sing to open, to chiptunes programmed into an FPGA, there’s something for music fans of all inclinations.