Most guitarists buy their axes fully assembled from big names like Fender, Gibson, and… maybe Yamaha? Sure. But there are a dedicated set that relish in mixing and matching parts and even building and assembling their own instruments. [Danny Lewis] decided to see what he could do with the cheapest guitar parts from Amazon and a body of his own design, and he put together something pretty passable for just $30.
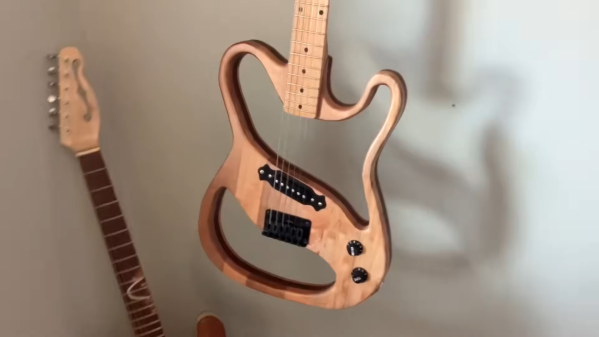
The wood for the body was cut on a bandsaw, and was essentially free scrap sourced from old furniture. [Danny] went for an unconventional design using a roughly Telecaster outline and large cutouts either side of the bridge. The neck was free, by virtue of being an old Harmony neck sourced off Craigslist. We’d have preferred to see what could be done with a cheap Amazon neck, but it nonetheless fits the vibe of the build.
The guitar then received a $9.99 pickup and controls, an $8.80 solidtail bridge, and $11 tuning machines for the headstock. Strung up, it actually sounds passable. We’d want to throw it on a proper amp and give the whole thing a setup before fully assessing it, but hey, for $30, it’s hard to go wrong.
We do love some hacky guitars around here; we’ve even featured some with surprise effects gear built into the bodies. Video after the break.
Continue reading “$30 Guitar Build Shows What You Can Do With Amazon Parts”