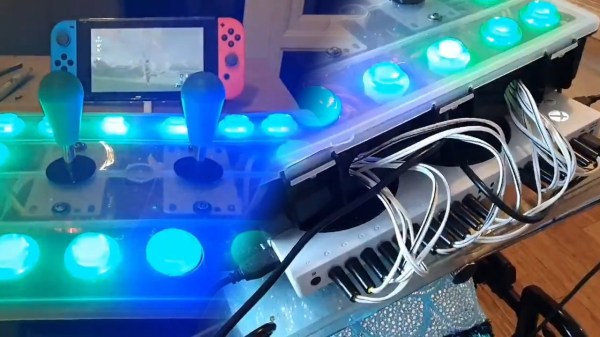
In the last few years, console and controller manufacturers have been making great strides in accessibility engineering in order to improve the inclusiveness of people with different motor disabilities into the gaming world. One such example is the Xbox Adaptive Controller, which [Rory Steel] has used to build his daughter a fully customized controller to allow her to play Breath of the Wild on the Nintendo Switch.
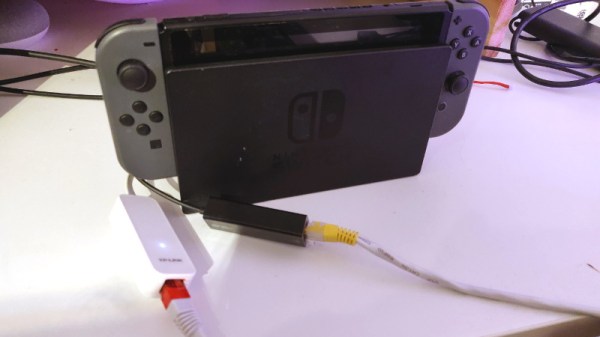
His build plan is outlined in just a few Twitter videos, and sadly we don’t have a detailed walkthrough on how to build our own just yet, though he mentions plans on making such guide in the future. In the mean time, it’s not too hard to speculate on some specifics. The Adaptive Controller can use USB-C for communication, as the Switch also does with its Pro controller in wired mode. Interfacing the two is as simple as using an adapter to bridge the gap between the two vendors.
The joysticks are each wired into generic gamepads which act as the left and right sticks, each one being a separate USB input into the Adaptive Controller, while each one of the button inputs is broken out to 3.5mm jacks on its back, making them dead simple to wire to the sixteen arcade buttons surrounding the sticks. The layout might look unconventional to us, and [Rory] mentions this is simply a prototype that will be improved upon in the future after real-world testing. The size of his daughter’s smile tells us this is already a success in her eyes.
This is not the first time we’ve seen a build with the Xbox Adaptive Controller, and it’s nice to see just how well it enables parents to build their kids controllers they can use more easily, seeing as how before its introduction these kinds of controllers usually required the expertise for tearing expensive official controllers apart in ways the manufacturers never expected. We can only hope that going forward, this sort of accessibility becomes more the norm and less the exception.
[via Kotaku, thanks Itay for the tip!]