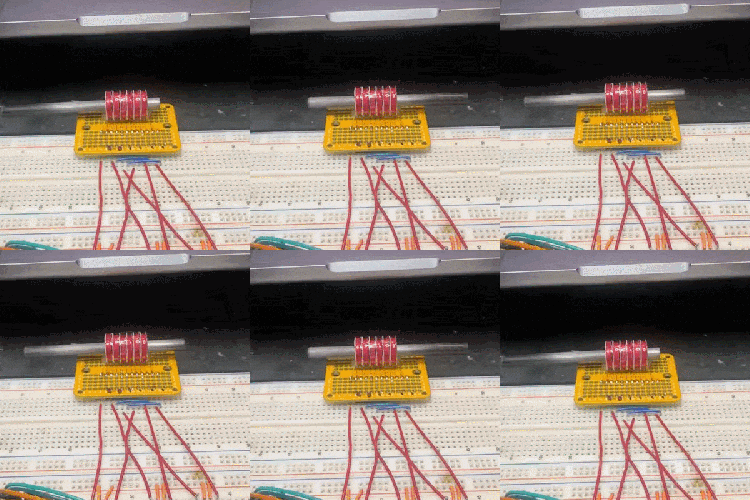
Piezo Buzzer Makes A Drum

The humble piezo disc buzzer is much more than something that makes tinny beeps in retro electronic equipment, it can also be used as a sensor. Tapping a piezo buzzer gives an interesting waveform, with a voltage spike followed by an envelope, and then a negative rebound voltage. It’s something [Igor Brichkov] is using, to make a simple but effective electronic drum.

First of all, the output of the buzzer must be tamed, which he does by giving it a little impedance to dissipate any voltage spikes. There follows some simple signal conditioning with passive components, to arrive at an envelope for the final drum sound. How to turn a voltage into a sound? Using a voltage controlled amplifier working on a noise source. The result is recognizably the drum sound, entirely in electronics.

In a world of digital music it’s easy to forget the simpler end of sound synthesis, using circuits rather than software. If you hanker for the Good Old Days, we have an entire series on logic noise, doing the job with 4000 series CMOS logic.

Continue reading “Piezo Buzzer Makes A Drum”

Rethinking Your Jellybean Op Amps

Are your jellybeans getting stale? [lcamtuf] thinks so, and his guide to choosing op-amps makes a good case for rethinking what parts you should keep in stock.

For readers of a certain vintage, the term “operational amplifier” is almost synonymous with the LM741 or LM324, and with good reason. This is despite the limitations these chips have, including the need for bipolar power supplies at relatively high voltages and the need to limit the input voltage range lest clipping and distortion occur. These chips have appeared in countless designs over the nearly 60 years that they’ve been available, and the Internet is littered with examples of circuits using them.

For [lcamtuf], the abundance of designs for these dated chips is exactly the problem, as it leads to a “copy-paste” design culture despite the far more capable and modern op-amps that are readily available. His list of preferred jellybeans includes the OPA2323, favored thanks to its lower single-supply voltage range, rail-to-rail input and output, and decent output current. The article also discussed the pros and cons of FET input, frequency response and slew rate, and the relative unimportance of internal noise, pointing out that most modern op-amps will probably be the least thermally noisy part in your circuit.

None of this is to take away from how important the 741 and other early op-amps were, of course. They are venerable chips that still have their place, and we expect they’ll be showing up in designs for many decades to come. This is just food for thought, and [lcamtuf] makes a good case for rethinking your analog designs while cluing us in on what really matters when choosing an op-amp.

One Small Step: All About Stepper Motors

The primary feature of stepper motors is listed right within their name: their ability to ‘step’ forwards and backwards, something which they (ideally) can do perfectly in sync with the input provided to their distinct coils. It’s a feature that allows the connected controller to know the exact position of the stepper motor, without the need for any sensor to provide feedback after a movement, saving a lot of hardware and effort in the process.

Naturally, this is the optimal case, and there are a wide number of different stepper motor configurations in terms of coil count,  types of rotors and internal wiring of the coils, as well as complications such as skipped steps due to mechanical or driver issues. Despite this, in general stepper motors are quite reliable, and extremely versatile. As a result they can be found just about anywhere where accurate, step-based movement is desirable, such as (3D) printers and robotics.

For each application the right type of stepper motor and driving circuit has to be determined, of course, as they also have many reasons why you’d not want to use them, or just a particular type. When diving into a new stepper motor-based project, exactly what are the considerations to pay attention to?

Continue reading “One Small Step: All About Stepper Motors”

DIYFPV: A New Home For Drone Builders

If you’re looking to get into flying first-person view (FPV) remote controlled aircraft, there’s an incredible amount of information available online. Seriously, it’s ridiculous. In fact, between the different forums and the countless YouTube videos out there, it can be difficult to sort through the noise and actually find the information you need.

What if there was one location where FPV folks could look up hardware, compare notes, and maybe even meet up for the occasional flight? That’s the idea behind the recently launched DIYFPV. In its current state the website is a cross between a social media platform, a hardware database, and a tech support forum.

Being able to look up parts to see who has them in stock and for what price is certainly handy, and is likely to become a very valuable resource, especially as users start filling the database with first-hand reviews. There’s no shortage of social media platforms where you can post and chat about FPV, but pairing that with a dedicated tech support section has promise. Especially if the solutions it produces start getting scrapped by show up in search engines.

But the part of DIYFPV that has us the most interested is the interactive builder tool. As explained in the announcement video below, once this feature goes live, it will allow users to pick parts from the database and virtually wire them together. Parts are represented by high-quality illustrations that accurately represent connectors and solder pads, so you won’t be left guessing where you’re supposed to connect what. Schematics can be shared with others to help with troubleshooting or if you want to get feedback.

The potential here is immense. Imagine a function to estimate the mass of the currently selected electronics, or a simulation of how much current it will draw during flight. It’s not clear how far DIYFPV plans on taking this feature, but we’re eager to find out.

Continue reading “DIYFPV: A New Home For Drone Builders”

Playing Around With The MH-CD42 Charger Board

If you’ve ever worked with adding lithium-ion batteries to one of your projects, you’ve likely spent some quality time with a TP4056. Whether you implemented the circuit yourself, or took the easy way out and picked up one of the dirt cheap modules available online, the battery management IC is simple to work with and gets the job done.

But there’s always room for improvement. In a recent video, [Det] and [Rich] from Learn Electronics Repair go over using a more modern battery management board that’s sold online as the MH-CD42. This board, which is generally based on a clone of the IP5306, seems intended for USB battery banks — but as it so happens, plenty of projects that makers and hardware hackers work on have very similar requirements.

So not only will the MH-CD42 charge your lithium-ion cells when given a nominal USB input voltage (4.5 – 5 VDC), it will also provide essential protections for the battery. That means looking out for short circuits, over-charge, and over-discharge conditions. It can charge at up to 2 A (up from 1 A on the TP4056), and includes a handy LED “battery gauge” on the board. But perhaps best of all for our purposes, it includes the necessary circuitry to boost the output from the battery up to 5 V.

If there’s a downside to this board, it’s that it has an automatic cut-off for when it thinks you’ve finished using it; a feature inherited from its USB battery bank origins. In practice, that means this board might not be the right choice for projects that aren’t drawing more than a hundred milliamps or so.

Continue reading “Playing Around With The MH-CD42 Charger Board”

Push For On, Hold For Off, AC Edition

A common theme in modern consumer electronics is having a power button that can be tapped to turn the device on, but needs to be held down when it’s time to shut it off. [R. Jayapal] had noticed a circuit design for this setup when using DC and decided to create a version that could handle AC-powered loads.

The circuit relies on a classic optoisolated triac to switch the AC line, although [R. Jayapal] notes that a relay would also work. The switch circuit consists of two transistors, a comparator, a flip flop and a monostable. As you might expect, the button triggers the flip flops to turn the triac on. However, if you hold the switch for more than a few seconds, a capacitor charges and causes the comparator to trip the output flip flop.

The DC circuit that inspired this one is naturally a bit simpler, although we might have been tempted to simply use the output of that circuit to drive a relay or triac. On the other hand, the circuit is set up to allow you to adjust the time delay easily.

Given the collection of parts, though, we wonder if you couldn’t press some 555s into service for this to further reduce the part count. If relays are too old-fashioned for you, you can always use a solid-state relay or make your own.

3D scanned image of LEGO sheep

Do 3D Printers Dream Of LEGO Sheep?

Imagine the power to clone your favorite LEGO piece—not just any piece, but let’s say, one that costs €50 second-hand. [Balazs] from RacingBrick posed this exact question: can a 3D scanner recreate LEGO pieces at home? Armed with Creality’s CR-Scan Otter, he set out to duplicate a humble DUPLO sheep and, of course, tackle the holy grail of LEGO collectibles: the rare LEGO goat.

The CR-Scan Otter is a neat gadget for hobbyists, capable of capturing objects as small as a LEGO piece. While the scanner proved adept with larger, blocky pieces, reflective LEGO plastic posed challenges, requiring multiple scans for detailed accuracy. With clever use of 3D printed tracking points, even the elusive goat came to life—albeit with imperfections. The process highlighted both the potential and the limitations of replicating tiny, complex shapes. From multi-colored DUPLO sheep to metallic green dinosaur jaws, [Balazs]’s experiments show how scanners can fuel customization for non-commercial purposes.

For those itching to enhance or replace their builds, this project is inspiring but practical advice remains: cloning LEGO pieces with a scanner is fun but far from plug-and-play. Check out [Balazs]’s exploration below for the full geeky details and inspiration.

Continue reading “Do 3D Printers Dream Of LEGO Sheep?”