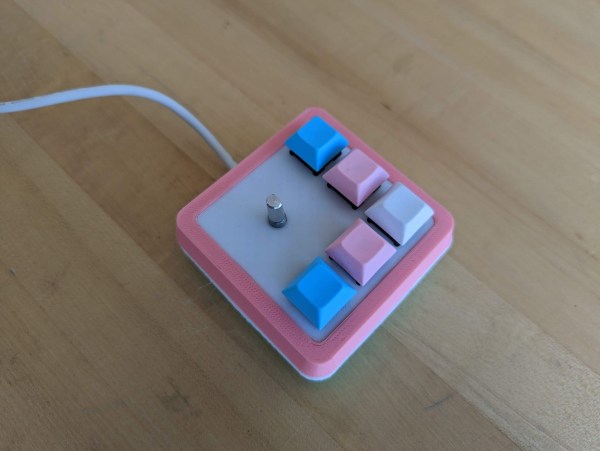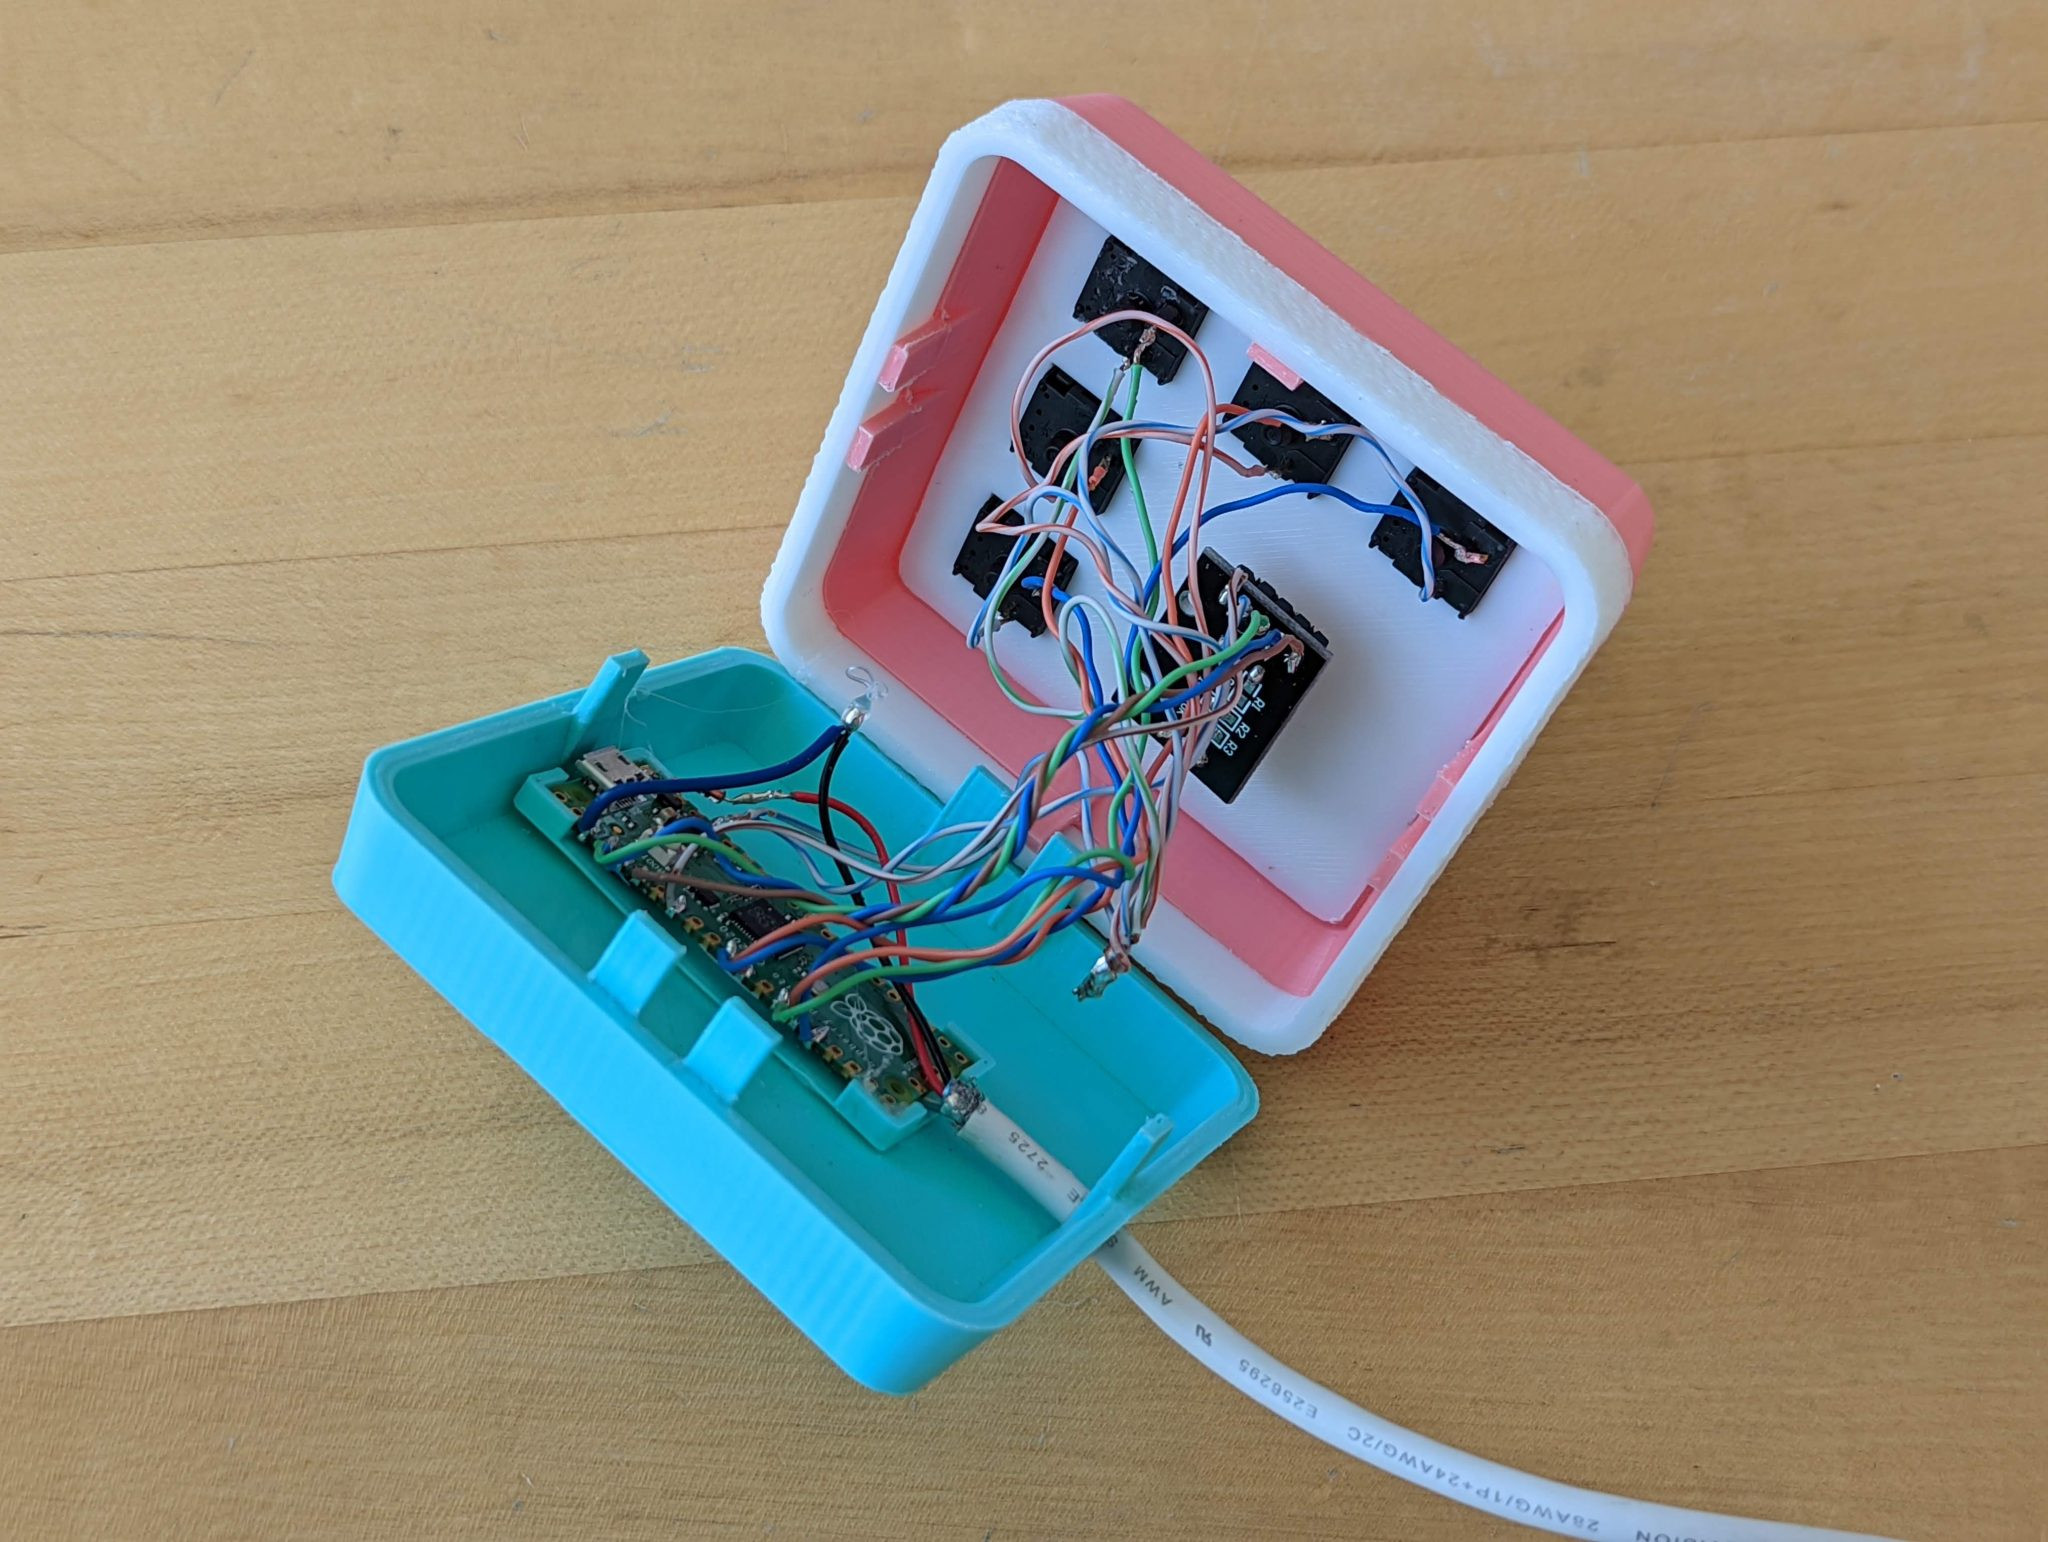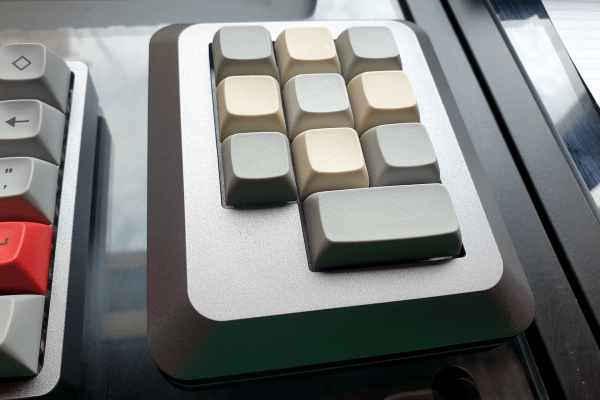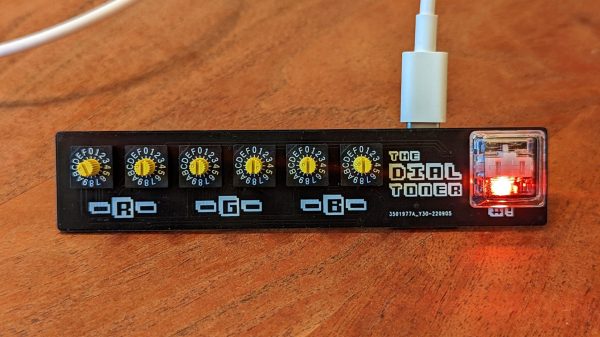
For some power users, the one-hundred-and-something keys on regular keyboards just aren’t enough for their everyday tasks. Macro keypads are a popular way of extending one’s input capabilities, and there are almost as many examples as there are power users. [Ulrich]’s latest project, dubbed the LowPow E-Ink ShortKeyboard, is a beautiful and meticulously documented design for a macro pad that includes several unusual features.
Built around an ESP32-S3 microcontroller, the ShortKeyboard features nine programmable function keys plus an analog joystick and a rotary encoder. The keys are based on Cherry MX RED types commonly seen in mechanical keyboards, illuminated from below by by miniature RGB LEDs. A big e-ink display in the middle can be used to show the function of each key.
When it comes to design decisions, we’re often advised to “think outside the box.” It’s generally good advice, if a bit abstract — it could really mean anything. But it appears that someone took it quite literally with this nifty little smart knob display and input device.
[Dimitar]’s inspiration for RoenDi — for “rotary encoder and display” — came from an unusual source: a car dashboard, and specifically, the multipurpose knobs that often crop up in a car’s climate control cluster. Designed for ease of use while driving while causing as little distraction as possible, such knobs often combine a rotary encoder with one or more indicators or buttons. RoenDi builds on that theme by putting a 1.7″ round LCD display in the middle of a ring attached to an Alps rotary encoder, allowing the knob to be customized for whatever you want it to represent. The backplane sports a powerful STM32 microcontroller with a lot of the GPIO pins broken out, so customization and interfacing are limited only by your imagination. The design is open source, so you can either build your own or support the project via Crowd Supply.
Unlike the haptic smart knob we’ve been seeing a bit about lately, which also features a round LCD at its center, RoenDi’s feedback is via the physical detents on the encoder. We think both devices are great, and they fill different niches in the novel input ecosystem.
Douglas Engelbart’s 1968 “Mother of all Demos” introduced the world to a whole range of technologies we take for granted today, the most prominent being his great invention, the computer mouse. However, the MOAD also showcased things like cut-and-paste text editing, a point-and-click interface, video conferencing, and even online collaboration à la Google Docs. One of the innovations shown that for some reason didn’t stand the test of time was the chorded keyboard: an input device with five keys that can be pressed simultaneously in different combinations, the same way you would play chords on a piano.
The Engelbart Keyset comes with both USB host and USB client ports
It’s important to note that the chorded keyboard was not meant to be just an additional set of five keys. Instead, Engelbart showed the clever interplay between the chorder and the mouse: the five keys under his left hand and the three mouse buttons under his right could be combined to create a full 8-bit input device. [Russ]’s device therefore includes a USB host interface to connect a USB mouse as well as a USB client interface that presents itself as a combination mouse/keyboard device to the PC.
The brains of the device are formed by a Teensy 4.1, which reads out the codes sent by the mouse as well as the five keys on top. If one or more of those keys are pressed together with a mouse button, then a keyboard code is generated corresponding to Engelbart’s original keycode mapping. We’re wondering how practical this whole setup would be in real life; it looks like something you’d have to try hands-on to find out. Fortunately, all the schematics, code and STL files are available on the project page, so with just a bit of work you can have your own MOAD setup on your desk today.
We’ve featured a couple of chorded keyboards on these pages; the Pico Chord, the Chordie and the BAT spring to mind. If you’re looking for a recap of Engelbart’s stunning presentation, check out our piece on the Mother of all Demos, 50 years on.
At Hackaday, we love those times when we get a chance to follow up on a project that we’ve already featured. Generally, it’s because the project has advanced in some significant way, which is always great to see. Sometimes, though, new details on the original project are available, and that’s where we find ourselves with [Scott Bez] and his haptic smart knob project.
Alert readers may recall [Scott]’s announcement of this project back in March. It made quite a splash, with favorable comments and a general “Why didn’t I think of that?” vibe. And with good reason; the build quality is excellent, and the idea is simple yet powerful. By attaching a knob to the shaft of a brushless DC motor and mounting a small circular LCD screen in the middle, [Scott] came up with an input device that could be reprogrammed on the fly. The BLDC can provide virtual detents at any interval while generating haptic feedback for button pushes, and the LCD screen can provide user feedback.
But how is such a thing built? That’s the subject of the current video, which has a ton of neat design details and build insights. The big challenge for [Scott] was supporting the LCD screen in the middle of the knob while still allowing the knob — and the motor — to rotate. Part of the solution was, sadly, a hollow-shaft motor that was out of stock soon after he released this project; hopefully a suitable replacement will be available soon. Another neat feature is the way [Scott] built tiny strain gauges into the PCB itself, which pick up the knob presses that act as an input button. We also found the way button press haptics are provided by a quick jerk of the motor shaft very clever.
This is one of those projects that seems like a solution waiting for a problem, and something that you’d build just for the coolness factor. Hats off to [Scott] for following up a sweet build with equally juicy details.
The desk of any self-respecting technology enthusiast in the 2020s is not complete without a special keyboard of some sort, be it a vintage IBM Model M, an esoteric layout or form factor, or just a standard keyboard made with clacky mechanical switches. But perhaps we’ve found the one esoteric keyboard to rule them all, in the form of [HIGEDARUMA]’s 8-bit keyboard. You can all go home now, the competition has been well and truly won by this input device with the simplest of premises; enter text by setting the ASCII value as binary on a row of toggle switches. No keyboard is more retro than the one you’d find on the earliest microcomputers!
Jokes aside, perhaps this keyboard may be just a little bit esoteric for many readers, but it’s nevertheless a well-executed project. Aside from the row of binary inputs there is a keypress button which sends whatever the value is to the computer, and a stock button that allows for multiple inputs to be stored and sent as one. If you pause for a moment and think how often you use Ctrl-C and Ctrl-V for example, this is an essential function. There’s more information on a Japanese website (Google Translate link), which reveals that under the hood it’s a Bluetooth device running on an ESP32.
We can imagine that with a bit of use it would be possible to memorize ASCII as binary pretty quickly, in fact we wouldn’t be at all surprised to find readers already possessing that skill. But somehow we can’t imagine it ever being a particularly fast text input device. Take a look for yourselves, it’s in the video below the break.
On astronomical telescopes of even middling power, a small “finderscope” is often mounted in parallel to the main optics to assist in getting the larger instrument on target. The low magnification of the finderscope offers a far wider field of view than the primary telescope, which makes it much easier to find small objects in the sky. Even if your target is too small or faint to see in the finderscope, just being able to get your primary telescope pointed at the right celestial neighborhood is a huge help.
But [Dilshan Jayakody] still thought he could improve on things a bit. Instead of a small optical scope, his StarPointer is an electronic device that can determine the orientation of the telescope it’s mounted to. As the ADXL345 accelerometer and HMC5883L magnetometer inside the STM32F103C8 powered gadget detect motion, the angle data is sent to Stellarium — an open source planetarium program. Combined with a known latitude and longitude, this allows the software to show where the telescope is currently pointed in the night sky.
As demonstrated in the video after the break, this provides real-time feedback which is easy to understand even for the absolute beginner: all you need to do is slew the scope around until the object you want to look at it under the crosshairs. While we wouldn’t recommend looking at a bright computer screen right before trying to pick out dim objects in your telescope’s eyepiece, we can certainly see the appeal of this “virtual” finderscope.
Then again…who said this technique had to be limited to optical observations? As the StarPointer is an open hardware project, you could always integrate the tech into that DIY radio telescope you’ve always dreamed of building in the backyard.
Back in 2018, we covered the work being done by [Andrew Sinden] to create a lightgun that could work on modern televisions. The project was looking for funding via Kickstarter, but due at least in part to skepticism about the technology involved, the campaign fell well short of its goal. It seemed, at the time, like the story would end there.
But we were recently pointed to a fascinating interview with [Andrew] that ran in The Guardian a couple months back that not only tells the rest of the story, but concludes with a happy ending — after years of hard work, the Sinden Lightgun is now available for purchase. It’s not exactly the turn-key product that some would like, as there’s a fair number of hoops one must jump through just to bag some eponymous waterfowl in Duck Hunt, but nothing that would scare off the average Hackaday reader.
Limited technical details about the 2018 prototype may have kept backers away.
The final version of the hardware ditches the realistic firearm aesthetic inherited from the Wii gun accessory it was designed to fit into, and now features a brightly-colored pistol enclosure that wouldn’t look out of place tethered to a Virtua Cop machine. It’s also gained an optional recoil solenoid for force feedback, though it tacks on another $60 to the already hefty $100 price tag for the base model.
We’re glad to see that [Andrew] recognized the importance of getting Linux support for the software side of things, as it enabled the development of a pre-configured Retropie image for the Raspberry Pi 4. Though you aren’t forced to emulate on the Pi, for those who would like to blast the occasional zombie on their desktop, Windows and x86 Linux are also supported.
Often times, when we cover a project here on Hackaday it’s a one-shot deal: somebody had a particular need or desire, built a gadget to fulfill it, and moved on. There’s nothing wrong with that, but there’s a certain feeling of pride when we see a project from this community develop into something more. While not every hacked together piece of hardware we feature has the potential to be the next Arduboy or Sinden Lightgun, we like to think that we’ve already covered the next big project-turned-product success story and just don’t know it yet.