While we’ll admit seeing your Game Boy Camera shots come out on a little slip of thermal paper was pretty neat back in 1998, anyone who’s still using the Game Boy Printer these days is probably more interested in getting their images in digital form. Which is why the open source NeoGB Printer is so exciting.
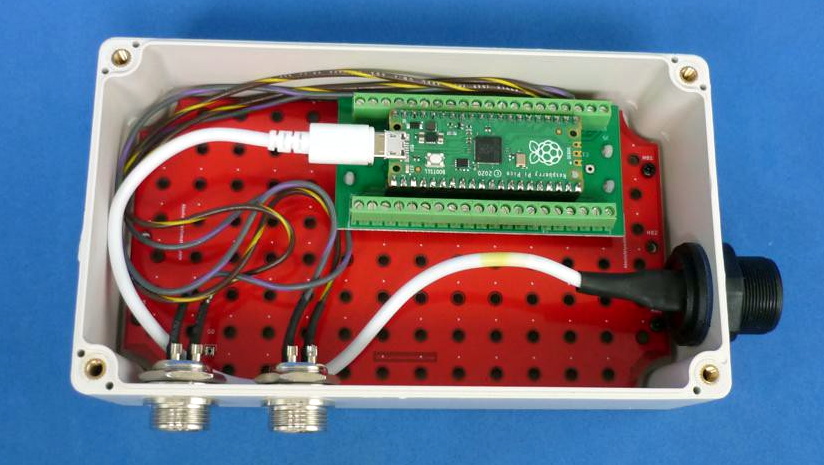
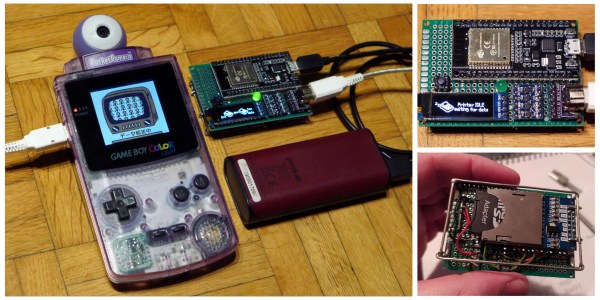
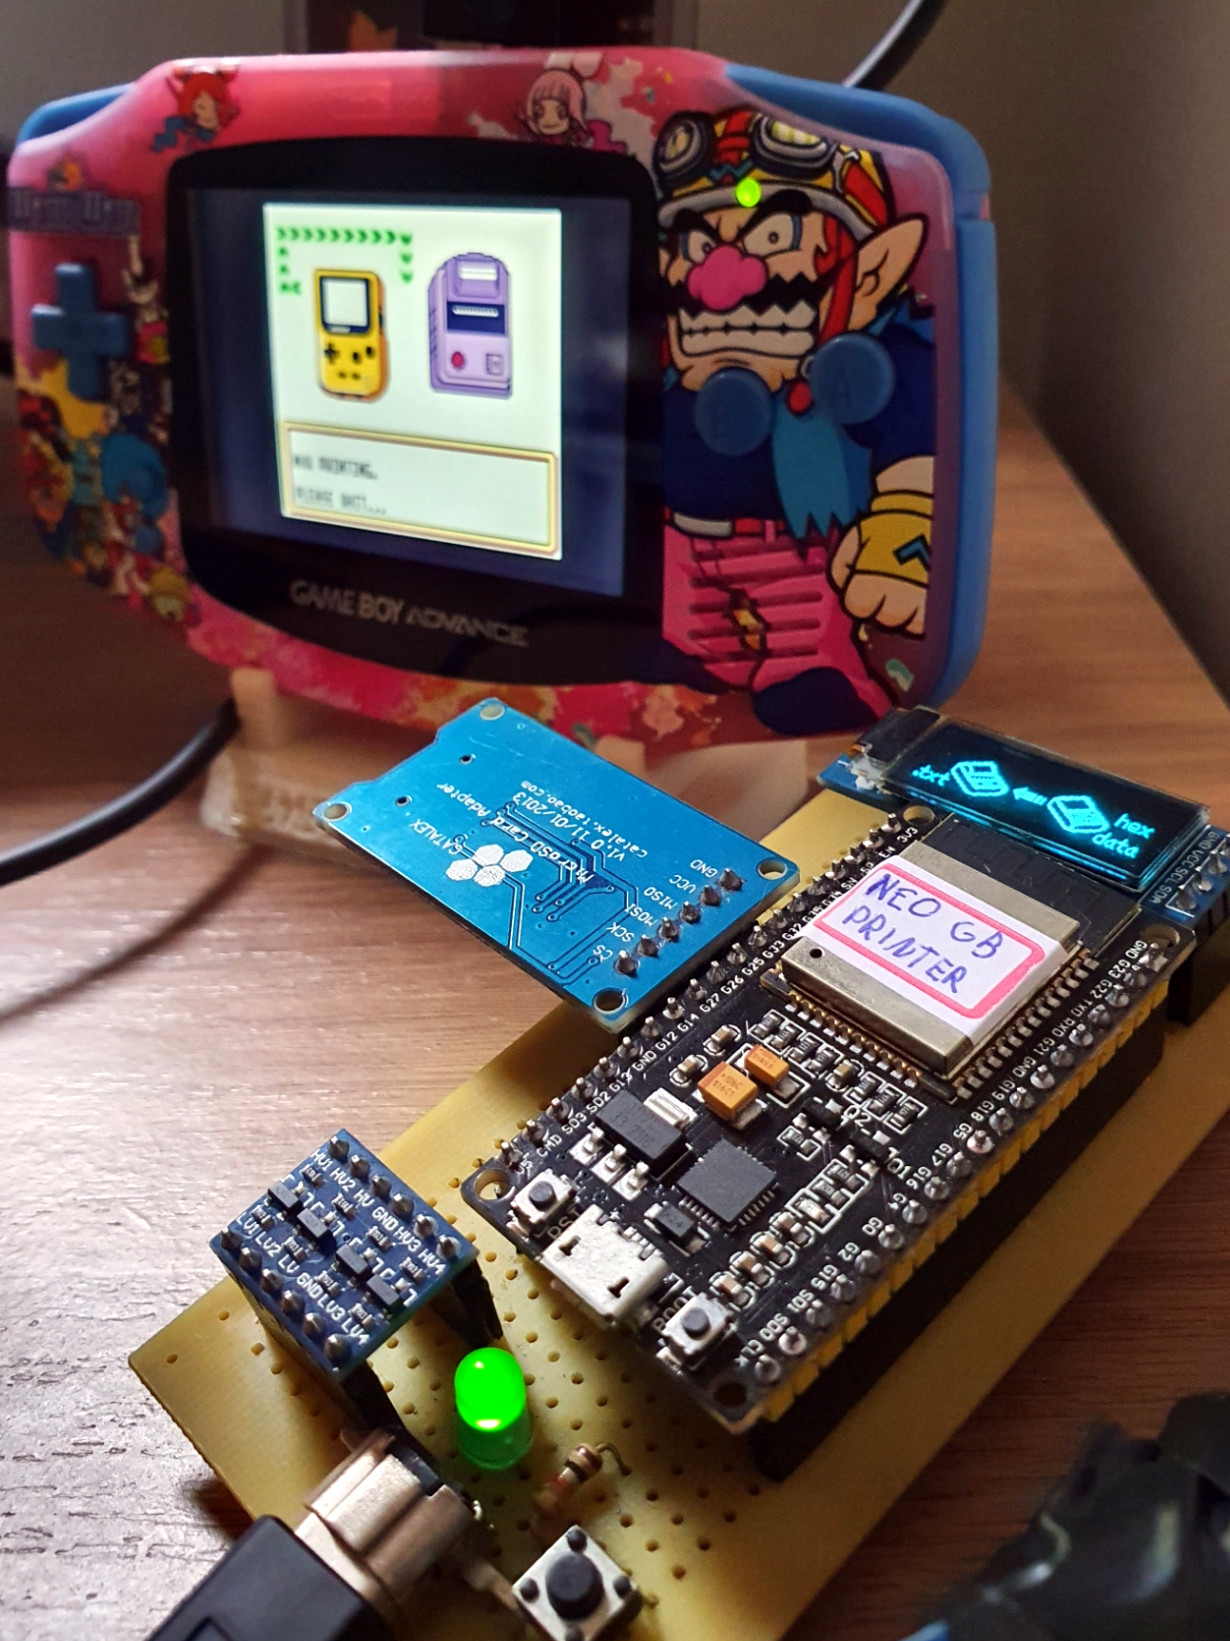
A collaborative effort between [Rafael Zenaro], [Raphaël BOICHOT], and [Brian Khuu], the project combines an ESP32 development board and some common components with their GPLv3 firmware to fully emulate the Game Boy Printer hardware. Once plugged into your Game Boy, any of the 110 titles that support Nintendo’s paper-pushing peripheral will recognize the NeoGB Printer as the real deal and happily send along the image.
 But rather than committing it to paper, the NeoGB Printer saves the image to an SD card. From there, you can put the card in your computer and do whatever you wish with the captured files. Incidentally, it turns out there’s already a commercial gadget on the market that does something very similar, but this DIY approach comes well under its $99 USD price tag. In fact, if you’ve got a Game Boy Link Cable you don’t mind cutting up, you’ve probably got everything you need to pull this off in the parts bin right now.
We particularly like how the team has went out of their way to support different hardware configurations for the NeoGB Printer. If you want to go all out and add status LEDs and an OLED display, go for it. But if you just plan on using the thing once to grab a copy of the Pokémon diploma you earned 20 years ago, then you can skip the bells and whistles.
If you’re only worried about getting your snaps out of the Game Boy Camera, we’ve covered projects that will extract them directly from the cartridge. But this approach certainly has its appeal, as works with a much wider variety of games. We’re glad this project exists, as it means a whole new generation can explore all the wacky ways developers came up with to utilize the Game Boy Printer back in the day.