William Gibson might have come up with the idea for the cyberdeck in 1984, but it’s only recently that technology like desktop 3D printing and powerful single board computers have enabled hackers and makers to assemble their own functional versions of these classic cyberpunk devices. Often the final product is little more than a cosplay prop, but when [Joe D] (better known on the tubes as [bootdsc]) started designing his VirtuScope, he wanted to create something that was actually practical enough to use. So far, it looks like he’s managed to pull it off.
Many of the cyberdeck builds we see are based around the carcass of a era-appropriate vintage computer, which looks great and really helps sell the whole retro-future vibe. Unfortunately, this can make the projects difficult and expensive to replicate. Plus there’s plenty of people who take offense to gutting a 30+ year old piece of hardware just so you can wear it around your neck at DEF CON.
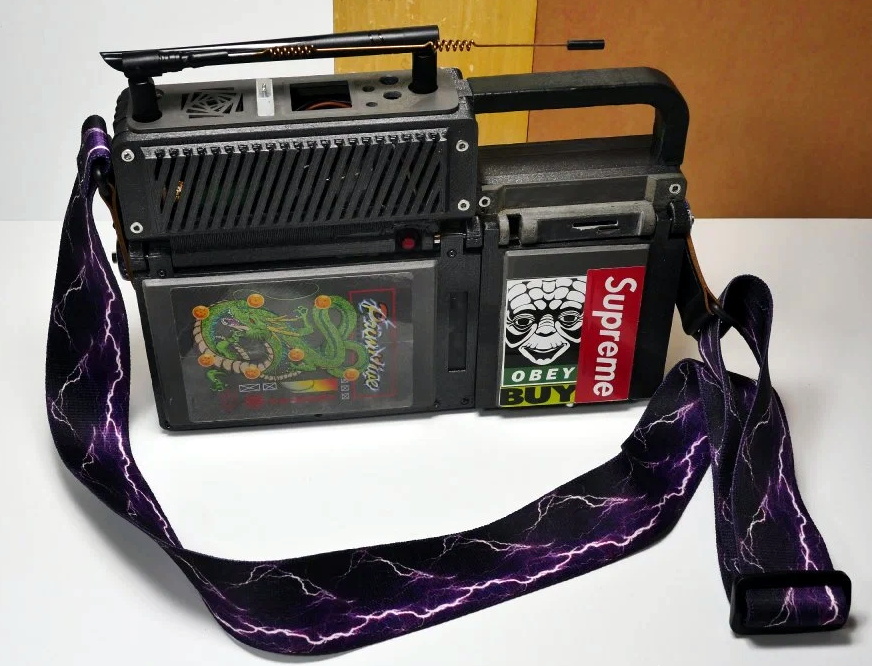 [bootdsc] deftly avoided this common pitfall by 3D printing the entire enclosure for the VirtuScope, and since he’s shared all of the STLs, he’s even made it so anyone can run off their own copy. The majority of the parts can be done on any FDM printer with a 20 x 20 x 10cm build area, though there are a few detail pieces that need the resolution of an SLA machine.
Under the hood the VirtuScope is using the Raspberry Pi 4, which [bootdsc] says is key to the build’s usability as the latest version of the diminutive Linux SBC finally has enough computational muscle to make it a viable for daily computing. Granted the seven inch LCD might be a tad small for marathon hacking sessions, but you could always plug in an external display when you don’t need to be mobile. For your wireless hacking needs, the VirtuScope features an internal NooElec SDR (with HF upconverter) and a AWUS036AC long-range WiFi adapter; though there’s plenty of room to outfit it with whatever kind of payload you’d find useful while on the go.
Documentation for this project is still in the early stages, but [bootdsc] has already provided more than enough to get you started. He tells us that there are at least two more posts coming that will not only flesh out how he built the VirtuScope, but explain why it’s now become his portable SDR rig of choice. We’re excited to see more details about this build, and hope somebody out there is willing to take on the challenge of building their own variant.
In the past we’ve seen partially 3D printed cyberdecks, and at least one that also went the fully-printed route, but none of them have been quite as accessible as the VirtuScope. By keeping the geometry of the printed parts simple and utilizing commonly available components, [bootdsc] may well have laid the groundwork for hackerdom’s first “mass produced” cyberdeck.
Continue reading “3D Printed VirtuScope Is A Raspberry Pi 4 Cyberdeck With A Purpose”