In Northern England, the hills used to be home to steam trains. The trains have long faded into history, but the sound of their whistle is making a brief return. Artist [Steve Messam] has created “Whistle” as part of The Great Exhibition of the North. [Steve] doesn’t cover the installation on his website yet, but there have been a few great articles about it in the local press.
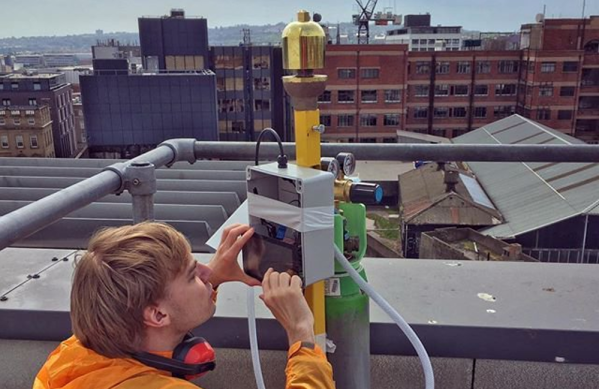
Whistle consists of 16 steam engine whistles around Newcastle. From June 22 to September 9, you can hear the whistles at 1pm. First one whistle sounds, then another, then another after that. In all, 16 whistles are included in the art installation, all controlled by Raspberry Pi computers. The Pi’s were programmed by Nebula Labs. Tech details are slim on this one, but we’re guessing each Pi has a Cellular radio built-in.
The whistles used in this installation aren’t old train whistles. They are brand new cast brass whistles based upon the original steam train sounders. The compressed air available today doesn’t sound exactly like steam though, so the brass whistles were modified to sound more authentic. [Steve’s] idea is to get the whistle as perfect as possible, which will trigger the memories of those who are old enough to have heard the originals.
Want to know more about steam engines? Check out this Retrotechtacular about repairing steam locomotives!