Blast From The Past With Space Station PROM Reader

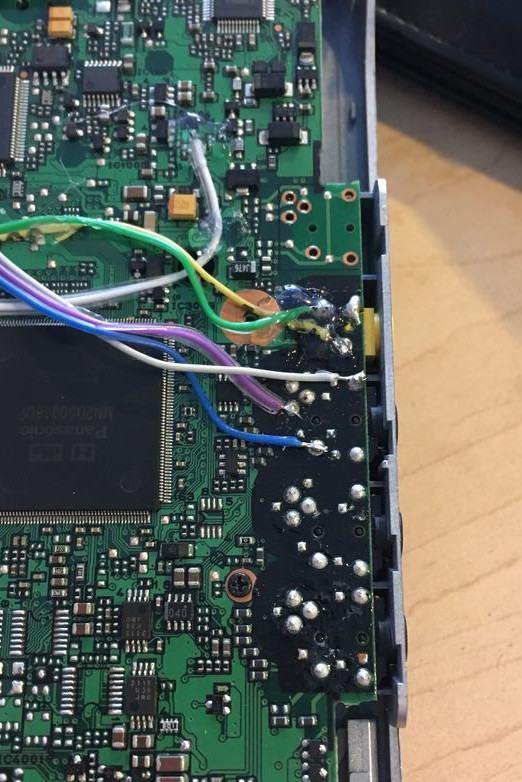
The Ursa Major Space Station SST282 is a dinosaur of a digital reverb.  Okay, so maybe 1978 isn’t ancient yet, but it is getting to the point where one has to worry about the possibility of component failure.  At least that’s what [Obsoletetechnology] thought when they created a backup of its memory contents.

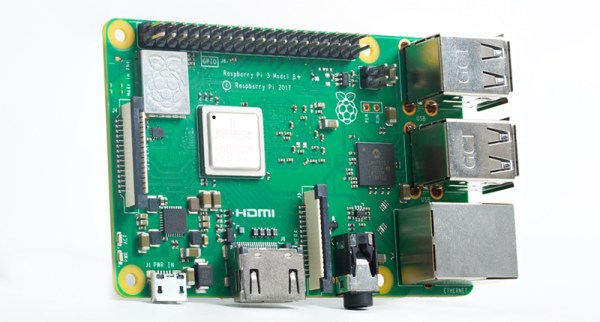
As can be seen from some of Hackaday’s previous articles, a part does not have to be an older one to fail.  However, there is no such thing as being too paranoid when it comes to older parts reaching their lifetime.  Especially when there is valuable memory involved.  Each bit of PROM memory is locked by a fuse on its location grid to store permanent data.  To be able to read this and collect the respective data, a Raspberry Pi 3 PROM reader was created.

The SST282 uses 3 TTL-level 74xx series Schottky PROM memories on board that hold RAM lookup tables.  In the case that these failed, all of the subsequent information would be lost since there are no surviving memory dumps online.  Fortunately we are interested only in gathering their contents, so the PROM reader schematic is fairly rudimentary.  The chip’s address and data buses connect to a Pi’s GPIO header, and the only other thing to note is a 74LS541 TTL level shifter that converts the Pi’s 3.3V output to the PROM’s 5V TTL level.

Continue reading “Blast From The Past With Space Station PROM Reader”

Evil Hotspot Costume Makes Valuable Connections

This year for Hallowe’en, [Scott] went out dressed as a Comcast xfinity hotspot. Funny, yes, but there’s a deeper meaning here. [Scott] really went as a walking PSA that illustrates the dangers of making assumptions about the relative safety of WiFi networks based solely on their broadcast names.

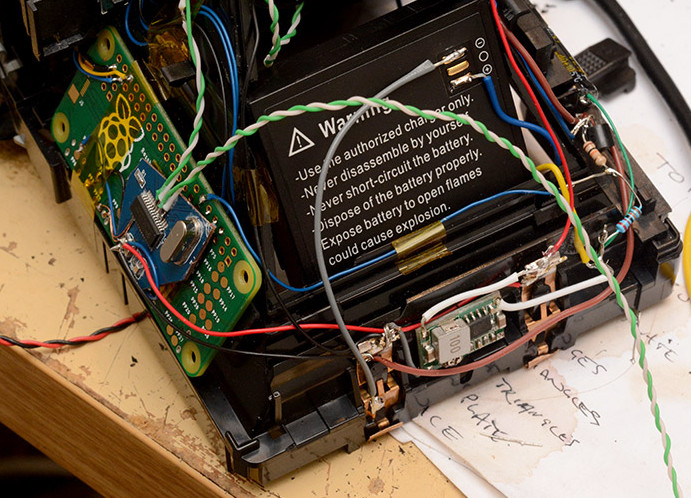
[Scott] could have gone chaotic evil with this setup, but he didn’t. No one could actually get on the Internet through him. Inside the “hotspot” are a Wi-Fi adapter and a Pi Zero running a captive portal. It broadcasts the default ‘XFINITY’ and ‘xfinitywifi’ SSIDs, plus a bunch of other common network names. Whenever anyone tries to connect, or worse, their phone automatically connects, they’ll hear a sad tuba cadence. This comes courtesy of a multi-sound effects box that’s controlled by the Pi through a relay board.

Meanwhile, the mark’s device is redirected to an internally-hosted “xfinity” login page. Anyone who actually goes on to enter their login credentials is treated to a classic horror film scream sample while the evil hotspot quietly stores their name and password and displays them on an e-ink display for all to see — a walking e-ink wall of sheep. Check out the demo after the break.

[Scott]’s evil hotspot is powered by a huge battery that can run it for 24 hours. Here’s a wind- and solar-powered WAP we covered several years ago.

Continue reading “Evil Hotspot Costume Makes Valuable Connections”

Twin Pis For Remote Computer Management

Sometimes you have a whole bunch of computers that you need to work with, and having a keyboard, monitor, and mouse for each one becomes too much to deal with. There are a multitude of solutions to this problem, but [Fmstrat] went the hacker route, and built their own.

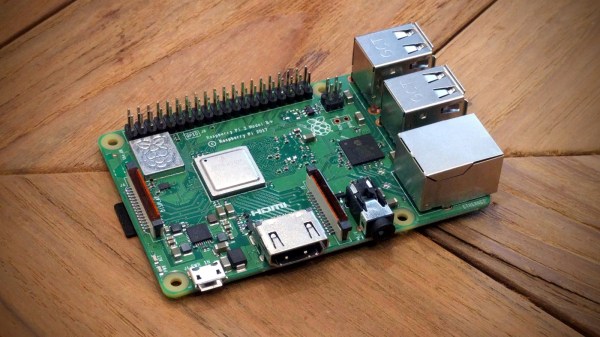
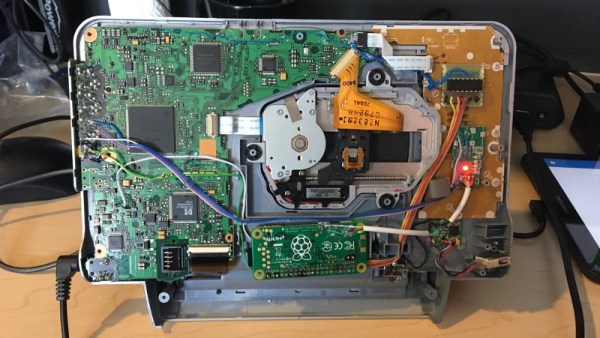
The build is a rather unique way of controlling PCs remotely, but it does the job. A Raspberry Pi 3 is pressed into service as the core of the operation. It’s accessible over IP for remote control. Video is captured from the controlled machines through the combination of an HDMI-to-S-Video adapter and an analog video capture card plugged into the Pi. Keystrokes are sent in a roundabout way, first sent to a Pi Zero over a USB-to-Serial adapter. From there, the Pi acts as an emulated mouse and keyboard to the PC under control.

One caveat of remotely controlling computers over a network is that if things go pearshaped, it can become necessary to power cycle the machine. [Fmstrat] deals with this by fitting a relay board to the Pi 3, which is connected to the reset buttons of the machines under control.

It may not be the quickest, easiest, or industry standard way of controlling remote computers, but it works. [Fmstrat] tells us this build was primarily designed to get around the fact that there aren’t any decent cheap IP-KVM systems, and consumer motherboards don’t support the IPMI standard that would otherwise be useful here.

We particularly like the hard-wired relays for rebooting a machine – great for when a network dropout is stopping Wake-on-LAN packets from achieving their goal. While the conversion of HDMI outputs into analog video for capture is unusual and somewhat costly on a per-machine basis, it’s functional and gives the system the ability to work with any machine capable of outputting a basic analog video signal. With the Pi Zero keyboard emulation and analog video capture, we could see this being used with everything from modern computers to vintage 80s hardware. If you’ve ever needed to control an Amiga 2000 remotely for whatever reason, this could be the way to do it.

We’ve seen plenty of other KVM builds over the years, too – like this low-cost HDMI switcher.

DIY Multi-Touch All The Surfaces

Ever wanted to build a touch table or other touch-input project, but got stuck figuring out the ‘touch’ part? [Jean Perardel] has your back with his multi-touch frame over on IO that makes any surface touch-reactive. In [Jean]’s case, that surface is ultimately a TV inside of a table.

Of course, it’s a bit of a misnomer to say the surface itself becomes touch-reactive. What’s really happening here is that [Jean] is using light triangulation to detect shadows and determine the coordinates of the shadow-casting object. Many barcode scanners and consumer-level document scanners use a contact image sensor (CIS) to detect objects in the path of IR LEDs. These are a low-power, lower-resolution alternative to the CCDs found in high-grade scanners.

As [Jean] explains in the video below, an object placed in the path of a single IR LED facing a sensor array of either type will block the light from reaching the sensors. Keep adding LEDs and their emission angles will begin to overlap, increasing the detection precision. [Jean] reverse engineered a couple of different types of scanners until he found a suitable one. He ended up with CIS that has 2700 light sensors lined up in the space of 20cm (7.87″).

[Jean] designed a 3D-printable frame to hold 96 IR LEDs in stacks of three. A Teensy turns on the LEDs, detects the touch event, calculates the position, and sends those coordinates to a Pi to be displayed on the screen. He eventually went wireless and then built a nice looking touch table to house a 32″ TV.

This is not the only way to build a multi-touch table, nor is it the simplest. Here’s one that uses finger presses to scatter light and an industrial strength projection-based table that was open-sourced a few years ago.

Continue reading “DIY Multi-Touch All The Surfaces”

What Is Entropy And How Do I Get More Of It?

Let’s start off with one of my favorite quotes from John von Neumann: “Any one who considers arithmetical methods of producing random digits is, of course, in a state of sin. For, as has been pointed out several times, there is no such thing as a random number — there are only methods to produce random numbers, and a strict arithmetic procedure of course is not such a method.”

What von Neumann is getting at is that the “pseudo” in pseudorandom number generator (PRNG) is really a synonym for “not at all”. Granted, if you come in the middle of a good PRNG sequence, guessing the next number is nearly impossible. But if you know, or can guess, the seed that started the PRNG off, you know all past and future values nearly instantly; it’s a purely deterministic mathematical function. This shouldn’t be taken as a rant against PRNGs, but merely as a reminder that when you use one, the un-guessability of the numbers that it spits out is only as un-guessable as the seed. And while “un-guessability” isn’t a well-defined mathematical concept, or even a real word, entropy is.

That’s why entropy matters to you. Almost anything that your computer wants to keep secret will require the generation of a secret random number at some point, and any series of “random” numbers that a computer generates will have only as much entropy, and thus un-guessability, as the seed used. So how does a computer, a deterministic machine, harvest entropy for that seed in the first place? And how can you make sure you’ve got enough? And did you know that your Raspberry Pi can be turned into a heavy-duty source of entropy? Read on!

Continue reading “What Is Entropy And How Do I Get More Of It?”

Pi Handheld With A Mindblowing Enclosure

The Raspberry Pi is possibly the world’s most popular emulation platform these days. While it was never intended to serve this purpose, the fact remains that a small, compact computer with flexible I/O is ideally suited to it. We’ve featured a multitude of builds over the years using a Pi in a mobile form factor to take games on the go. [Michael]’s build, however, offers a lot more than a few Nintendo ROMs and some buttons from eBay. It’s a tour de force in enclosure design.

The build starts with the electronics. In 2017 it’s no longer necessary to cobble together five different accessory boards to handle the controls, battery charging, and display. Boards like Kite’s Super All In One exist, handling everything necessary for a handheld game console. With this as a starting point, he then set out to recreate Nintendo’s classic Game Boy, with a few tweaks to form and function.

It’s a textbook example of smart planning, design, and execution. We are taken through the process of creating the initial CAD drawings, then combining 3D printed parts with wood and carbon fibre for a look that is more akin to a high-end piece of hi-fi gear than anything related to gaming. The attention to detail is superb and the write-up makes it look easy, while [Michael] shares tips on how to safely cut carbon fibre to make your own buttons.

The final results are stunning, and it’s a great example of why a fine piece of wood is always a classy way to go for an enclosure. For another great example, try this walnut keyboard, or check out the roots of the Raspberry Pi Game Boy movement.

Why Only Use One Controller When You Can Use ALL Of Them?

After booting up his RetroPie system, [jfrmilner] had the distinct feeling that something was off. Realizing that the modern Xbox 360 controller didn’t fit right when reliving the games of his youth, he rounded up all his old controllers to make sure he always had the right gamepad for the game.

Wanting to keep the controllers unmodified — so they could still be used on the original systems — he had to do a bit of reverse-engineering and source some controller sockets before building his controller hub. Using shift-in registers, shift-out registers, and some multiplexers, he designed a large circuit selector — which acts as a shield for an Arduino Micro — so all the controllers remain connected. A potentiometer allows him to select the desired controller and a few arcade buttons which access RetroPie shortcuts really round out the hub. Check out the demo after the break!

Continue reading “Why Only Use One Controller When You Can Use ALL Of Them?”