Despite what you may have read in the comments, we here at Hackaday are not unaware that there’s something of a “Pi Fatigue” brewing. Similar to how “Arduino” was once a dirty word around these parts, projects that are built around the world’s most popular Linux SBC are occasionally getting dismissed as lazy. Hacker crams Raspberry Pi into an old electronic device, applies hot glue liberally, posts a gallery on Imgur, and boom! Lather, rinse, repeat.
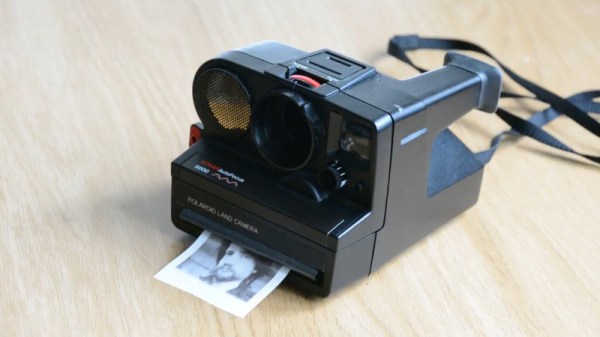
 We only mention this because the following project, despite featuring the Raspberry Pi Zero grafted into a vintage Polaroid camera, is anything but lazy. In the impeccably detailed and photographed write-up, [mitxela] explains how the Pi Zero and a thermal camera recreated the classic Polaroid experience of going from shutter button to physical picture in seconds. The workmanship and attention to detail on this build is simply phenomenal, and should quell any doubts our Dear Readers may have about Raspberry Pi projects. For now, anyway.
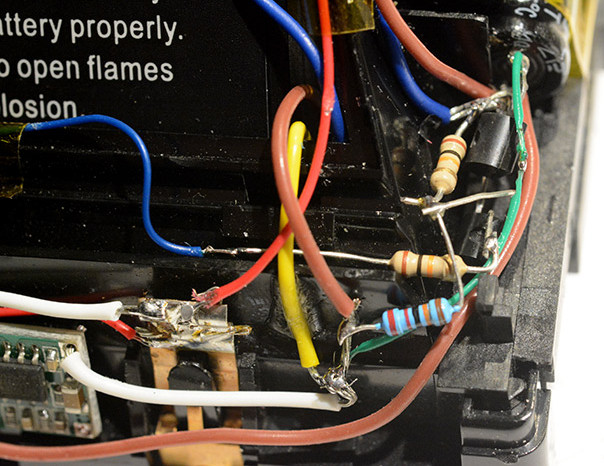
The video after the break will show you the modded camera in operation and goes over a few highlights of the build, but for this one you really should take the time to read the entire process start to finish. [mitxela] starts off by disassembling the Polaroid camera, complete with plenty of fantastic pictures that show how this legendary piece of consumer electronics was put together. If you’ve never seen the inside of one of these cameras, you might be surprised to see what kind of interesting hardware is lurking underneath that rather unassuming exterior. From the screw-less construction to the circuits with paper substrate, a lot of fascinating engineering went into getting this camera to a mass-market price. Frankly, the teardown alone is worth checking out.
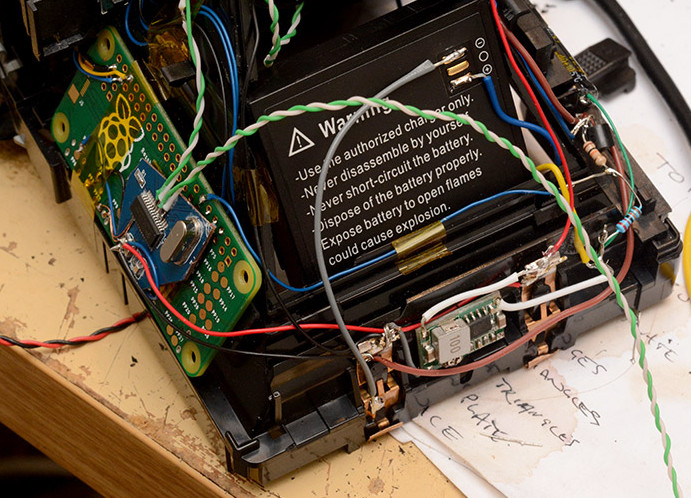
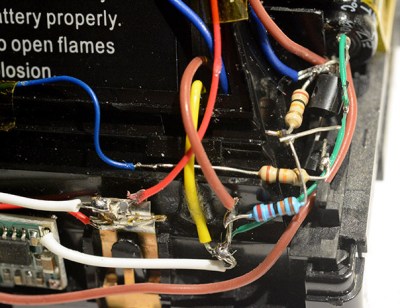 But once the camera has been stripped down to the bare frame, the real fun begins. At the conceptual level, [mitxela] replaces the camera optics with a cheap webcam, the “brains” with a Raspberry Pi Zero, and the film mechanism with the type of thermal printer used for receipts. But how he got it all connected is why this project is so impressive. Nearly every decision made during the design and construction of this camera was for the purposes of reducing boot-time. Nobody wants a camera that takes 30, 15, or even 10 seconds to boot. It has to be available as soon as you need it.
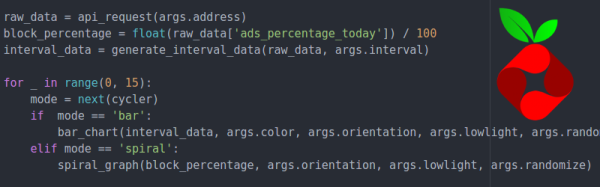
Getting this Linux-powered camera boot up in as little as 2 seconds took a lot of clever software hacks that you’ll absolutely want to check out if you’ve ever considered building an embedded Linux device. You can’t just throw a stock Raspbian image on an SD card and hope for the best. [mitxela] used buildroot to craft a custom Linux image containing only what was needed for the camera to operate, plus a bunch of esoteric tweaks that the Junior Penguin Wrangler would likely never consider. Like shaving a full second off of the boot time by disabling dumping kernel messages to the serial port during startup.
[mitxela] brought his camera to show off at the recent Hackaday London meetup, but it was far from the first time we’ve come across his handiwork. From his servo-powered music box earlier this year to his penchant for tiny MIDI devices, he’s consistently impressed our cold robot hearts.
Continue reading “Polaroid Gets Thermal Printer And Raspberry Pi” →