With modern voice assistants we can tell a computer to play our favorite music, check the weather, or turn on a light. Like many of us, [nerdaxic] gave in to the convenience and perceived simplicity of various home automation products made by Google and Amazon. Also like many of us, he found it a bit difficult to accept the privacy implications that surround such cloud connected devices. But after selling his Home and Echo, [nerdaxic] missed the ability to control his smart home by voice command. Instead of giving in and buying back into the closed ecosystems he’d left behind, [nerdaxic] decided to open his home to a murderous, passive aggressive, sarcastic, slightly insane AI: GLaDOS, which you can see in action after the break.
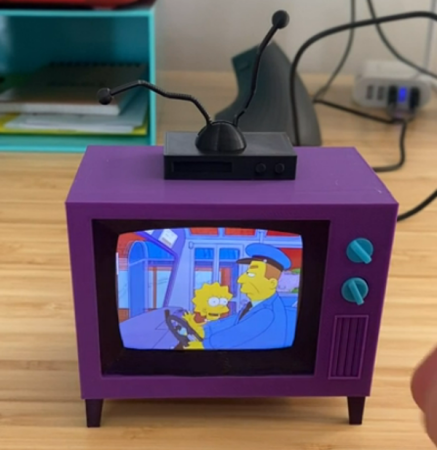
Using open source designs from fellow YouTube creator [Mr. Volt], [nerdaxic] 3d printed as much of the GLaDOS animatronic model as he was able to, and implemented much of the same hardware to make it work. [nerdaxic] put more Open Source Software to use and has created a functional but somewhat limited home AI that can manage his home automation, give the weather, and tell jokes among other things. GLaDOS doesn’t fail to deliver some great one liners inspired by the original Portal games while heeding [nerdaxic]’s commands, either.
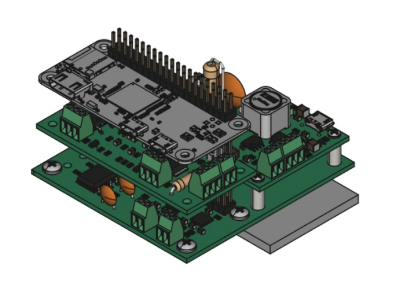
A ReSpeaker from Seeed Studio cleans up the audio sent to a Raspberry Pi 4, and allows for future expansion that will allow GLaDOS to look in the direction of the person speaking to it. With its IR capable camera, another enhancement will allow GlaDOS to stare at people as they walk around. That’s not creepy at all, right? [nerdaxic] also plans to bring speech-to-text processing in-house instead of the Google Cloud Speech-To-Text API used in its current iteration, and he’s made everything available on GitHub so that you too can have a villainous AI hanging on your every word.
Of course if having GLaDOS looming isn’t enough, you could always build a functional life size Portal turret or listen to the radio on your very own Portal Radio.
Continue reading “GLaDOS Voice Assistant Passive-Aggressively Automates Home”