While you might not know it from their market share, Intel makes some fine GPUs. Putting one in a PC with an AMD processor already feels a bit naughty, but AMD’s x86 processors still ultimately trace their lineage all the way back to Intel’s original 4004. Putting that same Intel GPU into a system with an ARM processor, like a Raspberry Pi, or even better, a RISC V SBC? Why, that seems downright deviant, and absolutely hack-y. [Jeff Geerling] shares our love of the bizarre, and has been working tirelessly to get a solid how-to guide written so we can all flout the laws of god and man together.
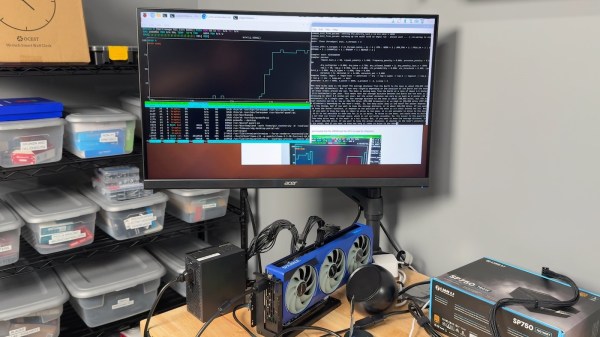
According to [Jeff], all of Intel’s GPUs should work, though not yet flawlessly. In terms of 3D acceleration, OpenGL works well, but Vulkan renders are going to get texture artifacts if they get textures at all. The desktop has artifacts, and so do images; see for yourself in the video embedded below. Large language models are restricted to the not-so-large, due to memory addressing issues. ARM and RISC V both handle memory somewhat differently than x86 systems, and apparently the difference matters. Continue reading “Intel GPUs On Raspberry Pi Is So Wrong It Feels Right”