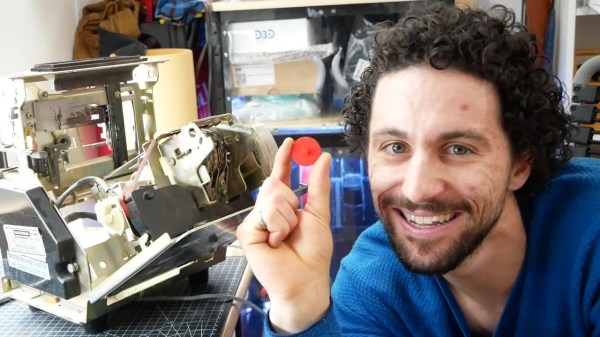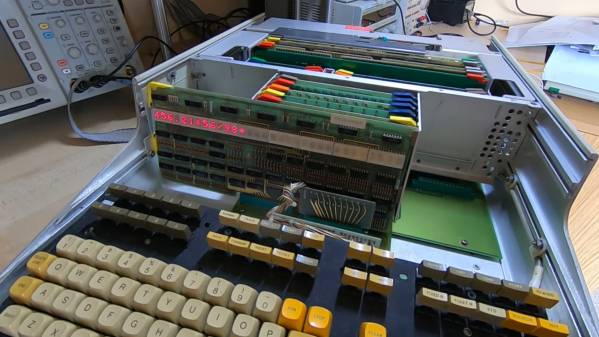
Some Samsung TVs come with a system called One Connect, where all external cabling is connected to a separate box so that only one small signal cable goes to the TV. In some versions, the cable linking the TV with its Connect Box is a pure fiber optic cable that’s nearly transparent and therefore easy to hide.
Thin fiber optic cables are fragile however; when [Elecami Wolf] got one of these TVs for a very low price it turned out that this was because its One Connect cable had snapped. Replacement cables are quite expensive, so [Elecami Wolf] went on to investigate the inner workings of the fiber optic cable and figured out how to repair a broken one.
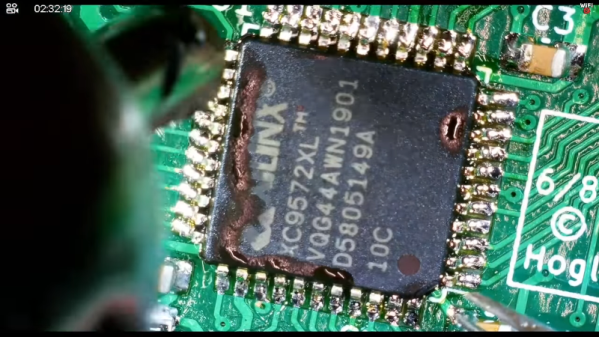
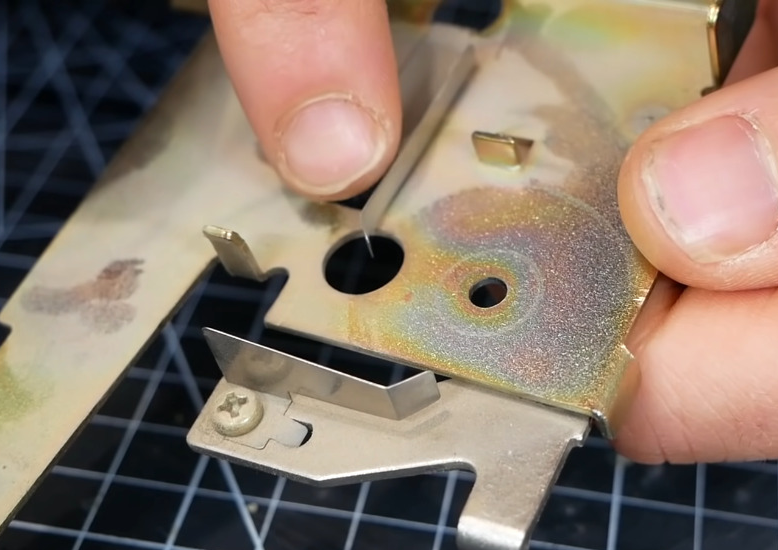
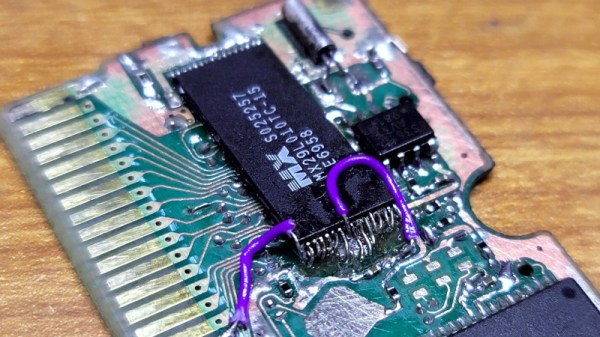
The cable consists of four pairs of plastic-coated glass fibers, which are attached to receivers and transmitters inside the thick connectors on either end. Repairing the cable required two things: figuring out which fibers should connect to each other, and a reliable way of connecting them together.
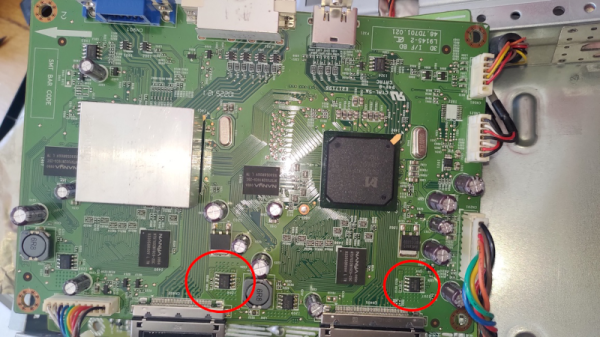
The first was difficult enough: a simple 1:1 connection didn’t work, so it took a bit of work to figure out the correct connection setup. One clever trick was pointing a camera at a working cable and comparing the flashing lights at each end; this helped to identify the right order for two of the four pairs. For the other two, a combination of reverse-engineering the electronic circuits and some systematic trial-and-error yielded a complete wiring diagram.
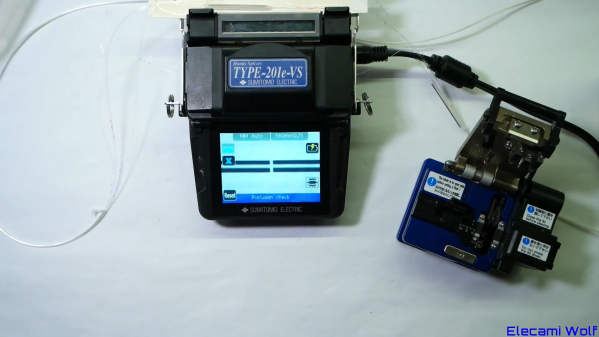
For the second part, [Elecami Wolf] called on a fiber optic expert who lent him a fusion splicer. This is a rather neat piece of equipment that semi-automatically brings two pieces of fiber together and welds them with an electric arc. Once this was complete, it was a matter of covering the splices to protect them from sharp bends, and the fancy TV was working again.
Although not everyone will have access to a multi-mode fusion splicer machine, [Elecami Wolf]’s videos provide fascinating insights into the workings of modern fiber-optic based consumer electronics. This might be the first fiber-optic splicing attempt we’ve seen; but if you’re trying to hook up an optical fiber to your circuit, this ball lens setup is a neat trick.
Continue reading “Using A Fusion Splicer To Repair A Samsung TV’s Cable”