Web Server Like It’s 1998 With This Restored Internet Appliance

Hackaday readers fit into two broad categories: those who experienced the wild and woolly early days of the Internet, and those who are jealous that they missed it. And it’s safe to say that both groups will get something out of this aggressively Web 1.0 retro experience, courtesy of a server that was actually part of it.

This comes to us via The Serial Port, a virtual museum dedicated to 90s technology, where curators [Mark] and [Ben] managed to find a pair of Cobalt RaQ 3 servers from the late 1990s. The RaQ was the first true “Internet appliance,” designed to be as simple as possible to set up and operate. If you wanted to get your small business online, machines like these were just the ticket. They were designed to be as plug-and-play as possible, and they did a pretty good job of it, at least for the time.

The machines that showed up were quite the worse for the wear, which is understandable given the decades since they were last relevant, but that just makes it all the more fun to get them going again. One didn’t even come close to booting, but the other showed more promise.

The video below is the first of a three-part series, and has a nice introduction to the RaQ and its important place in the early Internet, as well as a peek inside the two machines. That revealed some leaky caps that needed replacement in Part 2; after that minor surgery and a little persuasion, the 300-MHz screamer was ready for a test run. It worked, and The Serial Port put it right to work in Part 3 hosting a gloriously retro home page. Hit the link at the top of the article and enjoy the 90s all over again — the visitor counter, the mixed fonts, the “Under Construction” animated GIF, and the reminder to bookmark this page in your browser, which was probably Netscape Navigator. We love the guestbook, too. But — no marquee?

Nice job, [Mark] and [Ben], and kudos for keeping this little slice of computing history alive.

Continue reading “Web Server Like It’s 1998 With This Restored Internet Appliance”

String Operations The Hard(ware) Way

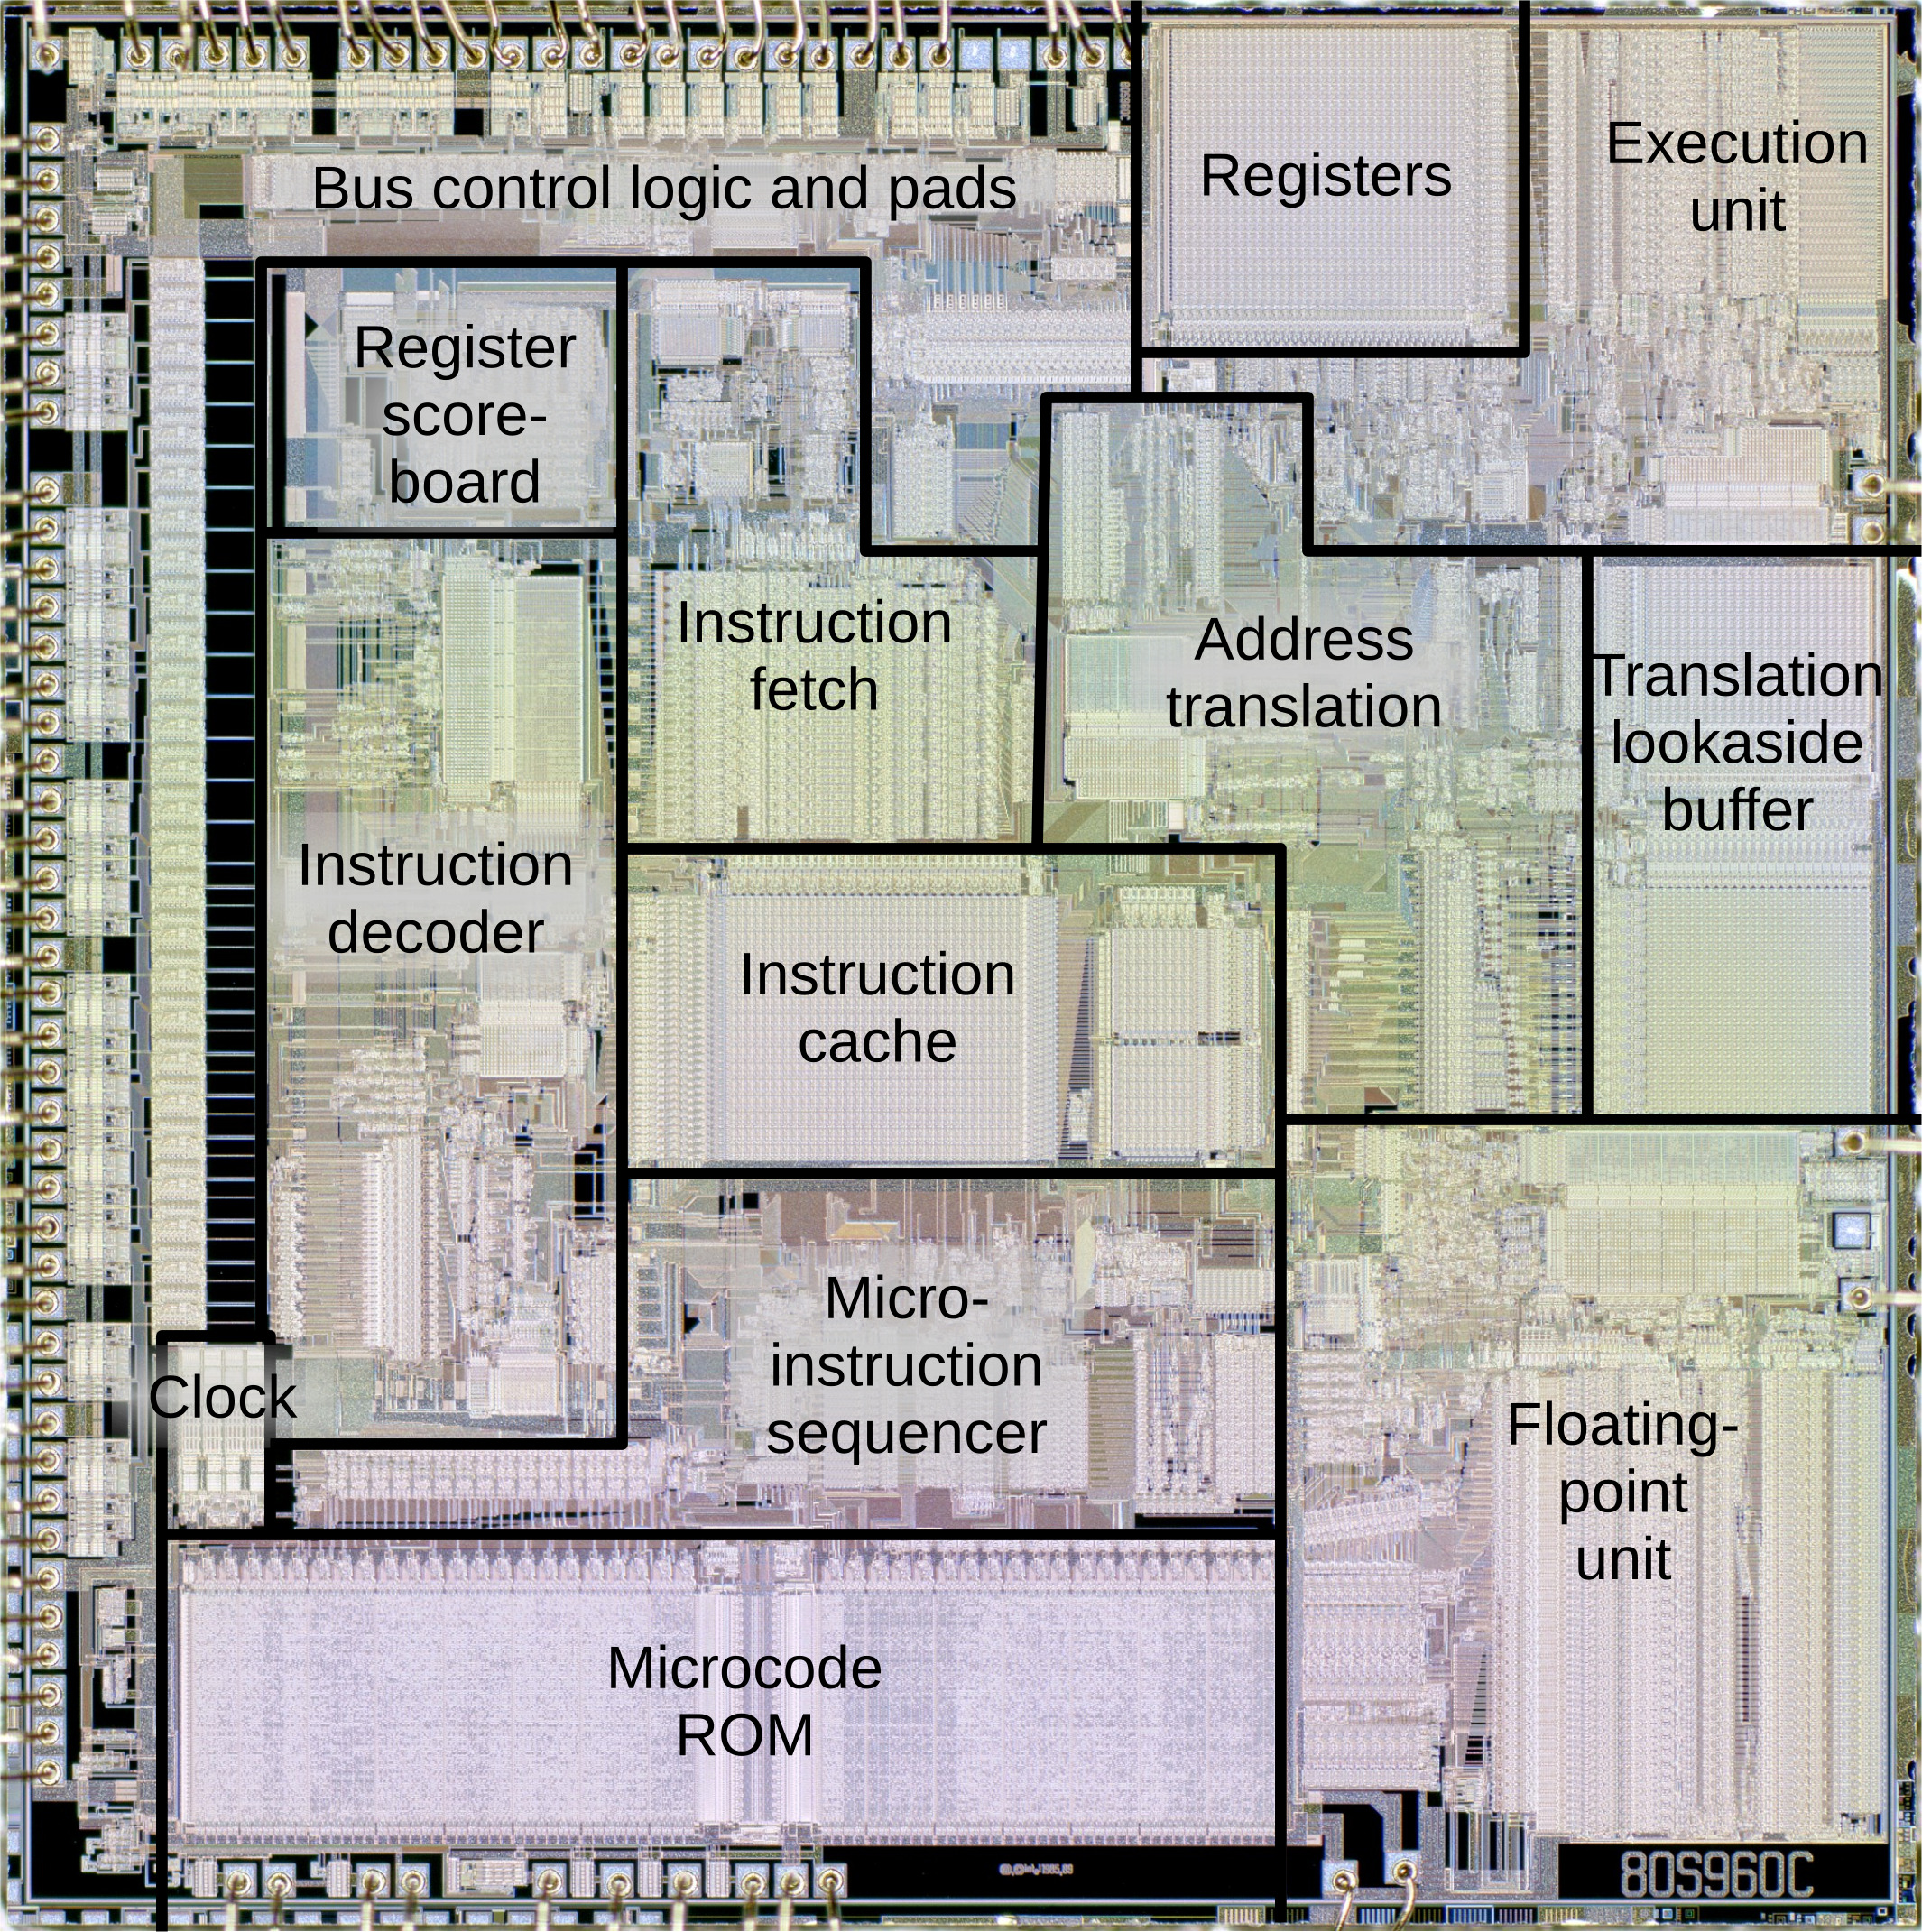
One of the interesting features of the 8086 back in 1978 was the provision for “string” instructions. These took the form of prefixes that would repeat the next instruction a certain number of times. The next instruction was meant to be one of a few string instructions that operated on memory regions and updated pointers to the memory region with each repeated operation. [Ken Shirriff] examines the 8086 die up close and personal to explain how the 8086 microcode pulled this off and it is a great read, as usual.

In general, the string instructions wanted memory pointers in the SI and DI registers and a count in CX. The flags also have a direction bit that determines if the SI and DI registers will increase or decrease on each execution. The repeat prefix could also have conditions on it. In other words, a REP prefix will execute the following string instruction until CX is zero. The REPZ and REPNZ prefixes would do the same but also stop early if the zero flag was set (REPZ) or not set (REPNZ) after each operation. The instructions can work on 8-bit data or 16-bit data and oddly, as [Ken] points out — the microcode is the same either way.

[Ken] does a great job of explaining it all, so we won’t try to repeat it here. But it is more complicated than you’d initially expect. Partially this is because the instruction can be interrupted after any operation. Also, changing the SI and DI registers not only have to account for increment or decrement, but also needs to understand the byte or word size in play. Worse still, an unaligned word had to be broken up into two different accesses. A lot of logic to put in a relatively small amount of silicon.

Even if you never design a microcoded CPU, the discussion is fascinating, and the microphotography is fun to look at, too. We always enjoy [Ken’s] posts on little CPUs and big computers.

Even Amstrad Spectrums Need Their Bugs Fixing

The history of the Sinclair ZX Spectrum is one that mirrors the fortunes of the British home computer industry, one of an early 8-bit boom followed by a sharp decline as manufacturers failed to capitalise on the next generation of 16-bit machines. The grey ZX Spectrum on [Keri Szafir]’s bench is one that encapsulates that decline perfectly, being one of the first models produced under the ownership of Amstrad after Sir Clive’s company foundered. Amstrad made many improvements to the Spectrum, but as she demonstrates, there are still some fixes needed.

The machine came her way because of a hum from the tape deck circuitry. The read amplifier was picking up electrical noise, and she fixed it without mods to the circuit but with the simple expedient of powering the analogue circuit from the tape motor switch so it only works when needed.

Beyond that, this machine demonstrates another ’80s innovation, the SCART/Peritel AV connector. These first appeared on early-80s French TV sets, but by the later half of the decade had made it to the UK where Amstrad included support for an adapter cable from the DIN socket on the back of their Spectrum.  Even then they didn’t get it quite right, and she modifies some links on the board to better support it.

Sinclair were famous for on-board bodges, and even in new ownership continued. There’s a reversed transistor and at least one bodged-on component, but of course, it wouldn’t be a Spectrum without bugs, would it!

Continue reading “Even Amstrad Spectrums Need Their Bugs Fixing”

One of the PCB projects involved being held in the author's hands - a large-ish green board, with two Pi Picos visible on it

RP2040 And 5V Logic – Best Friends? This FX9000P Confirms!

Over the years, we’ve seen some modern microcontrollers turn out to be 5V-tolerant – now, RP2040 joins the crowd. Half a year ago, when we covered an ISA card based on a Pi Pico, [Eben Upton] left a comment saying that RP2040 is, technically, 5V tolerant for GPIO input purposes. The datasheets don’t state this because the reality of 5V tolerance isn’t the same as for natively 5V-tolerant chips – for instance, it doesn’t extend all the way to 5.5V for it to be ‘legally’ 5V-tolerant, as in, what 5V tolerance typically means when mentioned in a datasheet.

Having read that comment, [Andrew Menadue] has set out to test-drive the RP2040 GPIO capabilities, in a perfectly suited real-world scenario. He’s working with retro tech like Z80-era computers, using RP2040 boards for substituting entire RAM and ROM chips that have died in his FX9000P. Not only do the RP2040-driven replacements work wonders, using RP2040 boards also turns out to be way cheaper than sourcing replacements for chips long out of production!

Previously, [Andrew] used level shifter chips for interfacing the RP2040 with 5V systems, but he’s rebuilt a few designs of his without level shifters for the sake of this experiment. Now, he reports that, so far, those boards have been running long-term without problems. Together with [Eben]’s comment, this instills confidence in us when it comes to our RP2040 forays and 5V inputs.

There are a number of important caveats to this, that you should read up on. Some major points – certain GPIOs (like ADC ones) can’t take it, the GPIOs aren’t 5V-tolerant when set to output, and you shouldn’t feed the GPIOs 5V when the RP2040’s VDDIO is not powered up. [Andrew] points out one such case himself – one board of his has shed all level shifters except for the 8-bit address bus, which is driven by either the CPU or the RP2040 at different times, and that would result in 5V on an output-set GPIO when contention happens. All in all, if you’re working with 5V logic and your application is more hacking than business-critical stuff, you can shed the level shifters, too.

Continue reading “RP2040 And 5V Logic – Best Friends? This FX9000P Confirms!”

Upgrade Your Voodoo With More Memory

In 1996, the 3Dfx VooDoo VGA chipset changed computer graphics forever. Because of the high cost of memory, most of the boards had only 4 MB of memory — which seemed a lot back then. However, the chipset could actually handle up to 8 MB. [Bits and Bolts] couldn’t stand that his board only had 4 MB, so he did what any good hacker would do: he figured out how to add the missing memory!

The mod has been done before using the “piggyback” technique, where you solder the new RAM chips on the old chips and bend out a few pins out to directly wire them to chip selects elsewhere on the board. [Bits and Bolts] didn’t want to try that, so instead, he developed a PCB that slips over the chip using a socket.

Continue reading “Upgrade Your Voodoo With More Memory”

An expansion board with two 8-bit ISA slots plugged into a Sharp laptop

New Expansion Module Brings Standard Slots To Ancient Laptop

Upgrading and repairing vintage laptops is often a challenge — even if their basic hardware is compatible with ordinary PCs, they often use nonstandard components and connectors due to space constraints. The Sharp PC-4600 series from the late 1980s is a case in point: although it comes with standard serial and parallel ports, the only other external interface is a mysterious connector labelled EXPBUS on the back of the case. [Steven George] has been diving into the details of this port and managed to design a module to turn it into a pair of standard ISA ports.

Apparently, no peripherals were ever released for the EXPBUS port, so reverse-engineering an existing module was out of the question. [Steven] did stumble upon a service manual for the PC-4600 however, and as it turned out, the connector carried all the signals present in an 8-bit ISA bus. Turning it into something useful was simply a matter of designing an adapter board with the EXPBUS connector on one side and regular ISA slots on the other.

An expansion board plugged into a laptop, carrying two ISA cardsThe board also has an external power connector, to avoid overloading the laptop’s internal power supply, as well as a couple of buffer capacitors to smooth out the power rails. [Steven] tested the expansion board with a network adapter and a sound card, and it appears to be functioning well. It should be noted that only the +5 V power rail is available by default, so if any cards need +12 V or any negative rail, those should be provided externally.

Gerber files for this project are available on [Steven]’s website, so if you’ve got one of these machines lying around, now might be the time to upgrade it. This isn’t the first expansion for the PC-4600 series that [Steven] developed, either: he also designed an external floppy drive adapter that should ease data transfer with other PCs.

It’s great to see how the hacker community keeps classic portables like this one alive: one day it might also need a broken screen replaced or a dodgy power supply repaired.

CP/M 6502-Style

There are projects you create to share with the world, but there are also those you do just because you want something for yourself. Lucky for us, [Dietrich-L]’s 30-year-long project to create CPM-65, a CP/M-like OS for the 6502, has become both.

[Dietrich-L] does admit that the documentation is “sparse” and “for my personal needs.” Still, the OS has most of what you’d expect and runs well on the target system, a heavily-modified Elektor Junior with 57 kB of RAM. The disk structure is compatible with CP/M, although the Transient Program Area (TPA) apparently starts at $200, which is a bit different from a typical CP/M. Apparently, the system uses some low memory which necessitated the relocation. Just in case you were hoping, CPM-65 doesn’t emulate an 8080 system, so you can’t run normal CP/M programs. You just get a similar operating environment and tools.

The 31 commands listed include an assembler, BASIC, Forth, an editor, and some disk tools, along with a debugger. Xmodem is available, too. Everything is written in assembly for the CPM-65 assembler, so bootstrapping could be an issue if you need to make any changes.

Speaking of changes, there is some documentation in the docs sub-directory, including the layout of [Dietrich-L]’s system, which would be handy if you were trying to run this on your own hardware. You’ll also find basic commands for the editor, details of the assembler, and some other documents.

[Dietrich-L] notes that he was unaware when he started the project that there were other similar projects. DOS/65 (which has a port for the Commodore 64), OUP/M (which hasn’t been updated since 1983), and CPM65 (apparently no relation, but very impressive), which appeared in 2022.

If you need a 6502 computer, grab a breadboard, although adding the disk drive is an exercise left to the reader. Or, grab an FPGA but expect more work.

Thanks [Stephen Walters] for the tip!