Following on the heels of a fortunately not real DDoS botnet composed of electric toothbrushes, [Aaron Christophel] got his hands on a sort-of-electric toothbrush which could totally be exploited for this purpose.
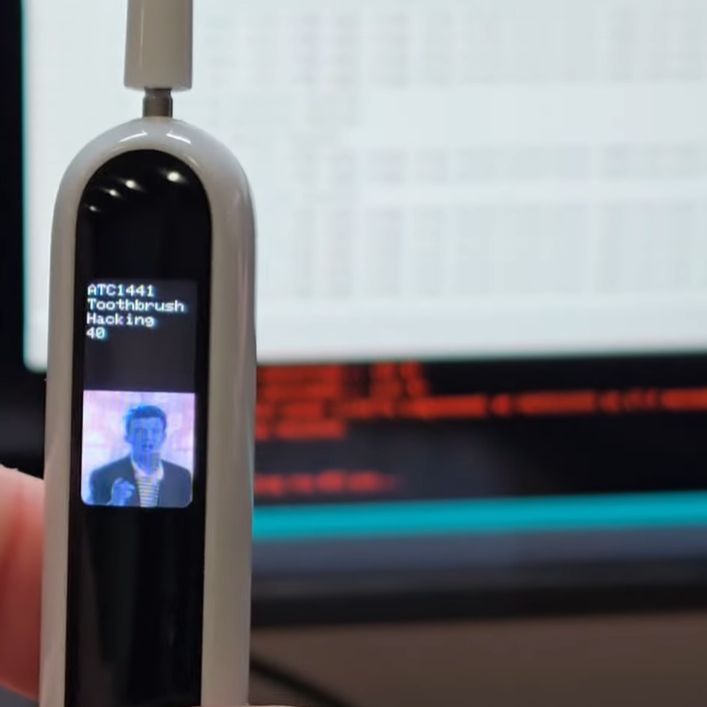
The Evowera Planck Mini which he got is the smaller, children-oriented version of the Planck O1 (a more regular electric toothbrush). Both have a 0.96″ color LC display, but the O1 only has Bluetooth and requires a smartphone app. Meanwhile the Mini uses a pressure sensor for the brush along with motion sensors to keep track of the child’s teeth brushing efforts and to provide incentives.
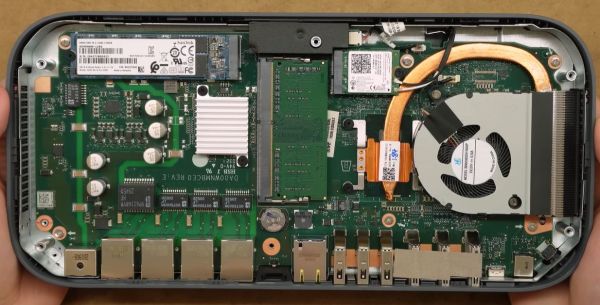
The WiFi feature of the Mini appears to be for both firmware updates as well as to allow parents to monitor the brushing reports of their offspring in the associated smartphone app. With this feature provided by the ESP32-C3 SoC inside the device, the question was how secure it is.
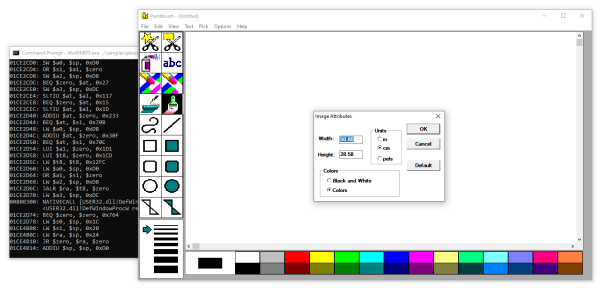
As it turns out not very secure, with [Aaron] covering the exploit in a Twitter thread. As exploits go, it’s pretty straightforward: the toothbrush tries to connect to a default WiFi network (SSID evowera, pass 12345678), tries to acquire new firmware, and flashes this when found without any fuss. [Aaron] made sure to figure out the pin-out on the PCB inside the device as well, opening up new avenues for future hacking.
We’re great fans of [Aaron] and his efforts to breathe new life into gadgets through firmware hacking. His replacement firmware for the Xiaomi LYWSD03MMC Bluetooth thermometer is one of the best we’ve seen.
Continue reading “Hacking An Actual WiFi Toothbrush With An ESP32-C3”