It sometimes seems like there are two kinds of cheap hardware devices: those dependent on proprietary software that is no longer available and those that are equally dependent but haven’t been abandoned just quite yet. But rest assured, abandonment is always on the table, and until then, you get to deal with poorly written apps that often suffer from a crippling lack of essential functionality.
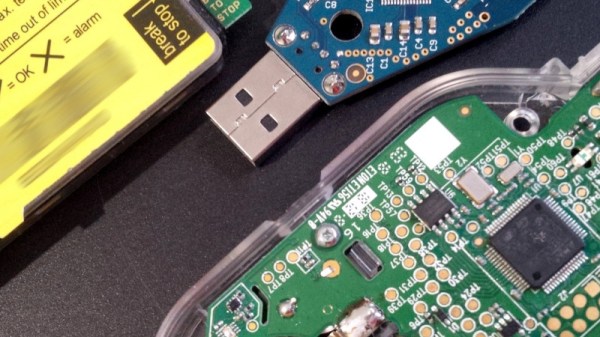
Such was the case for the wireless game camera that [Chris Jones] scored on the cheap, but rather than suffering with the original software, he decided to reverse engineer the camera and turn it into something more useful. The eBay description was promising — Bluetooth LE! WiFi! — but the reality proved less so. To save the batteries, WiFi is off by default and can only be turned on by connecting to the camera via BLE using a janky and crash-prone Android app.
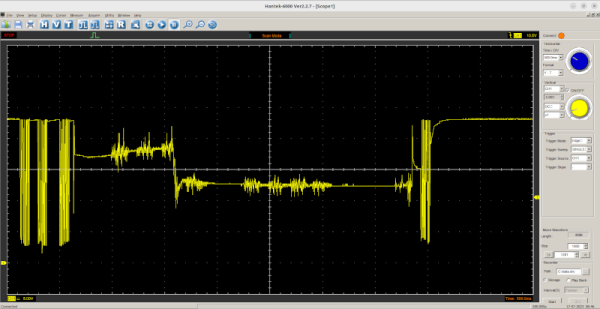
[Chris]’ first step in reverse engineering the camera was to snoop into the BLE by capturing the Bluetooth packets to a file and running them through Wireshark. This revealed a write command with the text “BT_KEY_ON” — very promising. After verifying that this command turned on the camera’s access point, [Chris] got to work capturing WiFi packets using PCAPDroid and analyzing the results, again with Wireshark. Using every function available in the OEM app eventually revealed the full API on the camera, which gives file system control, access to individual images, and even putting the camera into live video mode.
Continue reading “Reverse Engineering Reveals Hidden API In Abandonware Trail Camera”