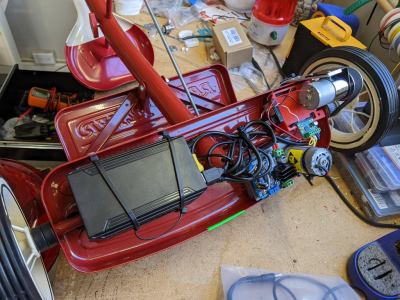
[Mark Dufour]’s TACO VR project is a sort of robotic platform that mimics an omnidirectional treadmill, and aims to provide a compact and easily transportable way to allow a user to walk naturally in VR.
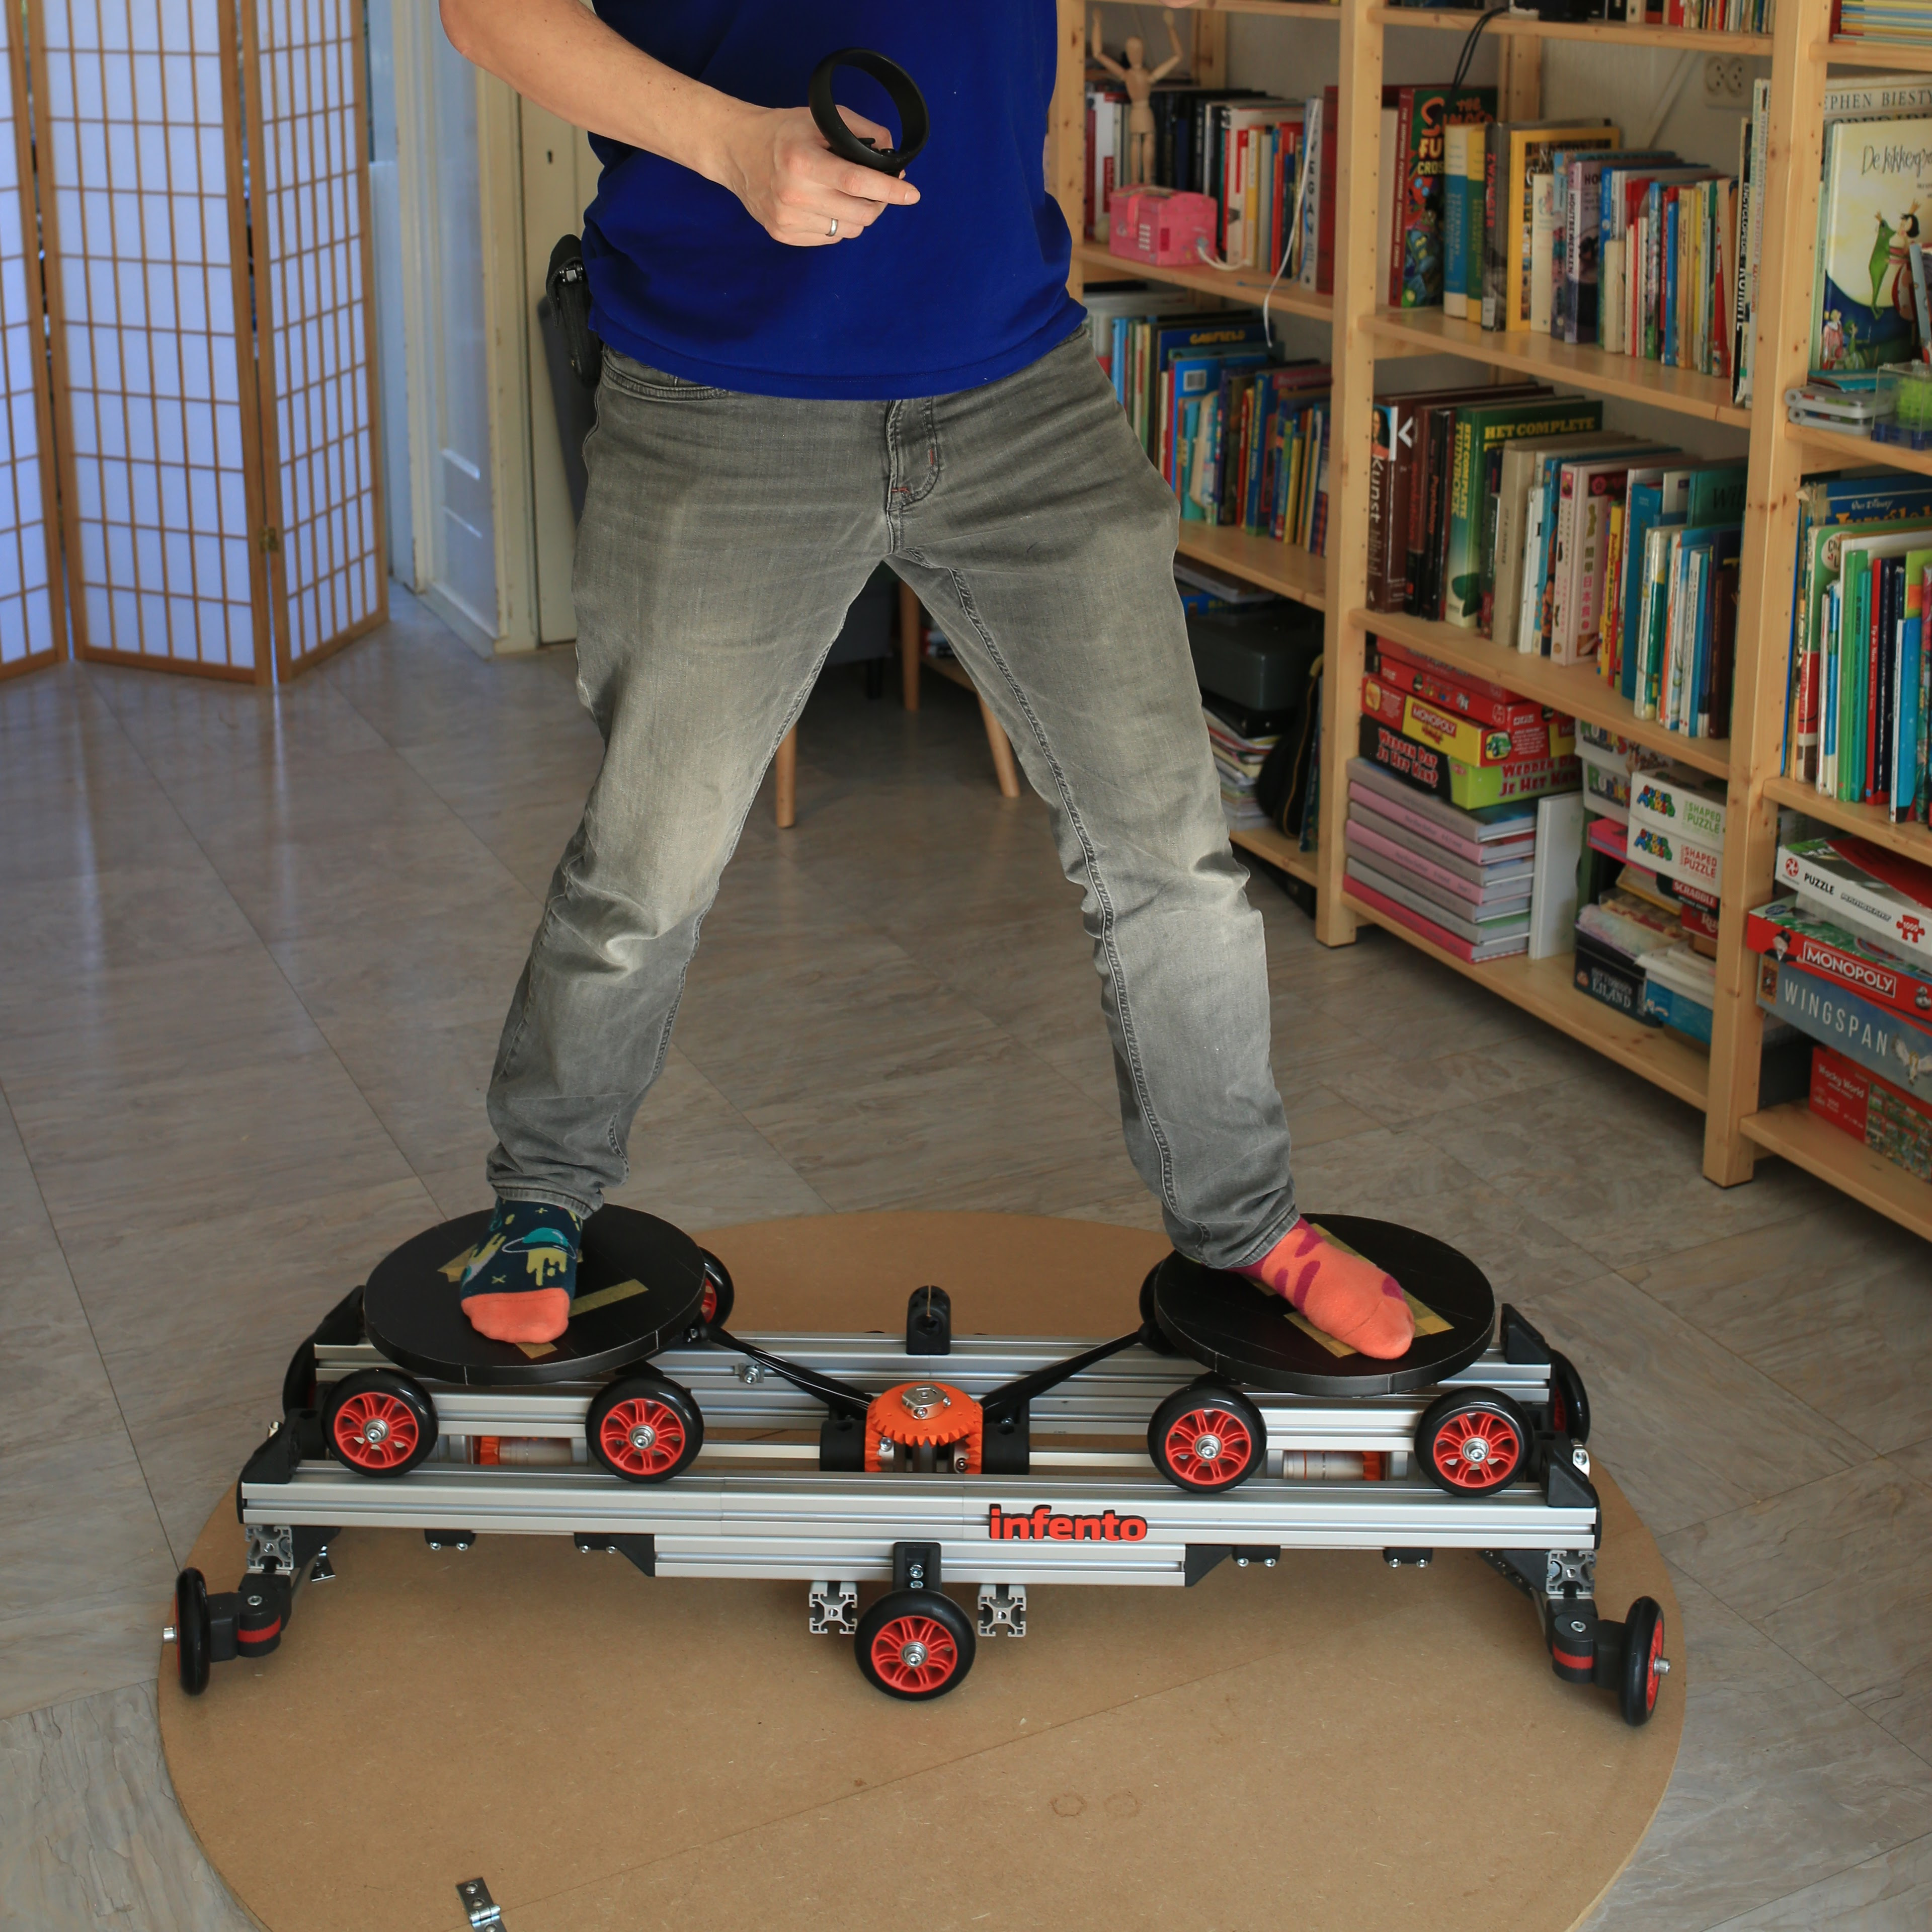 Unenthusiastic about most solutions for allowing a user to walk in VR, [Mark] took a completely different approach. The result is a robotic platform that fits inside a small area whose sides fold up for transport; when packed up, it resembles a taco. When deployed, the idea is to have two disc-like platforms always stay under a user’s feet, keeping the user in one place while they otherwise walk normally.
It’s an ambitious project, but [Mark] is up to the task and the project’s GitHub respository has everything needed to stay up to date, or get involved yourself. The hardware is mainly focused on functionality right now; certainly a fall or stumble while using the prototype looks like it would be uncomfortable at the very best, but the idea is innovative. Continue reading “DIY Robotic Platform Aims To Solve Walking In VR”