Now that we’re far enough into the next generation of home video game consoles that we can’t really keep calling them that anymore, yard sales are sure to be full of lonely Xbox 360s and PS3s that have been put out to pasture. You’ll probably even find a Wii U or two out there that somebody accidentally purchased. This is great for hackers who like cramming new electronics into outdated consumer gear, and accordingly, we’re starting to see the fruits of that generational shift.
 Case in point, this Xbox 360 which has been transformed into a “Steam Box” by [Pedro Mateus]. He figured the Xbox 360 was the proper size to fit a full PC plus PSU, while still looking contemporary enough that it won’t seem out of place in the entertainment center. Running SteamOS on Fedora 28, it even offers a traditional game console experience and user interface, despite the decidedly PC internals.
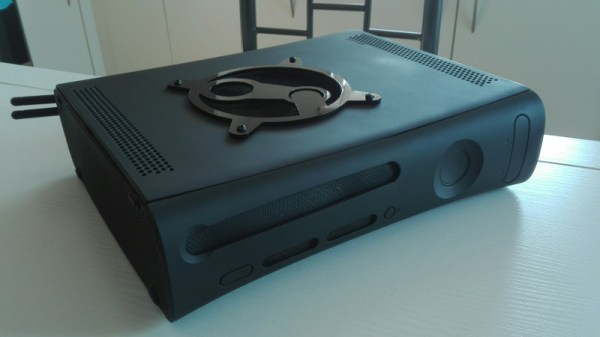
On the outside, the only thing that really gives away this particular Xbox’s new lease on life (when the purple LEDs are off, anyway) is the laser cut acrylic Steam logo on the top that serves as a grill for the internal CPU cooler. Ironically, [Pedro] did spray the Xbox white instead of just starting with a black one, but otherwise, there wasn’t much external modification necessary. Inside, of course, is a very different story.
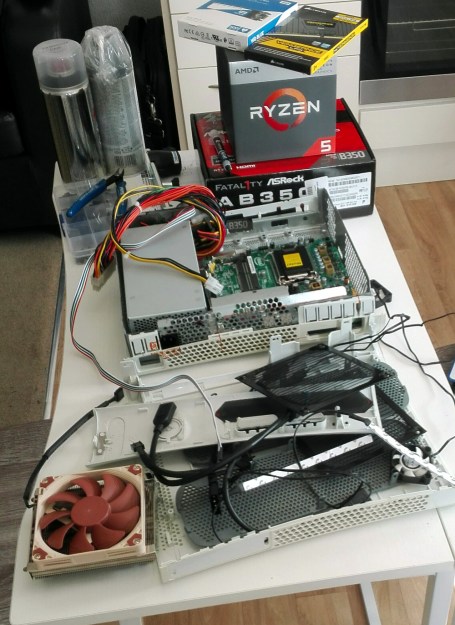
It’s packing an AMD Ryzen 5 2400G processor with Radeon RX Vega 11GPU and 8GB of Corsair Vengeance LPX DDR4 3200MHz RAM. Power is provided by a Seasonic SS-300TFX 300W, and a Noctua NH-L9a-AM4 keeps the system cool. Even with all that gear in there, the thing is probably still quieter than the stock Xbox 360.
[Pedro] helpfully provides quite a few benchmarks for those wondering how this hacked-up Xbox fares against a more traditional gaming setup, though peak performance was obviously not the goal here. If you’ve got 45 minutes or so to spare, you should check out the video he’s put together after the break, which goes over the machine’s construction.
We’ve seen it done with the original Xbox, and now the Xbox 360. Who will be the first to send in their build that guts a current-generation Xbox and turns it into a PC for Internet fame?
[Thanks to Mike for the tip.]
Continue reading “This Xbox 360 Is Powered By Steam” →