Since Twitter was officially taken over by Elon Musk a few days ago, there’s been significant staff cuts, a stream of questionable decisions, and uncertainty about the social media platform’s future. So it’s little surprise that a notable number of people, those in the tech and hacker scenes in particular, have decided to move over to (or at least bridge their accounts with) the distributed and open source Mastodon service.
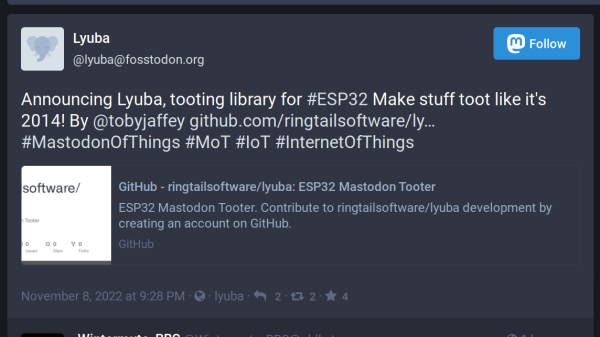
Of course, the hacks would follow closely, and [Toby] shares a simple ESP32-based Mastodon client library for us to start with. Instead of “tweets”, messages on Mastodon instances are called “toots”, in line with the platform’s mammoth-like mascot. The library, called Luyba, is able to send toots and includes a demo firmware. Built using C++ and with support for Platform.IO, it should fit into quite a few projects out there, letting you easily send toots to whichever instance you find your home, as the library-aided demo toot shows.
What could you do with such a library on your MCU? Turns out, quite a few fun things – a home automation interface, a critter trap, an online BBC Basic interpreter, or, given image support, a camera that tweets whatever it’s pointed at. There’s quite a bit of fun hackers can have given a micro-blogging service API access and a bit of code that works with it. That said, for all the good that Twitter brought us over the years, there’s a lot that Mastodon can easily do better, between easily game-able “Trending” sidebar, bias found in auto-cropping algorithms and disarrayed internal security policies.