Thanks to the relatively low cost of the Raspberry Pi and high resolution LCD screens, “smart displays” have become a favorite project of those looking to clear out their parts bins. Just hook the Pi up to the screen, setup some software, and you’ve got yourself a digital bulletin board for your home that can show your schedule, the weather, etc. Build it into a mirror, and you’ve got yourself at least double Internet points.
But when [John Basista] started planning his own smart display, he decided to take the path less traveled. He’s entered the resulting open source project into the 2019 Hackaday Prize, and we’re very excited to see where it goes from here. Even in these early days he’s already made some great strides, with nary a Raspberry Pi in sight.
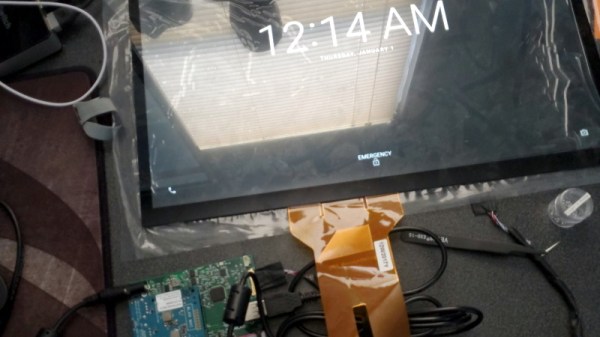
 [John] has nothing against using the Raspberry Pi for these smart displays, and indeed, it has a number of traits which make it particularly well suited to the task. But the problem for him was that it only supported HDMI, and he had his heart set on using an Embedded DisplayPort (eDP) screen. Namely the Innolux N173HCE-E31, a 17.3 inch IPS LCD designed for laptops.
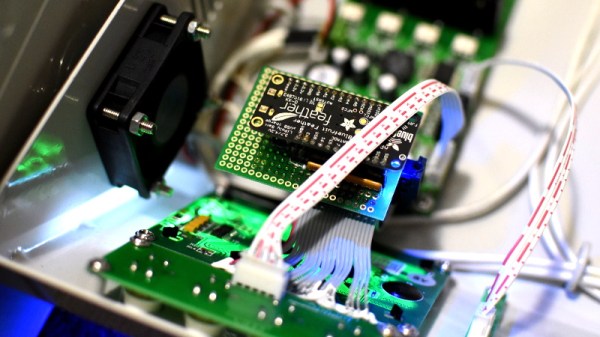
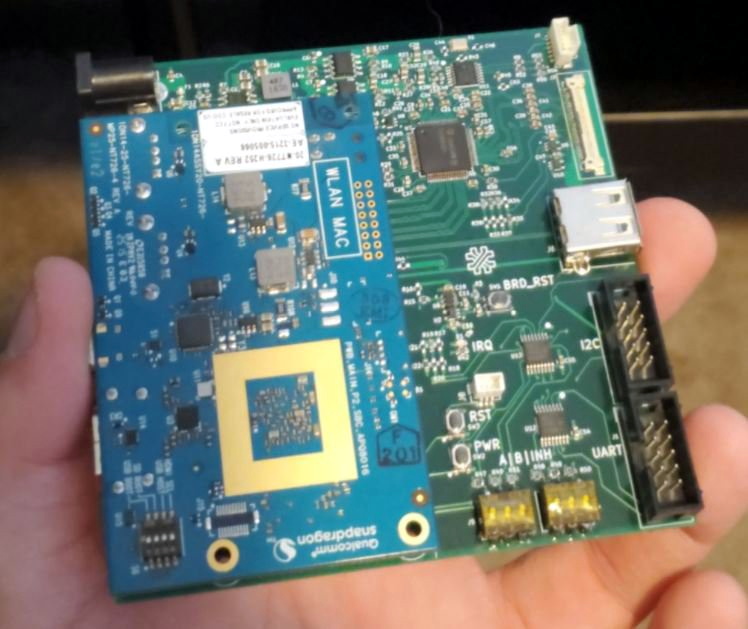
He tried to find a Linux or Android compatible SBC that featured eDP, but found it to be a challenge. There were some x86 options, but didn’t want to go down that road. Eventually he settled on the Dragonboard 410c, which features a quad-core Qualcomm APQ8016E CPU running at 1.2 GHz and 1GB of RAM. This board didn’t have eDP either, but it did have Display Serial Interface (DSI), which he could convert to eDP with the Texas Instruments SN65DSI86 IC.
From there, he started developing a PCB which would hold the Dragonboard 410c and the SN65DSI86. The board also breaks out I2C and UART so he can connect it to various other sensors and gadgetry down the road, and includes all the necessary power regulation to drive everything. The whole thing fits in the palm of your hand, and judging by the renders [John] has put together, should nestle nicely into the back of the 3D printed enclosure when everything is finished.
There’s still quite a bit left to do on this project, but [John] has plenty of time to tie up the loose ends. Currently there’s little information about the software side of things, but as you can see in the video after the break, it’s now running Android which should make things relatively easy.
Continue reading “Open Source Smart Display Takes The Long Way Around”