This is 2016, and almost every hacker dabbles with SMD parts now, unlike back in the day. This means investing in at least some specialized tools and equipment to make the job easier. One handy tool is the SMD soldering tweezers – useful not only for manual soldering of parts, but also for de-soldering them quickly and without causing damage to the part or the board. Often, especially when repairing stuff, using a hot air gun can get tricky if you want to remove just one tiny part.
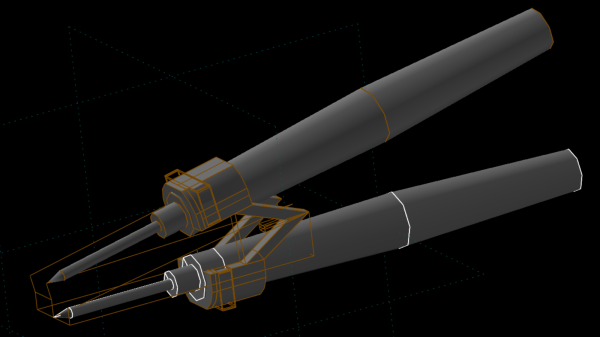
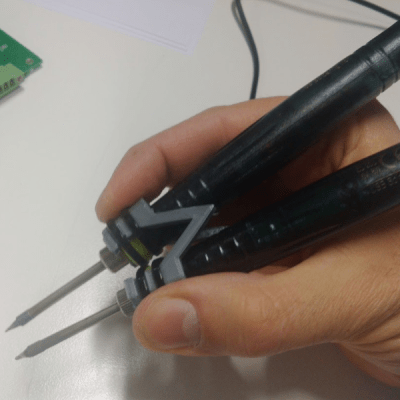 [adria.junyent-ferre] took a pair of cheap £5 USB soldering irons and turned them into a nifty pair of SMD soldering tweezers. The two irons are coupled together using a simple, 3D printed part. [adria]’s been through a couple of iterations, so the final version ought to work quite well. The video after the break shows him quickly de-soldering a bunch of 0805 SMD resistors in quick succession.
Earlier this year, we had posted [BigClive]’s tear down of these 8 watt USB soldering irons which turned out to be surprisingly capable and this spurred [adria] to order a couple to try them out.
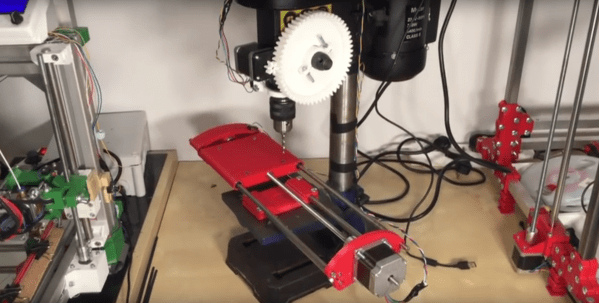
The 3D printed part is modeled in SolveSpace – a parametric 2D and 3D CAD software that we blogged about a while ago. Continue reading “Turn Cheap USB Soldering Irons In To Tweezers”