Over the past few years a new class of soldering iron has arisen: a temperature controlled iron no longer tied to a bulky mains-powered base station, but using low-voltage DC power and with all electronics concealed in a svelte handle. First came the Miniware TS100, and then many more, with slightly different feature sets and at varying price points. We’ve reviewed a few of them over the years, and today we have the most recent contender in the Sequre SQ-D60. It follows the formula closely, but costs only £20 (about $26). This price puts it in an attractive budget category, and its USB-C power option makes it forward-looking over models with barrel jacks. Description over, it’s time to plug it in and put it through its paces.
What’s In The Box?
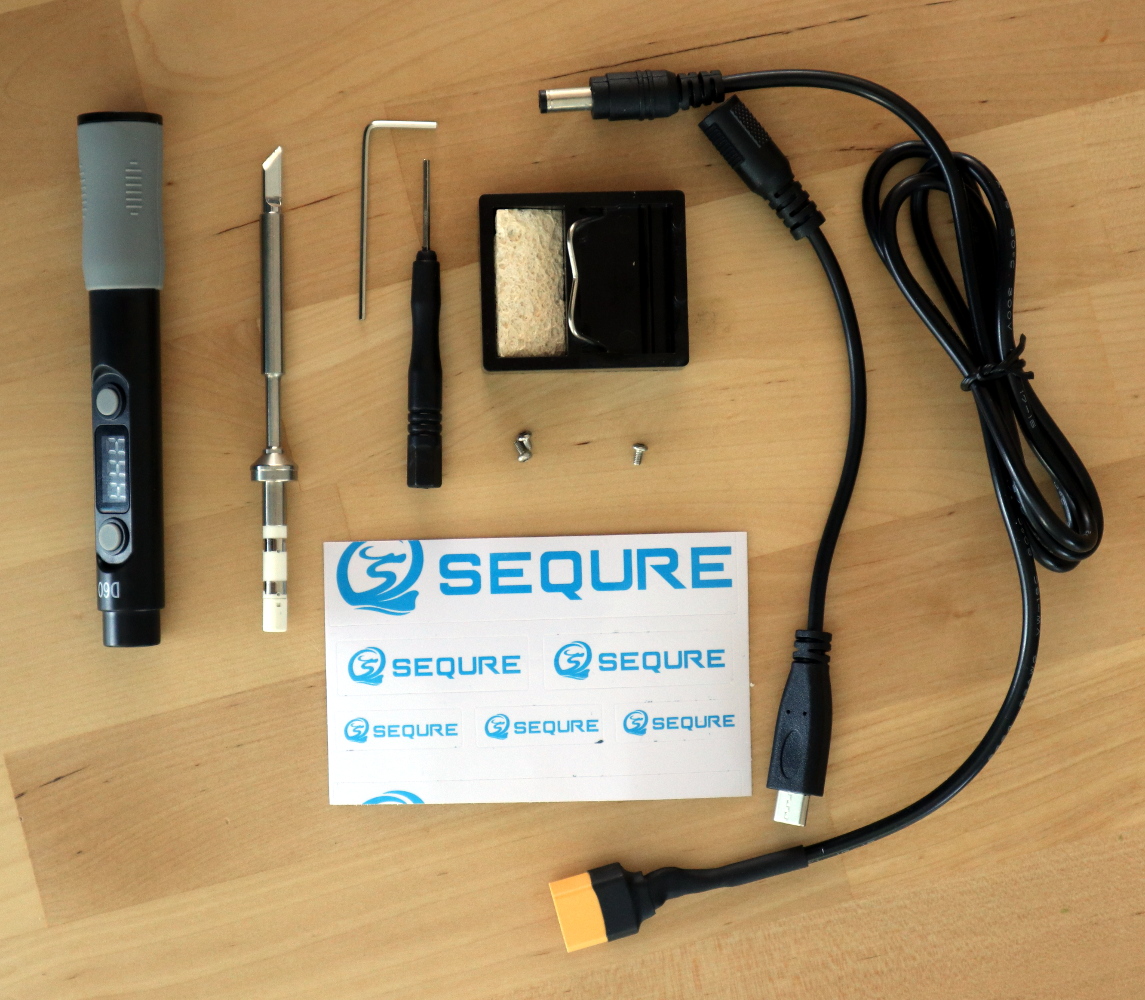
In the box, aside from the handle containing the electronics, were a surprisingly comprehensive array of parts and accessories. The handle itself is similarly-sized to its competitors, being only slightly longer than that of Pine64’s Pinecil. The tip supplied was unexpectedly a slanted chisel, so I may have managed to order incorrectly, though since it shares the same tip design as both the TS100 and the Pinecil I have plenty of alternative tips should I need one. Otherwise there was a little bag of hex screws along with a key and a driver for them, a little stand with a sponge, a set of Sequre stickers, a USB-C to barrel jack cable, and a barrel jack-to-XT60 connector for use with LiPo battery packs. These last two cables are a particularly useful addition.
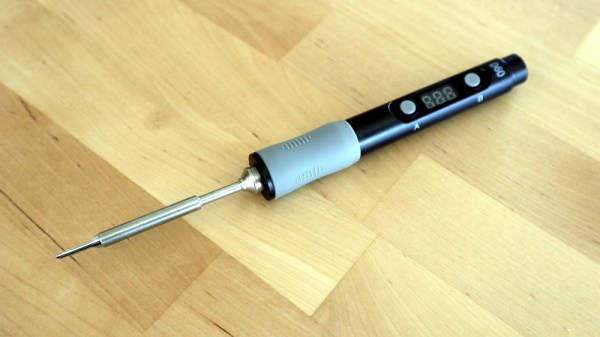
At first sight the tip doesn’t seem to have any means of being fixed into its socket, but a closer inspection reveals that there is a hex screw hiding underneath a silicone finger sleeve that holds it securely when tightened. The handle has a simple enough interface, with just two buttons and a 3-digit, 7-segment display. Powering it up from a 45 W USB-PD power supply, and it heats up to 300 °C in around ten seconds after pressing one of the buttons. My usual soldering temperature is 360 °C, and it has an interface involving long presses of one of the buttons before they become up and down buttons to select the temperature. In prolonged use the handle doesn’t become noticeably warm, and aside from a slight new-electronics-getting-hot smell there was no immediate concern that it might release magic smoke. Continue reading “Review: Sequre SQ-D60 Temperature Controlled Soldering Iron”