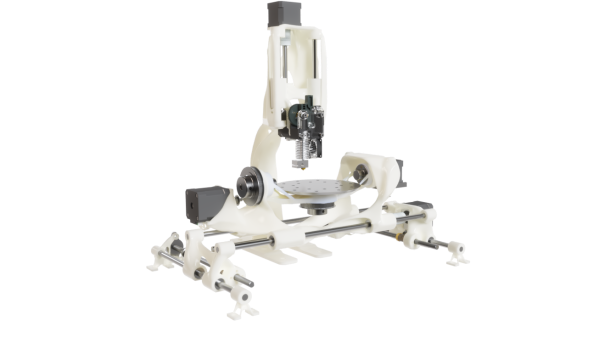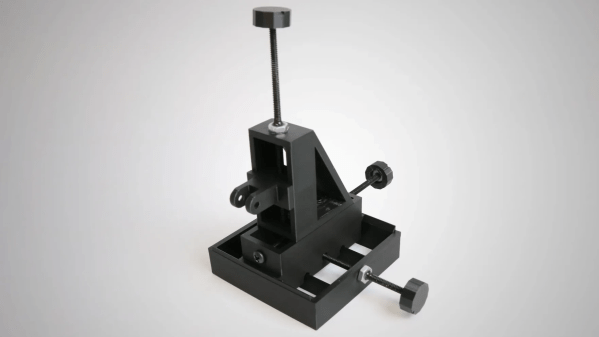
Some things are small and fragile enough that they cannot be held or touched by even the steadiest of hands. Such cases call for a micromanipulator, and [BYU CMR]’s DIY micromanipulator design can be 3D printed and assembled with the help of some common hardware, and a little CA glue.
You may recall an ultra-tiny Nerf-like blaster recently; clearly such a tiny mechanical device cannot be handled directly, yet needed to be loaded and have its trigger pressed. A micromanipulator is exactly the tool for such a job. This design is in fact the very same one used to move and manipulate that tiny blaster at a microscopic level.
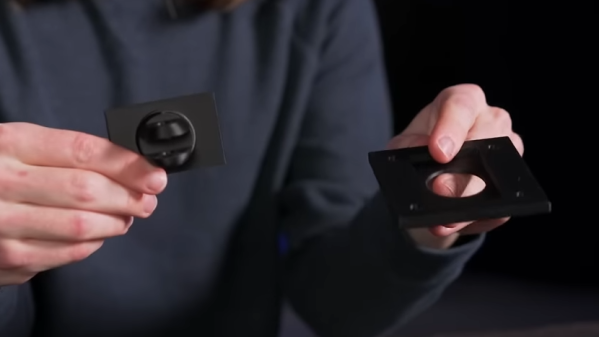
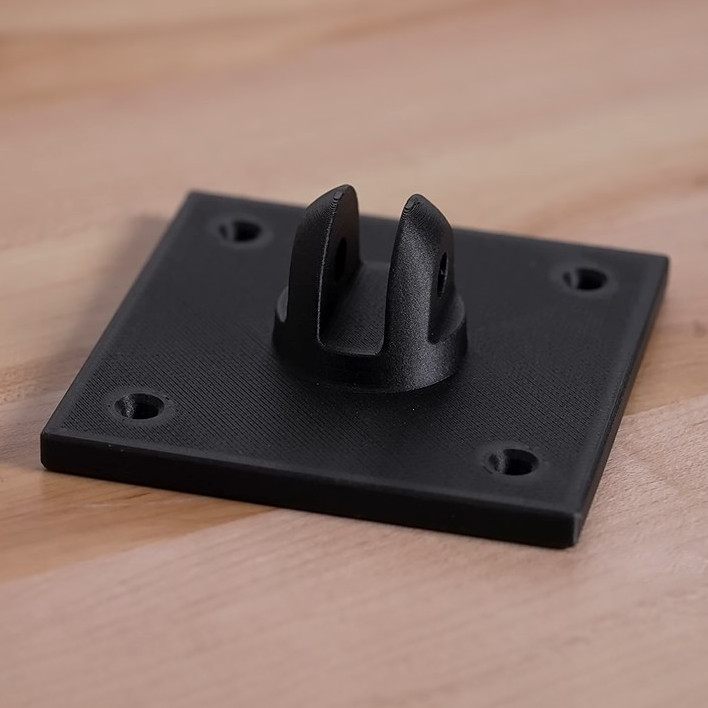
The design doesn’t include any end effectors — those depend on one’s application — but there is a mount point for them and the manipulator can effectively move it in X, Y, and Z axes by turning three different knobs. In addition, because the structural parts can be 3D printed and the hardware is just some common nuts and screws, it’s remarkably economical which is always a welcome thing for a workshop.