Heat-set inserts are a great way to embed mechanically-strong, threaded parts into a 3D print. For installation, all that is required is an economical soldering iron; something most of us already have.
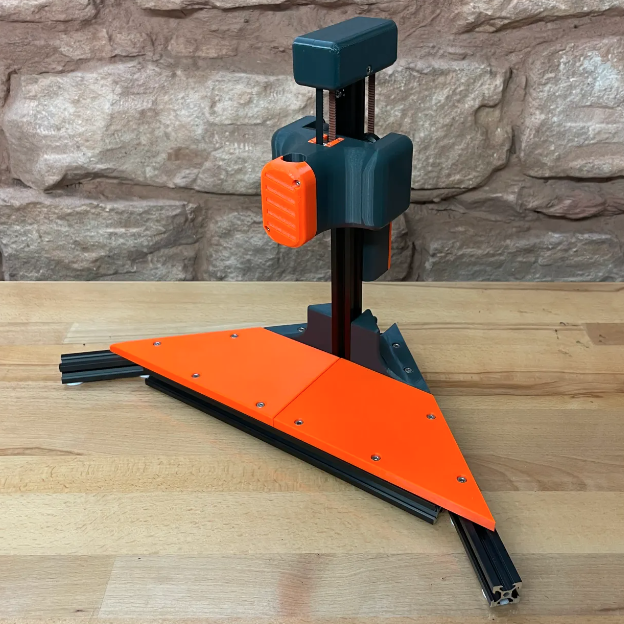
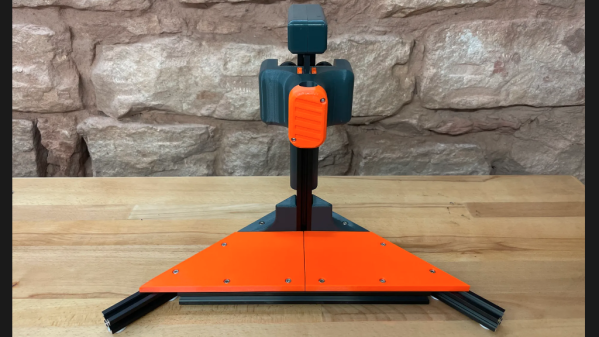
That’s fine for a handful of occasional inserts, but when a large number need to be inserted reliably and cleanly, something a little more refined is called for. That’s where [virchow]’s threaded insert press design comes in. It adds 3D-printed parts to an aluminum extrusion frame to create a press that smoothly lowers a soldering iron directly up and down, with minimal effort by the user.
The holder for the soldering iron is mounted to a small v-wheel gantry that rides along the vertical extrusion. The gantry features a counterweight to take care of resetting the position of the iron. [Virchow] admits that the design could be considered unnecessarily complicated (hence the “UC” in the name) but on the other hand, there’s nothing like doing a hundred or so inserts to make one appreciate every bit of comfort and stability.
Heat-set inserts aren’t difficult to use, but a little technique goes a long way. Spend a few minutes reading Joshua Vasquez’s guide on the optimal way to use them in 3D-printed parts to make sure yours not only go in straight but end up looking great as well.