Prototyping new ideas can be a lot of fun, but putting new projects in a durable enclosure can be a difficulty. This is especially the case when the user of this product is one of the most destructive forces in nature: A toddler! This is the circumstance that [blue blade] found himself in when he wanted to build a durable MP3 player for his grandson, and you can see the results of his work below the break.
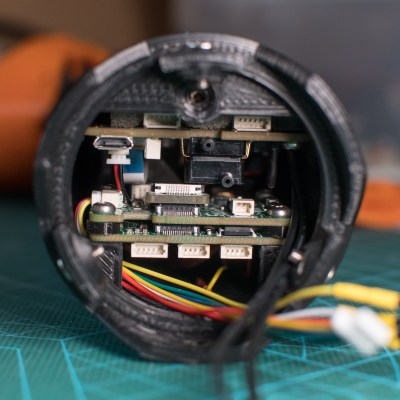
The hardware is simple: A 16850 lithium-ion battery powers an MP3 Decoder/Amplifier module that plays MP3s stored on a Micro SD card. A speaker, power switch, and micro USB powered battery charger complete the build. What stands out most is the enclosure. Why?
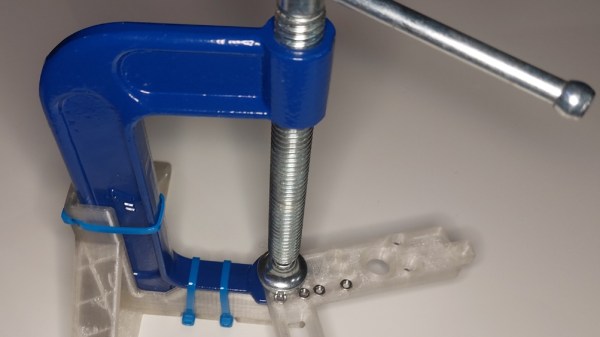
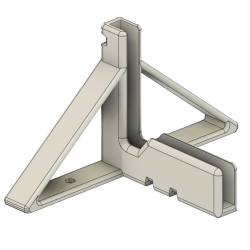
When children are involved, durability isn’t a matter of product lifetime, it’s also a matter of safety. Items that are easily broken aren’t just useless, they can be dangerous. With this in mind, [blue blade] built a brightly colored enclosure with extra thick walls joined by metal bolts. Externally, a rounded cover bolts over the charger connector and Micro SD card slot. The only other protrusion is a lighted rocker switch for powering the MP3 player on and off.
Continue reading “3D Printed Preschooler Proof MP3 Player Takes A Beat-ing”