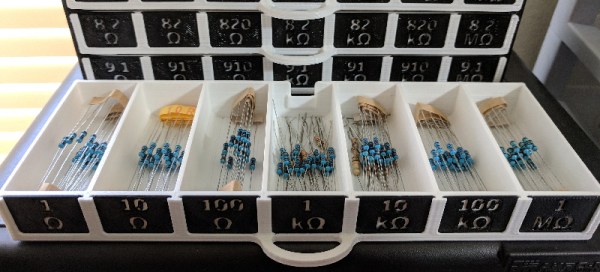
Resistors are an odd bunch. Why would you have 1.0 Ω resistors, then a 1.1 Ω resistor, but there’s no resistors in between 4.7 Ω and 5.6 Ω? This is a question that has been asked for decades, but the answer is actually quite simple. Resistors are manufactured according to their tolerance, not their value. By putting twenty four steps on a logarithmic scale, you get values that, when you take into account the tolerance of each resistor, covers all possible values. Need a 5.0 Ω resistor? Take a meter to some 4.7 Ω and 5.6 Ω resistors. You’ll find one eventually.
As with all resistor collections, the real problem is storage. With SMD resistors you can stack your reels in stolen milk crates, but for through hole resistors, you’ll need some bins. [FerriteGiant] over on Thingiverse did just that. It’s a 3D printable enclosure that takes all of your E24 series resistors.
The design of this resistor storage solution is a bit like those old wooden cases full of index cards at that building where you can rent books for free. Or, if you like, a handy plastic small parts bin from Horror Fraught. The difference here is that these small cases are designed for the standard length of through-hole resistors, and each of the bins will hold a small 3D printed plaque telling you the value in each bin.
While this is a print that will take a lot of time — [FerriteGiant] spent 100 hours printing everything and used two kilograms of filament — it’s not like through-hole resistors are going away anytime soon. This is a project that you can build and have for the rest of your life, safely securing all your resistors in a fantastic box for all time.
 Cortex 1 was launched as part of
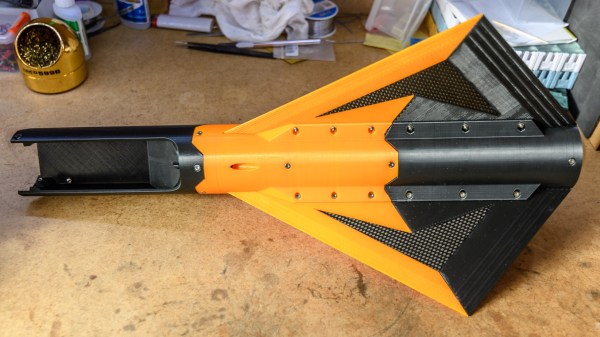
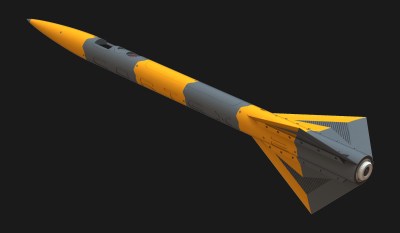
 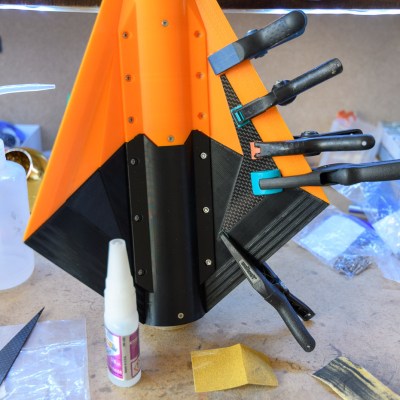 Cortex 2 uses a different rocket motor from its predecessor, which led to another interesting design issue. The new motor is similar to hobby solid rocket motors where a small explosive charge at the top of the motor blows some time after the fuel is gone. This charge is meant to eject a parachute, but the Cortex 2 is not designed to use this method, and so the gasses must be vented. [Foaly] was understandably not enthusiastic about venting hot gasses through the mostly-PLA rocket body. Instead, a cylindrical cartridge was designed that both encases the motor and redirects any gasses from the explosive charge out the rear of the rocket. That cartridge was SLA printed out of what looks to us like Formlabs’
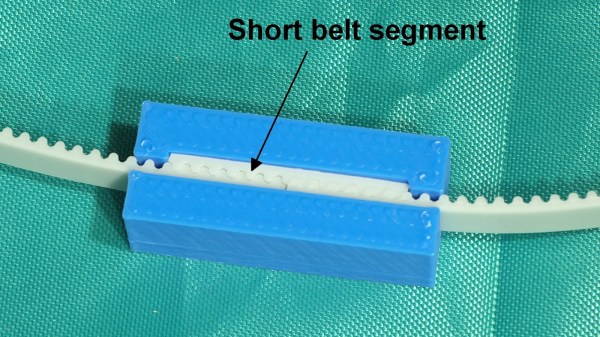
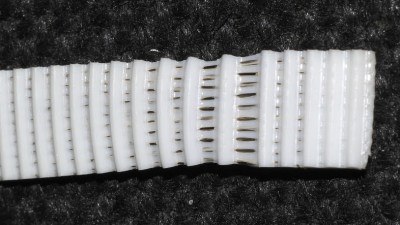 The belts used were common steel-core polyurethane GT2 belts, and the clamp design uses a short segment of the same belt to lock together both ends, as shown above. It’s a simple and effective design, but one that isn’t sustainable in the longer term.