Jenkins And Slack Report Build Failure! Light The Beacons!

When you have a large software development team working on a project, monitoring the build server is an important part of the process. When a message comes in from your build servers, you need to take time away from what you’re doing to make sure the build’s not broken and, if it’s broken because of something you did, you have to stop what you’re doing, start fixing it and let people know that you’re on it.

[ridingintraffic]’s team uses Jenkins to automatically build their project and if there’s a problem, it sends a message to a Slack channel. This means the team needs to be monitoring the Slack channel, which can lead to some delays. [ridingintraffic] wanted immediate knowledge of a build problem, so with some software, IoT hardware, and a rotating hazard warning light, the team now gets a visible message that there’s a build problem.

An Adafruit Huzzah ESP8266 board is used as the controller, connected to some RF controlled power outlets via a 434MHz radio module. To prototype the system, [ridingintraffic] used an Arduino hooked up to one of the RF modules to sniff out the codes for turning the power outlets on and off from their remotes. With the codes in hand, work on the Huzzah board began.

An MQTT broker is used to let the Huzzah know when there’s been a build failure. If there is, the Huzzah turns the light beacon on via the power outlets. A bot running on the Slack channel listens for a message from one of the developers saying that problem is being worked on, and when it gets it, it sends the MQTT broker a message to turn the beacon off.

There’s also some separation between the internal network, the Huzzahs, and the Slack server on the internet, and [ridingintraffic] goes over the methods used to communicate between the layers in a more detailed blog post. Now, the developers in [ridingintraffic]’s office don’t need to be glued to the Slack channel, they will not miss the beacon when it signals to start panicking!

Slow 3.5″ Raspberry Pi LCD Hacked To 40 MHz With ESP8266

As microcontrollers become more and more common, we see more ways to get a lot of performance out of one chip. A great example of this was the ESP8266 which was originally seen as a cheap WiFi card but has since blossomed into its own dev platform thanks to the horsepower hidden within. To that end, [Martin] is trying to push the now-ubiquitous WiFi chip even further by rolling out his own LCD driver for it from scratch.

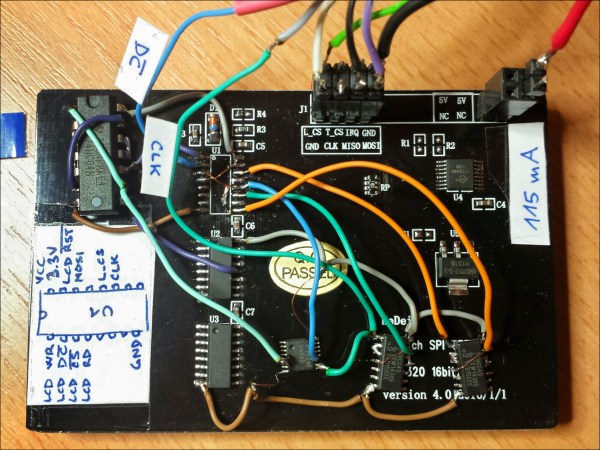
The display of choice is the KeDei LCD 3.5″ module which was originally intended for use with a Raspberry Pi. [Martin] points out that this display isn’t optimized for speed, but after everything is said and done he has its clock line running at 40 MHz. To get this kind of speeds from the LCD, he depopulates the first shift register and adds his own fast-propagation circuit to establish a more-traditional serial addressing mode. With use of a WLCD driver that [Martin] also wrote, it is now relatively easy to draw on the screen very quickly with an ESP module. Check it out in the video below.

If you’re looking for your own tiny, cheap, fast display, this is one cool way to do it but we would suggest spinning a carrier board for both the ESP and the added circuitry. We’re looking forward to future projects which puts devices like these inside of really tiny magic mirrors, or uses them in other places where a small graphical display would be handy.

Continue reading “Slow 3.5″ Raspberry Pi LCD Hacked To 40 MHz With ESP8266”

Another Kind Of Cloud: The Internet Of Farts

It’s taken as canon that girls mature faster than boys. In reality, what happens is that boys stop maturing at about age 12 while girls keep going. And nothing tickles the fancy of the ageless pre-teen boy trapped within all men more than a good fart joke. To wit, we present a geolocating fart tracker for your daily commute.

[Michel] is the hero this world needs, and although he seems to have somewhat of a preoccupation with hacks involving combustible gasses, his other non-methane related projects have graced our pages before, like this electrical meter snooper or an IoT lawn mower. The current effort, though, is a bit on the cheekier side.

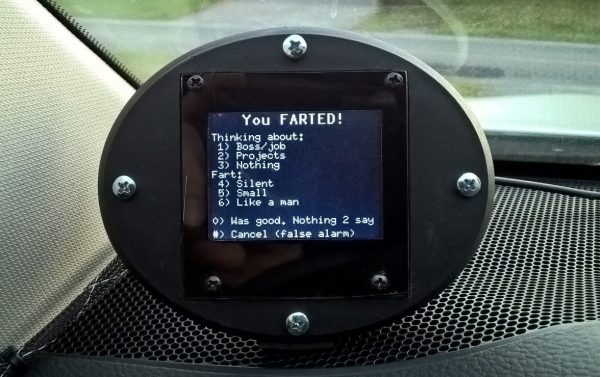
The goal is to keep track of his emissions while driving, so with a PIC, an ESP8266, a GPS module, and a small LCD display and keyboard, he now has a way to log his rolling flatulence. When the urge overcomes him he simply presses a button, which logs his location and speed and allows him to make certain qualitative notes regarding the event. The data gets uploaded to the cloud every Friday, which apparently allows [Michel] to while away his weekends mapping his results.

It turns out that he mainly farts while heading south, and he’s worried about the implications both in terms of polar ice cap loss and how Santa is going to treat him next month. We’re thinking he’s got a lock on coal — or at least activated charcoal.

Our beef with this project is obvious – it relies on the honor system for input. We really need to see this reworked with an in-seat methane detector to keep [Michel] honest. Until then, stay young, [Michel].

ESP8266 Lullaby

The ESP8266 is certainly a versatile device. It does, however, draw a bit of power. That isn’t really surprising, though, since you would expect beaming out WiFi signals to take a little juice. The trick is to not keep the device on all the time and spend the rest of the time in deep sleep mode. [Marco Schwartz] has a good tutorial about how to use this mode to run for “years” on a battery.

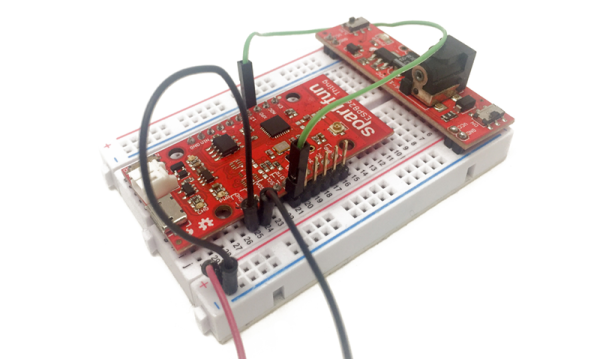
[Marco] notes that even using a 2500 mAh LiPo battery, he only gets about 30 hours of operation without sleep. By putting the chip in sleep mode, the current consumption drops from about 88 mA to just over 8 mA. That’s still high, though, because the board has a power LED! By removing a jumper or cutting a trace (depending on the board), you can drop the current draw to about 0.08 mA (80 uA) when it’s not doing anything.

Continue reading “ESP8266 Lullaby”

Launitor Saves You From Accidentally Smelly Clothes

[domiflichi] is human and fallible. So he can’t be blamed for occasionally forgetting the laundry in one of the machines and coming back to a less than stellar result. However, while fallible, he is not powerless.

What if his washer/dryer could email or text him about his laundry? It seemed simple enough. Add a vibration sensor to the side of the machine along with some brains. When the load is done it will bother him until he comes down to push the button or There Will Come Soft Rains.

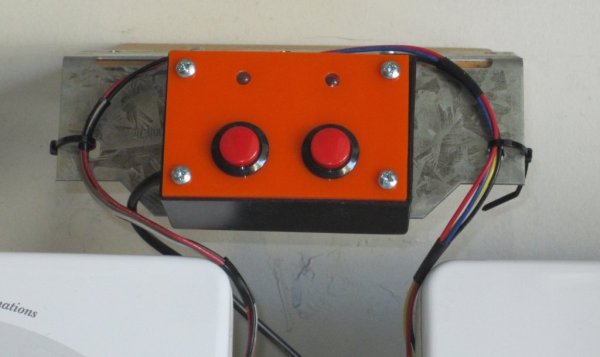
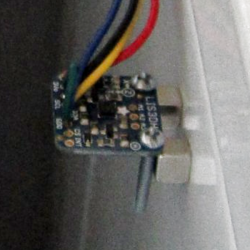
img_2437cropped-resized_thumbnailHe started off with an Arduino-and-ESP8226 combination and piezo sensors. The piezos had lots of shortcomings, so he switched to accelerometers and things worked much better. We really like the way he mounts them to the side of the washer dryer using the PCB’s mounting screws as angle brackets. The case is a standard project box with some snazzy orange acrylic on the front.

It took some fiddling, but these days [domiflichi]’s clothes are fresher, his cats fed, and his appliances more aware. Video of it in operation after the break.

Continue reading “Launitor Saves You From Accidentally Smelly Clothes”

Really Big Digital Clock Finds Use For Really Big 3D Printer

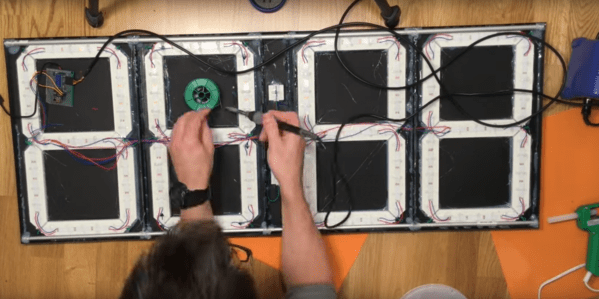
What does it take to make a really big digital clock? If [Ivan Miranda]’s creation is any gauge, it takes a really big 3D printer, an armful of Neopixel strips, and a ton of hot melt glue.

It looks like [Ivan]’s plus-size clock is mainly an exercise for his recently completed large-bed custom 3D printer, in itself a project worth checking out. But it’s a pretty ambitious project, and one that has some possibilities for enhancements. Each of the four seven-segment displays was printed separately, with a black background, translucent white for the segments, and recesses for five RGB LEDs each. The four digits and colon spacer are mated together into one display, and an ESP8266 fetches the time from a NIST server and drives the segments. What’s really interesting about [Ivan]’s projects is that he constrains himself to finishing them each in a week. That explains the copious amount of hot glue he uses, and leaves room for improvements. We’d love to see this display built into a nice walnut case with a giant red diffusing lens. Even as it stands it certainly makes a statement.

We’ve featured other outsized seven-segment displays before, but few as big as this one.

Continue reading “Really Big Digital Clock Finds Use For Really Big 3D Printer”

Web Matrix Control Proves Power Of ESP8266

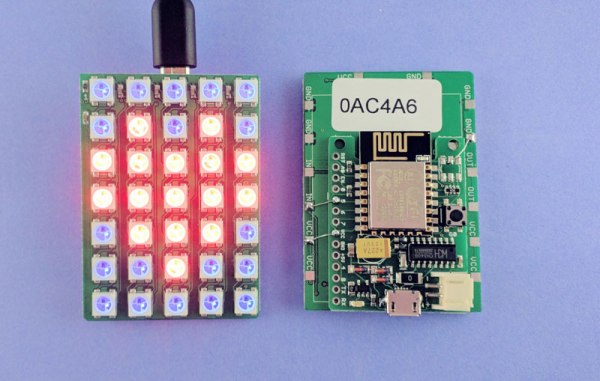
LED matrix projects are all over the place, but this one is interesting for its simplicity: it’s an LED matrix that is driven straight from an ESP8266 board. [Ray] put it together as a quick project for his students to teach the basics of LED programming.

It’s built using a WS2812 LED matrix board he designed himself and his own ESPToy ESP8266 dev board. But the gist of the hardware is simply an ESP8266 and some WS2812’s. Where this gets interesting is with the user interaction side of things. The ESP makes WiFi and web serving easy, and [Ray] has build a simple HTTP GET API into the firmware. This is a great combination for the web dashboard and JavaScript-based animation programs [Ray] is demonstrating in the video below.

Just get on the same network and load up the module’s WiFi address for a graphical representation of the 5×7 LED matrix. Pick a color, turn pixels on or off, or choose a predefined pattern and send it to the hardware. This is a powerful way to get use input and with this as a guide it’s fast to set up for pretty much an application you can think of. Just work your way through the documents he put together for the workshop (Zip file link), including all of the code and the slides he used to run the workshop.

Continue reading “Web Matrix Control Proves Power Of ESP8266”