Photodiode Amplifier Circuit Spies On Your Phone

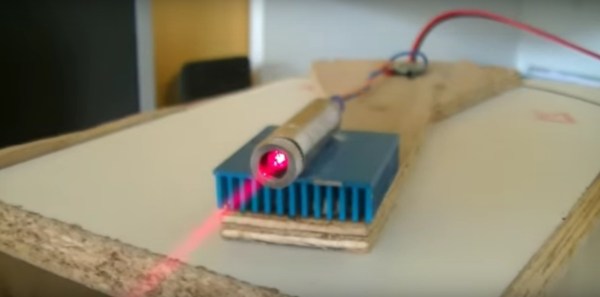
In order to help his friend prepare for a talk at DEFCON this weekend, [Craig] built an IR photodiode amplifier circuit. The circuit extended the detection range of the hack from a few inches to a few feet. We’re suckers for some well-designed analog circuitry, and if you are too, be sure to check out the video embedded below.

Continue reading “Photodiode Amplifier Circuit Spies On Your Phone”

Books You Should Read: Instruments Of Amplification

Psst… Wanna make a canning jar diode? A tennis ball triode? How about a semiconductor transistor? Or do you just enjoy sitting back and following along an interesting narrative of something being made, while picking up a wealth of background, tips and sparking all sorts of ideas? In my case I wanted to make a cuprous oxide semiconductor diode and that lead me to H.P. Friedrichs’ wonderful book Instruments of Amplification. It includes such a huge collection of amplifier knowledge and is a delight to read thanks to a narrative style and frequent hands-on experiments.

Friedrichs first authored another very popular book, The Voice of the Crystal, about making crystal radios, and wanted to write a second one. For those not familiar with crystal radios, they’re fun to make radios that are powered solely by the incoming radio waves; there are no batteries. But that also means the volume is low.

Readers of that book suggested a good follow-up would be one about amplifier circuits, to amplify the crystal radio’s volume. However, there were already an abundance of such books. Friedrichs realized the best follow-up would be one on how to make the amplifying components from scratch, the “instruments of amplification”.  It would be unique and in the made-from-scratch spirit of crystal radios. The book, Instruments of Amplification was born.

The Experiments

Microphonic relays
Microphonic relays, via H.P. Friedrichs Homepage

The book includes just the right amount of a history, giving background on what an amplifier is and how they first came in the electrical world. Telegraph operators wanted to send signals over greater and greater distances and the solution was to use the mix of electronics and mechanics found in the telegraph relay. This is the springboard for his first project and narrative: the microphonic relay.

The microphonic relay example shown on the right places a speaker facing a microphone; the speaker is the input with the microphone amplifying the output. He uses a carbon microphone salvaged from an old telephone headset, housing everything in an enclosure of copper pipe caps, steel bar stock, nuts and bolts mounted on an elegant looking wood base. All the projects are made with simple parts, with care, and they end up looking great.

Continue reading “Books You Should Read: Instruments Of Amplification”

Hacklet 116 – Audio Projects

If the first circuit a hacker builds is an LED blinker, the second one has to be a noisemaker of some sort. From simple buzzers to the fabled Atari punk console, and guitar effects to digitizing circuits, hackers, makers and engineers have been building incredible audio projects for decades. This week the Hacklet covers some of the best audio projects on Hackaday.io!

vumeterWe start with [K.C. Lee] and Automatic audio source switching. Two audio sources, one amplifier and speaker system; this is the problem [K.C. Lee] is facing. He listens to audio from his computer and TV, but doesn’t need to have both connected at the same time. Currently he’s using a DPDT switch to change inputs. Rather than manually flip the switch, [K.C. Lee] created this project to automatically swap sources for him. He’s using an STM32F030F4 ARM processor as the brains of the operation. The ADCs on the microcontroller monitor both sources and pick the currently active one. With all that processing power, and a Nokia LCD as an output, it would be a crime to not add some cool features. The source switcher also displays a spectrum analyzer, a VU meter, date, and time. It even will attenuate loud sources like webpages that start blasting audio.


muzzNext up is [Adam Vadala-Roth] with Audio Blox: Experiments in Analog Audio Design. [Adam] has 32 projects and counting up on Hackaday.io. His interests cover everything from LEDs to 3D printing to solar to hydroponics. Audio Blox is a project he uses as his engineer’s notebook for analog audio projects. It is a great way to view a hacker figuring out what works and what doesn’t. His current project is a 4 board modular version of the Big Muff Pi guitar pedal. He’s broken this classic guitar effect down to an input board, a clipping board, a tone control, and an output stage. His PCB layouts, schematics, and explanations are always a treat to view and read!

pauldioNext we have [Paul Stoffregen] with Teensy Audio Library. For those not in the know, [Paul] is the creator of the Teensy family of boards, which started as an Arduino on steroids, and has morphed into something even more powerful. This project documents the audio library [Paul] created for the Freescale/NXP ARM processor which powers the Teensy 3.1. Multiple audio files playing at once, delays, and effects, are just a few things this library can do. If you’re new to the audio library, definitely check out [Paul’s] companion project
Microcontroller Audio Workshop & HaD Supercon 2015. This project is an online version of the workshop [Paul] ran at the 2015 Hackaday Supercon in San Francisco.

drdacFinally we have [drewrisinger] with DrDAC USB Audio DAC. DrDac is a high quality DAC board which provides a USB powered audio output for any PC. Computers these days are built down to a price. This means that lower quality audio components are often used. Couple this with the fact that computers are an electrically noisy place, and you get less than stellar audio. Good enough for the masses, but not quite up to par if you want to listen to studio quality audio. DrDAC houses a PCM2706 audio DAC and quality support components in a 3D printed case. DrDAC was inspired by [cobaltmute’s] pupDAC.

If you want to see more audio projects and hacks, check out our new audio projects list. See a project I might have missed? Don’t be shy, just drop me a message on Hackaday.io. That’s it for this week’s Hacklet, As always, see you next week. Same hack time, same hack channel, bringing you the best of Hackaday.io!

Hackaday Prize Entry: Ears On The Back Of Your Head

From context clues, we can tell that [TVMiller] has been in and around NYC for some time now. He has observed a crucial weakness in the common metropolitan. Namely, they deafen themselves with earphones, leaving them senseless in a hostile environment.

To fix this problem, he came up with a simple hack, the metrophone. An ultrasonic sensor is hung from a backpack. The user’s noise making device of choice is plugged into one end, and the transducer into the other. When the metropolitan is approached from the rear by a stalking tiger or taxi cab, the metrophone will reduce the volume and allow the user to hear and respond to their impending doom. Augmentation successful.

The device itself consists of an off-the-shelf ultrasonic sensor, an Arduino, and a digital potentiometer. It all fits in a custom 3D printed enclosure and runs of two rechargeable coin cells. A simple bit of code scales the volume to the current distance being measured by the ultrasonic sensor once a threshold has been met.

In the video after the break, you can observe [TVMiller]’s recommended method for tranquilizing and equipping a metropolitan in its natural habitat without disturbing its patterns or stressing it unduly.

Continue reading “Hackaday Prize Entry: Ears On The Back Of Your Head”

Classic Amplifier Reborn With Modern Transistors

Someone brought a dead Marantz amplifier to [Lansing]’s attention, a rather nice model from the 1980s with one channel entirely dead and the other very quiet. His account of its repair is straightforward, but provides some insights should you find yourself with a similar item on your bench.

Opening up the box, he was presented with 35 years of accumulated dust. It’s the annoying side of cracking open classic kit, we all have our dusty horror stories. His first task was routine: to replace all the unit’s capacitors. The mains voltage in France has gone up by 10 volts from 220V to 230V as part of EU harmonization in the years since the amp was built, so he used capacitors with an appropriately higher rating to compensate. We might have waited until the rest of the amp was proven fixed before splashing the cash on caps, but maybe we’re more thrifty.

The quiet channel fix turned out to be from a muting circuit designed to keep the amp quiet during the turn-on phase and suppress that annoying “thump”. A dead transistor replaced, and all was well. The dead channel though had a whole slew of dead transistors in it, which turned the problem from one of repair to one of transistor equivalence. Quite a few of the 1980s parts were no longer available, so modern replacements had to be found.

It is tempting to think of particularly all small-signal transistors as functionally equivalent. You will get away with this in logic and switching circuits in which the device is either On or Off and never in between, but in an audio amplifier like the Marantz things are not so simple. A lot of effort will have been made by the designers to calculate resistances for the current passing through them to deliver the right DC bias points without sending the circuit into wild oscillation. An important part of that calculation comes from the current gain of the transistors involved. [Lansing] had to carefully select his transistors for equivalence, though it some cases he had to do a bit of creative lead-bending to fit a different pin-out.

So, all dead transistors replaced with appropriate equivalents, and the amp was reborn. Success, and very much worth the effort!

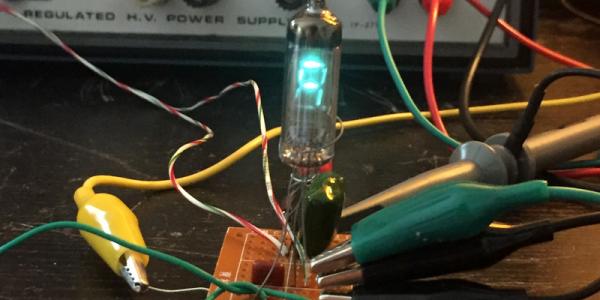
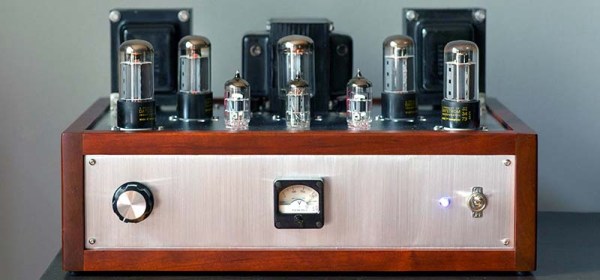
We’ve covered a lot of amplifiers here in the past. Some were dead, like this little amp with blown capacitors or this smokin’ subwoofer. Others are more esoteric, like this ion wind 1KV tube creation.

White Oak Illuminated Bluetooth Speaker

Besides being common tools available to most hackers and makers out there, 3D printing, CNC machines, and cheap Chinese electronics have one more things in common: they were all used by [Nick] to build a bluetooth speaker system that has some interesting LED effects built into the case.

This is fresh on the heels of another hack that used similar construction methods to build a “magic” wood lamp. [Nick] takes it a step further, though. His case is precisely machined in white oak and stuffed with the latest China has to offer: a bank of lithium-ion batteries, a DC-DC converter to power the amplifier, and a Bluetooth module. After some sanding, the speakers look professional alongside the blue light features hiding behind the polycarbonate rings.

Of course you’ll want to visit the project site for all the details of how [Nick] built his speaker case. He does admit, however, that the electronics are fairly inefficient and need a little work. All in all though, it’s a very refined set of speakers that’ll look great on a bookshelf or on a beach, workshop bench, or anyplace else that you could take them.

Continue reading “White Oak Illuminated Bluetooth Speaker”

1Wamp, An Open Hardware Guitar Amplifier

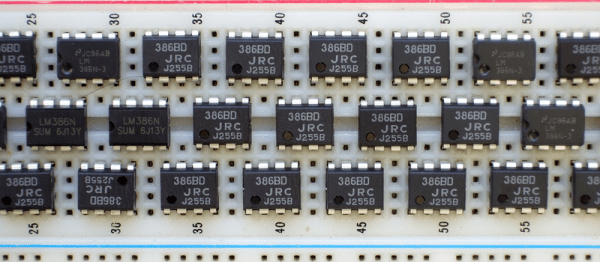
The folks at [ElectroSmash] recently released 1Wamp – a one watt, open hardware, Guitar amplifier packed with features. It consists of a JFET based pre-amplifier, a Big Muff Pi a.k.a BMP based Tone control and an LM386 power amplifier. The dual JFET pre-amp provides tube-like sound, the BMP provides a nice tonal range while the LM386 can drive various types of output’s ranging from headphones to speaker cabinets.

1Wamp had controls for Tone, Volume and Gain, a Speaker/Cabinet output, a headphone output with an integrated attenuator switch and an aux. input. The aux. input is handy as it adds any line level input signal to the guitar sound, allowing you to practice with metronome or MP3 backing tracks or drum bases. It runs off either a 9V battery or can be powered via an external power source. [ElectroSmash] have released all the native KiCad design files. If you’d like a quick look at the design, check out the Schematic PDF and the Bill of Materials. There’s also a handy assembly manual [PDF] that shows how to build it in five easy steps.

Their blog post provides extremely detailed circuit analysis of every part of the design, starting from the power supply filter to remove mains “hum” all the way through to PCB layout considerations for noise reduction. Oscilloscope screen shots provide signal analysis showing bias points and signal levels throughout the circuit. The choice of value for every component is explained, along with the consequences of changing those values. This makes it easy to customise the 1Wamp to suit individual tastes. We also noticed SPICE models for the recommended and alternative JFET transistors, in case you need to customise the design by changing component values.

There’s also a lot of audio amplifier trivia, references and links shared in their post. This includes a detailed analysis of the LM386 op-amp. Want to add some bling to your 1Wamp build? There are a lot of handy tips on how to add cool LED lighting to the amplifier if it is mounted in a standard metal enclosure. However, the PCB has some really nice graphics, so an acrylic-sandwich-type enclosures look best. Check out the video that walks through the features of the 1Wamp and shows off its performance. And while on the subject of Audio electronics, here’s one of their earlier projects – an open source Arduino guitar pedal.

Documentation to this level proves several things, most notably a love for this design and deep consideration for those who will use and modify this amplifier. It’s a great pattern to follow with your own Open Source designs.

Continue reading “1Wamp, An Open Hardware Guitar Amplifier”