Beer Pong Difficulty Level: 10

Beer pong is a fun enough game for those of a certain age, but one thing that it lacks is a way of cranking up the difficulty setting independent of the amount of beer one has consumed. At least, that was the idea [Ty] had when he came up with this automated beer pong table which allows the players to increase the challenge of this game by sliding the cups around the top of the table.

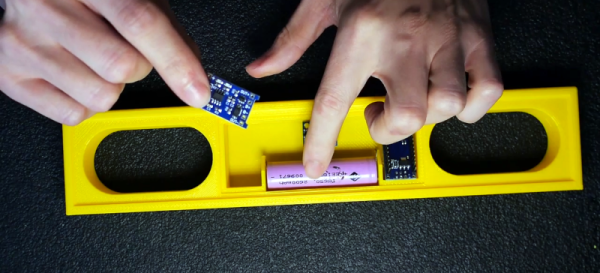
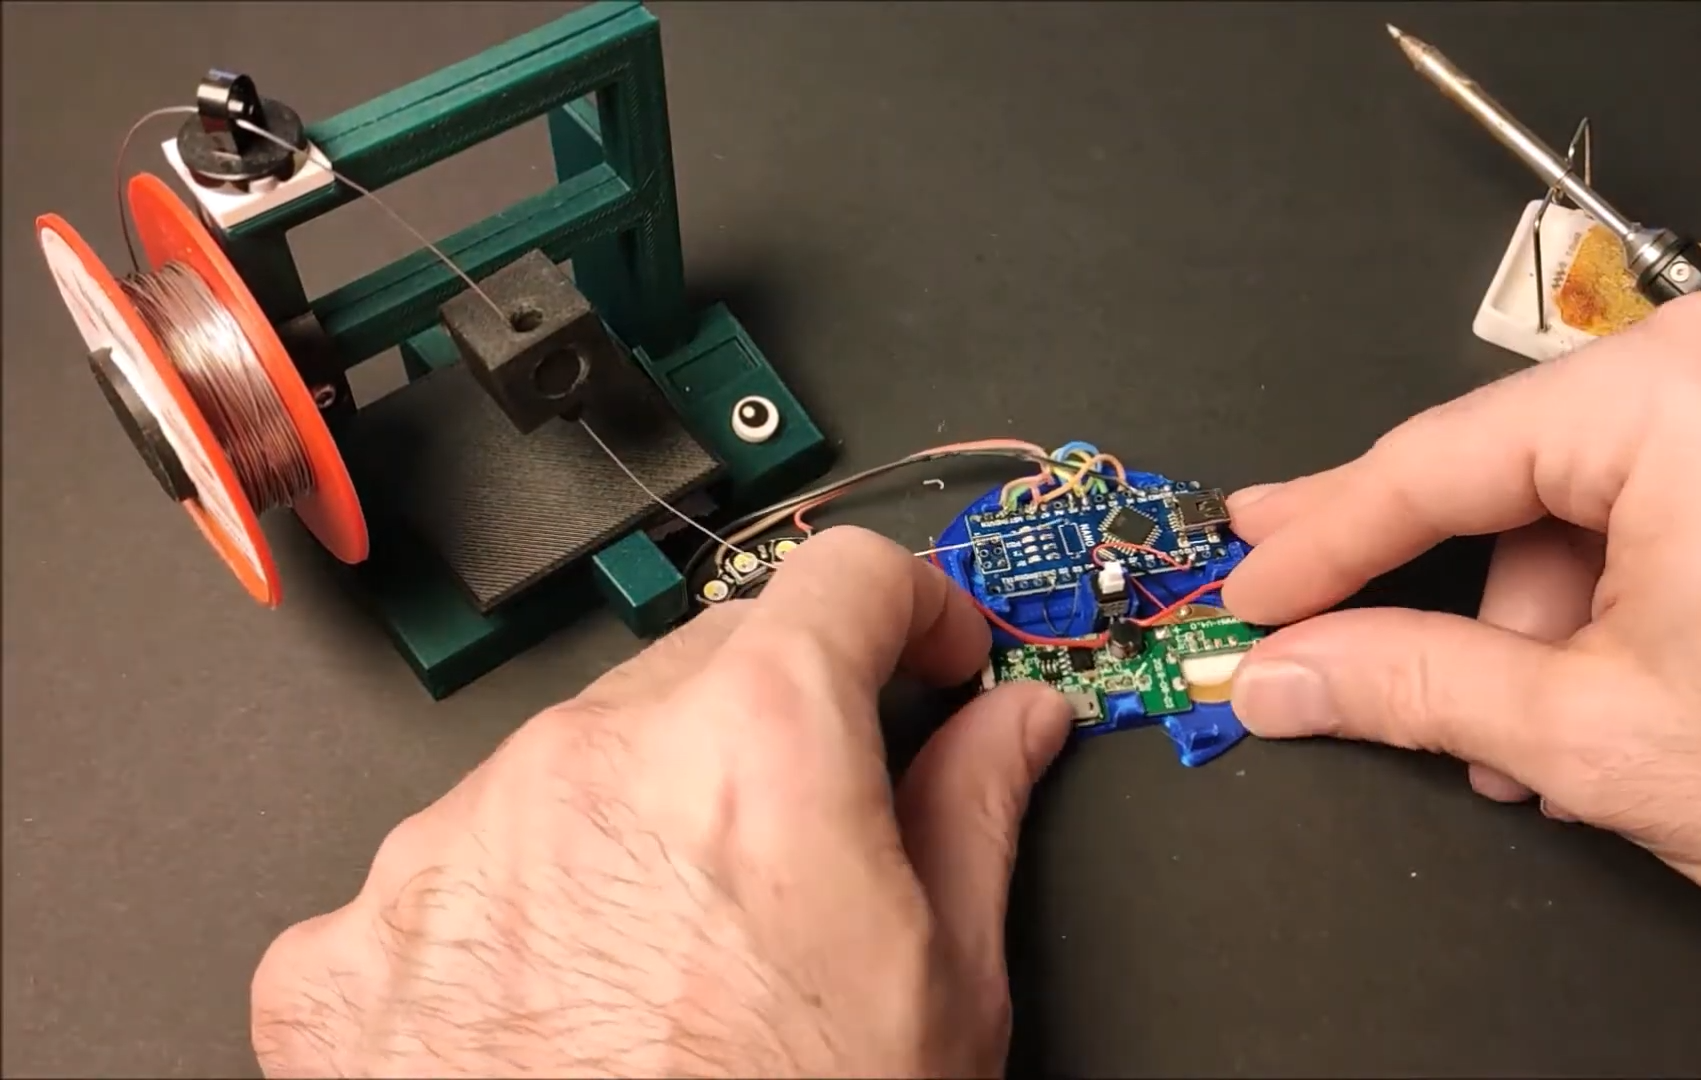
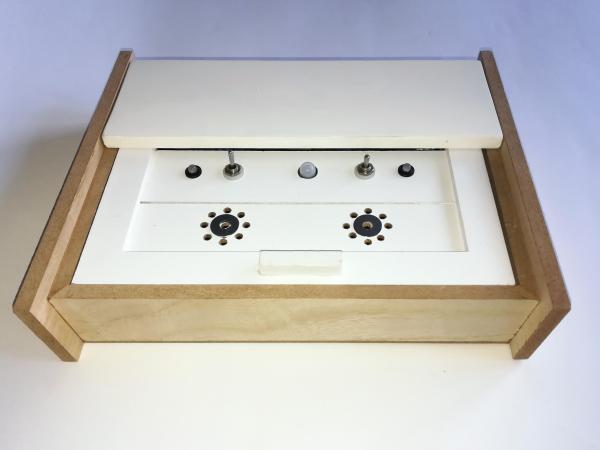
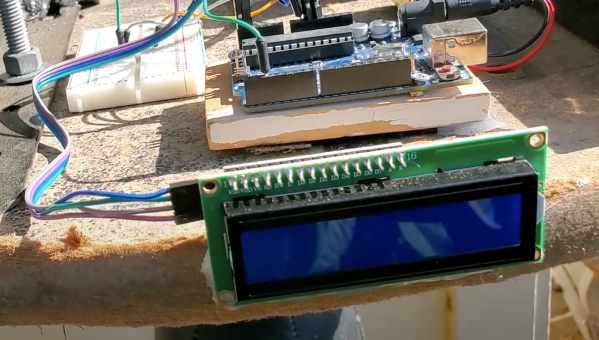
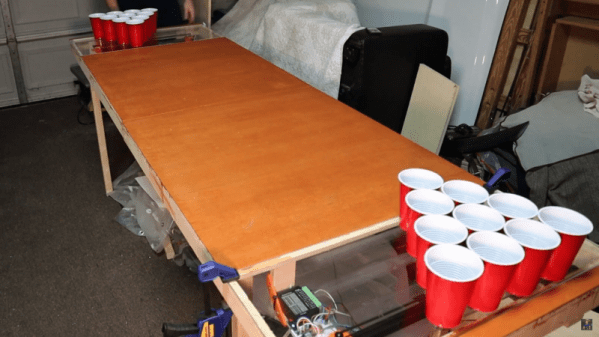
The build uses a belt-driven platform under a clear cover with a set of magnets attached. Each of the cups on the table has a corresponding magnet, which allows them to slide fairly easily back and forth on the table. The contraption is controlled by an Arudino Nano with a small screen and dial that allows the players to select a difficulty level from 1 to 10. The difficulty levels increase the speed that the cups oscillate on the table, which certainly adds another layer of complexity to this already challenging game.

While we hope to eventually see a beer pong table that can automatically arrange the cups as the game is played, we do appreciate the effort to make an already difficult game even more difficult. Of course, if you have problems with the difficulty level you might want to pick up a PongMate CyberCannon Mark III to help with those clutch beer pong shots.

Continue reading “Beer Pong Difficulty Level: 10”

Gyroscope Level Is Digital

A spirit level, you know the kind of level with a little bubble in a tube of fluid, is a basic construction tool. [DesignBuildDestroy] took an Arduino, a gyroscope chip, and an OLED, and made a 3D printed level with no bubble, but it does have a nice digital display.

It is funny when you realize that at one time a gyroscope was a high tech item reserved for missiles and aircraft. Now you can grab a six-axis sensor for pennies. Even, better, the code used in the project can offload the Arduino for a lot of processing.

Continue reading “Gyroscope Level Is Digital”

Dad Scores Big With DIY Indoor Hockey Game

We suppose it’s a bit early to call it just yet, but we definitely have a solid contender for Father of the Year. [DIY_Maxwell] made a light-up hockey game for his young son that looks like fun for all ages. Whenever the puck is hit with the accompanying DIY hockey stick (or anything else), it lights up and produces different sounds based on its acceleration.

Inside the printed puck is an Arduino Nano running an MPU6050 accelerometer, a 12-NeoPixel ring, and a piezo buzzer. [DIY_Maxell] reused a power bank charging circuit to charge up the small LiPo battery.

The original circuit used a pair of coin cells, but the Arduino was randomly freezing up, probably because of the LEDs’ current draw. Be sure to check out the video after the break, which begins with a little stop motion and features a solder stand in the shape of a 3D printer.

Got a house full of carpet or breakables? You could always build an air hockey table instead.

Continue reading “Dad Scores Big With DIY Indoor Hockey Game”

Mix It Up With A Multi-Volume Controller

What’s the use of waiting around for something to break in order to hack into something else? As long as it’s just sitting around not being used, who cares? [OmniSaiRen] had a  Behringer MIDI controller just taking up space. Instead of selling it, they decided to build it into something they would definitely use — a multi-volume controller with mute keys and other useful macros.

After gutting the case, [OmniSaiRen] gave it a couple coats of glossy white paint that looks really nice with the black keycaps and knobs. The plan was to use the original encoders, but [OmniSaiRen] replaced them with potentiometers when they couldn’t get the encoders working with the Arduino Nano. We are sad to report that Cherry Blues only made it to the build because they have all black housings and were also lying around taking up space, but maybe [OmniSaiRen] will grow to love them.

If you’re tired of all the mousing and clicking it takes to turn down this or that volume, you need to build one of these things. It runs on deej, an open source volume mixer that works with Linux and Windows, so what are you waiting for? If you only want a single hardware volume knob, you can’t go wrong dialing it in rotary style.

Via r/duino

Quick And Simple Milliohmmeter

User [mircemk] presents his “MiliOhm Meter” project which you can build with an Arduino, a handful of common parts from your lab, and a cigar box.  It doesn’t get much simpler than this, folks.  While this is something you won’t be getting calibrated with NIST traceability, it looks like a fun and quick project that’s more than suited for hobbyist measurements.  It’s not only easy to build, the Arduino sketch is less than thirty lines of code.  This is a great learning project, plus you get something useful for your lab when its finished.

We like the creative use of colored tape instead of paint on the project’s box.  If this style suits you, [mircemk] has published several other similar lab instrument projects on his Hackaday.io page, including a frequency meter, an audio spectrum analyzer, and an auto-ranging capacitance meter to name a few.  You might recognize him from some other projects we’ve featured, such as the crazy kinematic arms that set a clock’s hands every minute.

Continue reading “Quick And Simple Milliohmmeter”

Useless Box With Attitude Isn’t Entirely Useless

What is it about useless machines that makes them so attractive to build? After all, they’re meant to be low-key enraging. At this point, the name of the game is more about giving that faceless enemy inside the machine a personality more than anything else. How about making it more of a bully with laughter and teasing? That’s the idea behind [alexpikkert]’s useless machine with attitude — every time you flip a switch, the creature of uselessness inside gets a little more annoyed.

In this case the creature is Arduino-based and features two sound boards that hold the giggles and other sounds. There are three servos total: one for each of the two switch-flipping fingers, and a third that flaps the box lid at you. This build is wide open, and [alexpikkert] even explains how to repurpose a key holder box for the enclosure. Check out the demo after the break.

We love a good useless machine around here, especially when they take a new tack. This one looks like any other useless machine, but what’s happening inside may surprise you.

Continue reading “Useless Box With Attitude Isn’t Entirely Useless”

How Many Punches Does It Take?

Do you ever wonder just how many punches you have thrown? The answer is going to be different if you happen to use a punching bag as part of your exercise routine. So is the case with the [DuctTapeMechanic] and while restoring an old speed ball punching bag, he decided to combine his passions for sports and electronics by adding a punch counter.

Perhaps most interesting in this build is the method used to monitor the bag. A capacitance proximity sensor most often used for industrial automation is mounted in the wooden base. He just calls it “an NPN capacitive sensor” without mentioning part number but these are rather easy to find from the usual places. It has no problem sensing each punch — assuming you swing strong enough so that the bag comes near the sensor. Two battery packs, an Arduino, and an optocoupler round out the bill of materials. We were a little disappointed not to see any duct tape in the construction of this project, but since the electronics are outside and exposed to the elements, maybe duct tape will be used to install a roof in a future episode.

The [DuctTapeMechanic] likes to repurpose items which would otherwise be thrown away, which is something to be applauded. The frame of this punching bag was welded from a discarded metal bed frame (a regular occupant of crawl spaces and self storage places), and you might remember he repurposed the electric motor from a discarded clothes dryer last month, changing it into a disk sander.

Continue reading “How Many Punches Does It Take?”