Millions of people all over the world don’t have access to clean drinking water, and it’s largely because of pollution by corporations and individuals. Solving this problem requires an affordable, scalable way to quickly judge water quality, package the data, and present it to an authority that can crack down on the polluters before the evidence dissipates. Ideally, the solution would be open source and easy to replicate. The more citizen scientists, the better.
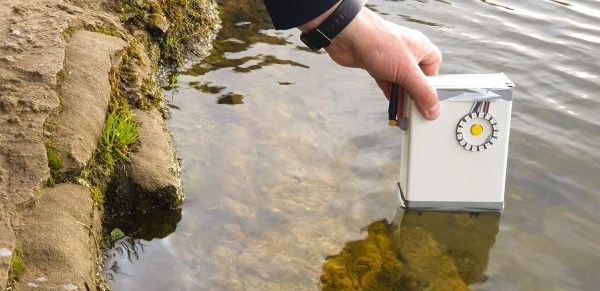
[Andrei Florian]’s UnifiedWater flows directly from this line of thinking. Dip this small handheld device below the surface, and it quickly takes a bunch of water quality and atmospheric readings, averages them, and sends the data to a web dashboard using an Arduino MKR GSM.
UnifiedWater judges quality by testing the pH and the turbidity of the water, which gauges the amount of impurities. Commercial turbidity sensors work by measuring the amount of light scattered by the solids present in a liquid, so [Andrei] made a DIY version with an LED pointed at a photocell. UnifiedWater also reads the air temperature and humidity, and reports its location along with a timestamp.
This device can run in one of two modes, depending on the application. The enterprise mode is designed for a fleet of devices placed strategically about a body of water. In this mode, the devices sample continuously, taking readings every 15 minutes, and can send notifications that trigger on predefined thresholds. There’s also a one-and-done individual mode for hikers and campers who need to find potable water. Once UnifiedWater takes the readings, the NeoPixel ring provides instant color-coded judgment. Check out the demo after the break.
Continue reading “UnifiedWater Finds Potable Water And Stops Polluters”