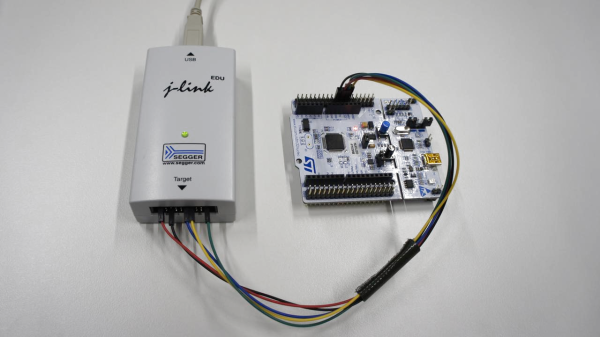
In a perfect world, everything would be open source. Our current world, on the other hand, has a lot of malicious actors and people willing to exploit trade secrets if given the opportunity, so chip manufacturers take a lot of measures to protect their customers’ products’ firmware. These methods aren’t perfect, though, as [zapb] shows while taking a deeper look into an STM microcontroller.
The STM32F0 and F1 chips rely on various methods of protecting their firmware. The F0 has its debug interface permanently switched off, but the F1 still allows users access to this interface. It uses flash memory read-out protection instead, which has its own set of vulnerabilities. By generating exceptions and exploiting the intended functions of the chip during those exceptions, memory values can be read out of the processor despite the memory read-out protection.
This is a very detailed breakdown of this specific attack on theses controllers, but it isn’t “perfect”. It requires physical access to the debug interface, plus [zapb] was only able to extract about 94% of the internal memory. That being said, while it would be in STM’s best interests to fix the issue, it’s not the worst attack we’ve ever seen on a piece of hardware.
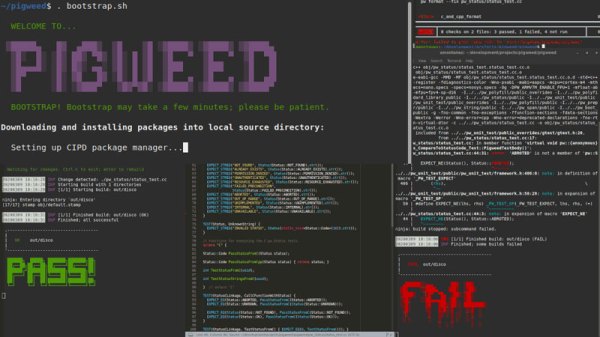
Setting up an environment for Embedded Development was traditionally a pain and so vendors provide integrated development environments to help bridge the gap. Google has open-sourced their version of an embedded targeted environment designated as embedded-targeted libraries which they trademarked Pigweed.
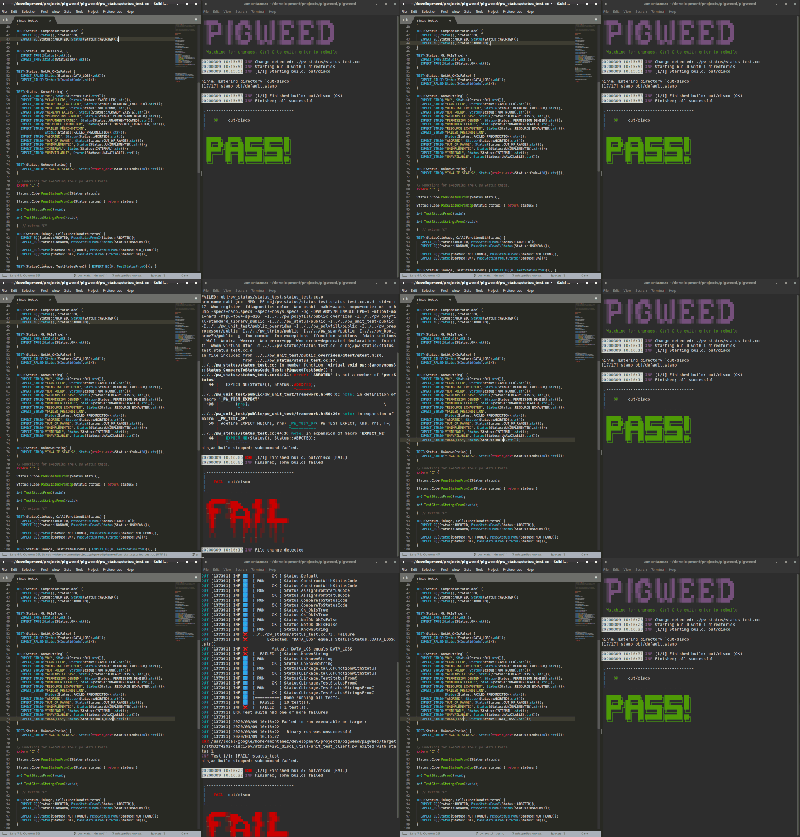
The repository contains what Google is calling modules but taking a better look reveals that it a little more than that. Packaged in a Python Virtual Environment is a number of tools including an ARM compiler, the clang-format tool and Python 3.8 interpreter which runs more than a few things. The modules that come with Pigweed assist developers by running micro-automations such as the pw_watch module that monitors files for change and triggers a build, test and even flash and debug on hardware. There is also a module that allows pre-submit checks such as linting and formatting.
Google still does not consider this offering production ready though from what we have seen so far, it is a great place for many to start experimenting with for their embedded development automation needs. Anyone tried it out yet?
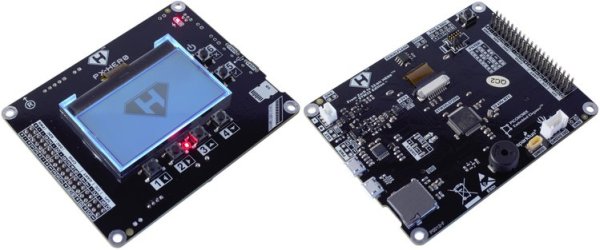
The ARM series of processors are an industry standard of sorts for a vast array of applications. Virtually anything requiring good power or heat management, or any embedded system which needs more computing power than an 8-bit microcontroller is a place where an ARM is likely found. While they do appear in various personal computers and laptops, [Pieter] felt that their documentation for embedded processors wasn’t quite as straightforward as it could be and created this development board which will hopefully help newbies to ARM learn the environment more easily.
Called the PX-HER0, it’s an ARM development board with an STM32 at its core and a small screen built in. The real work went in to the documentation for this board, though. Since it’s supposed to be a way to become more proficient in the platform, [Pieter] has gone to great lengths to make sure that all the hardware, software, and documentation are easily accessible. It also comes with the Command Line Interpreter (CLI) App which allows a user to operate the device in a Unix-like environment. The Arduino IDE is also available for use with some PX-HER0-specific examples.
[Pieter] has been around before, too. The CLI is based on work he did previously which gave an Arduino a Unix-like shell as well. Moving that to the STM32 is a useful tool to have for this board, and as a bonus everything is open source and available on his site including the hardware schematics and code.
Back in the last century, the US Department of Defense declared that Ada was going to be used everywhere and for everything. Books were published, schools build curriculum. Working programmers, however, filled out waivers to continue working in their languages of choice. As a result, only a little bit of safety-critical software really used Ada. However, we’ve noticed a bit of a resurgence lately. Case in point: an RC car using Ada for the brains. You can watch it tool around in the video below.
This isn’t the first time we’ve heard about Ada in the past few months. Partially, this could be because of the availability of the GNU compiler, although that’s been around since 1995, so maybe there’s another explanation. Ada’s strong typing does tend to plug holes that hackers exploit, so while we would hate to say it is hack proof, it certainly is hack resistant compared to many popular languages.
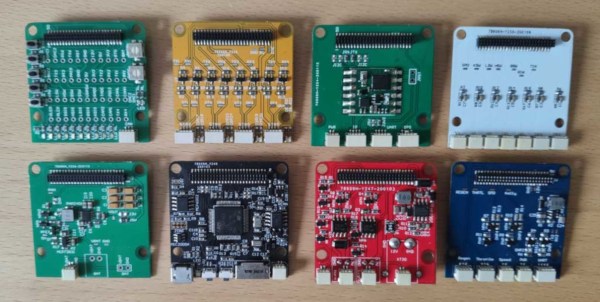
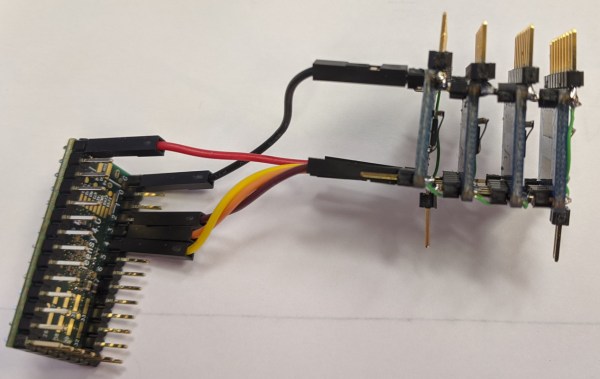
There’s no better way of improving a project than logging data to make informed decisions on future improvements. When it came to [Brian]’s latest project, an electric bike, he wanted to get as much data as he could from the time he turned it on until the time he was finished riding. He turned to a custom pyBoard-based device (and wrote it up on Hackaday.io), but made it stackable in order to get as much information from his bike as possible.
This isn’t so much an ebike project as it is about a microcontroller platform that can be used as a general purpose device. All of the bike’s controls flow through this device as a logic layer, so everything that can possibly be logged is logged, including the status of the motor and battery at any given moment. This could be used for virtually any project, and the modular nature means that you could scale it up or down based on your specific needs. The device is based on an ARM microcontroller so it has plenty of power, too.
While the microcontroller part is exceptionally useful ([Brian] talks about some of its other uses here and gives us even more data on his personal webpage), we shouldn’t miss the incredible bike that [Brian] built either. It has a 3 kW rear hub motor and can reach speeds of around 60 mph. While we let the commenters below hash out the classic argument of “bicycle vs. motorcyle” we’ll be checking out some electric vehicles that are neither.
Driving more than a handful of LEDs from a microcontroller is often a feat that takes tedious wiring, tricking the processor, or a lot of extra external hardware. Charlieplexing is perhaps the most notorious of these methods, and checks two of those three boxes. This library for the Teensy 4.0 checks all three, but it can also drive a truly staggering 32,000 LEDs at one time.
The TriantaduoWS2811 library is able to drive 32 channels of LEDs from a Teensy 4.0 using only three pins and minimal processor resources. It uses the FlexIO and DMA subsystems of the i.MX RT1062, the particular ARM processor on the Teensy, to drive four external shift registers. Together, the system is able to achieve 30 frames per second on with 1,000 LEDs per channel, for a total of 32,000 LEDs. Whoah.
[Ward] aka [wramsdell] wondered what one would do with all of the horsepower of a Teensy microcontroller when he first saw its specifications, and was able to build this project to take advantage of its features. What’s surprising, though, is that it doesn’t use nearly everything the processor is capable of, so you can do other tasks at the same time as driving that giant LED display.
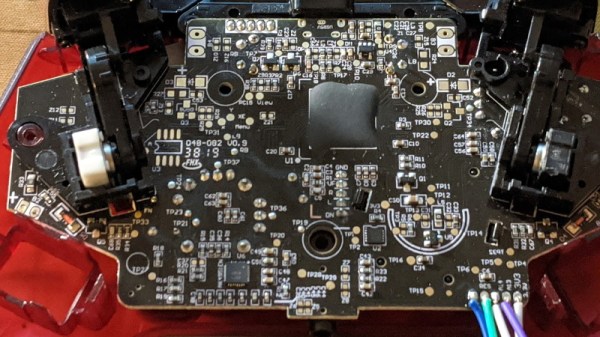
It’s amazing to see how much technology is packed into even the “simple” devices that we take for granted in modern life. Case in point, the third party Xbox controller that [wrongbaud] recently decided to tear into. Not knowing what to expect when he cracked open its crimson red case, inside he found an ARM Cortex microcontroller and a perfect excuse to play around with Serial Wire Debug (SWD).
Though even figuring out that much took a bit of work. As is depressingly common, all the interesting components on the controller’s PCB were locked away behind a black epoxy blob. He had no idea what chip was powering the controller, much less that debugging protocols it might support. But after poking around the board with his multimeter, he eventually found a few test points sitting at 3.3 V which he thought was likely some kind of a programming header. After observing that pulling the line labelled “RES” low reset the controller, he was fairly sure he’d stumbled upon a functional JTAG or SWD connection.
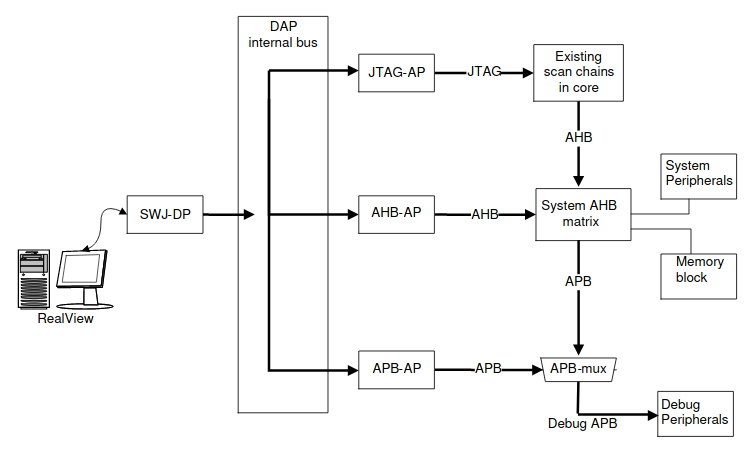
The Serial Wire Debug architecture.
As [wrongbaud] explains in his detailed blog post, SWD is something of a JTAG successor that’s commonly used by ARM hardware. Using just two wires (data and clock), SWD provides hardware debugging capabilities on pin constrained platforms. It allows you to step through instructions, read and write to memory, even dump the firmware and flash something new.
For the rest of the post, [wrongbaud] walks the reader through working with an SWD target. From compiling the latest version of OpenOCD and wiring an FTDI adapter to the port, all the way to navigating through the firmware and unlocking the chip so you can upload your own code.
To prove he’s completely conquered the microcontroller, he ends the post by modifying the USB descriptor strings in the firmware to change what it says when the controller is plugged into the computer. From here, it won’t take much more to get some controller macros like rapid fire implemented; a topic we imagine he’ll be covering in the future.

 Google