At heart, 3D printers are just machines that can melt plastic “wire” into interesting shapes. It’s well-known and oft-lamented that plastic of various sorts has been used to make all manner of household objects that might eventually end up in landfill or otherwise littering the environment. With these facts in mind and a surplus of tape, [brtv-z] decided to see if he could recycle some old reel-to-reel audio tapes into working filament for a 3D printer.

This isn’t the first time he has tried to print with unusual second-hand polymers, back in 2020 he pulled of a similar trick using VHS tape. Through experimentation, it was soon determined that seven strands of quarter-inch tape could be twisted together and fused to form a very tough-looking filament approximately 1.7 mm in diameter, which could then be fed into the unsuspecting printer.
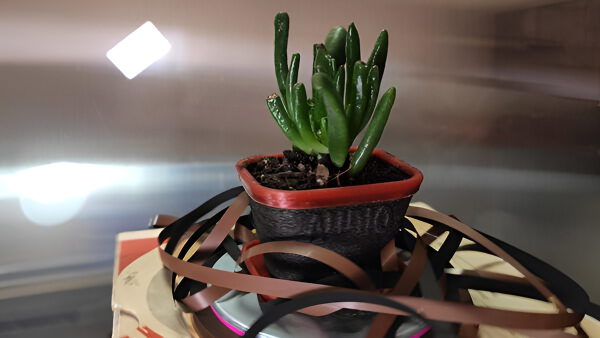
The resulting prints are certainly different in a number of respects from using virgin filament. The material is porous, brittle and (unsurprisingly) rather rusty-looking, but it does have some interesting properties. It retains its magnetism and it catches the light in an unusual way. The video is after the break (in Russian, but YouTube does a reasonable job of generating English captions).
Don’t have any tape handy? No worries, we’ve also covered machines that can recycle plastic waste into filament before. In fact, two of them even won the 2022 Hackaday Prize. What else could you melt down that might otherwise be thrown away?
Continue reading “3D Printer Filament From Reel-to-Reel Audio Tapes”
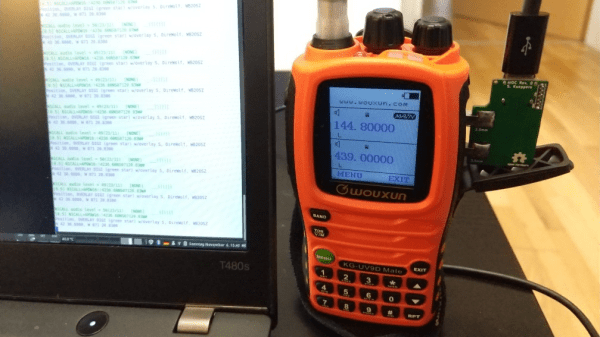
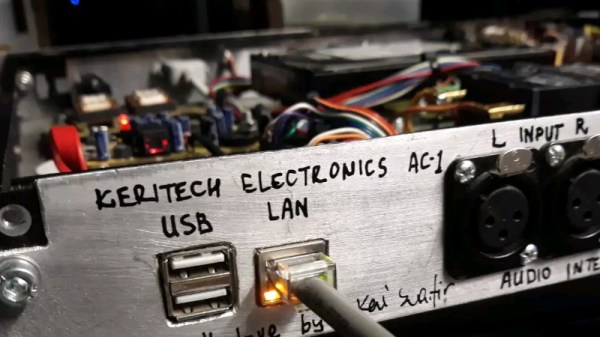
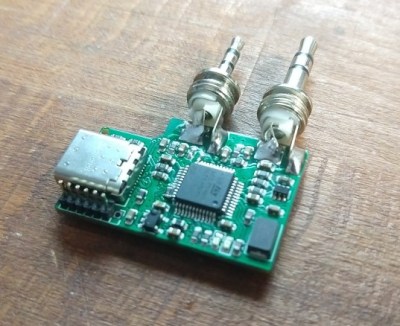 sound card as well as a virtual serial device, so interfacing to practically any host computer should be plug-and-play. Connection to the radio uses 12mm separation 3.5mm and 2.5mm TRS connectors, so is compatible with at least the Baofeng UV-5R but likely many other cheap transceivers that have the same physical setup.