Backpack Board For OLEDs Boasts Fancy Features

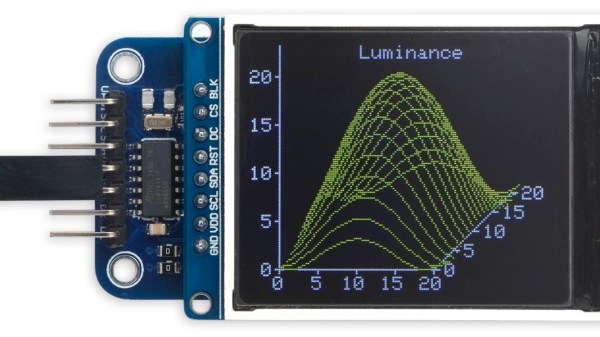
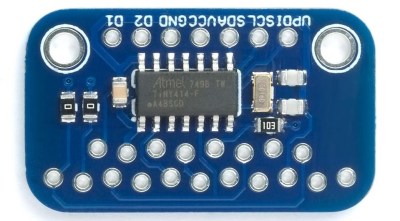
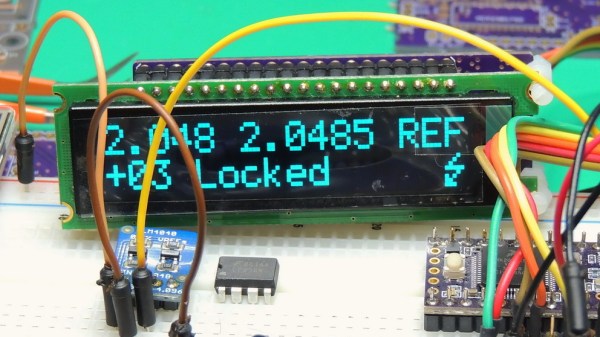
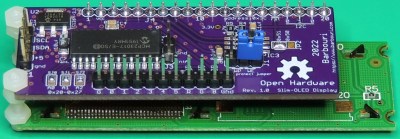
Back when LCD character displays based on the HD44780 controller were the bee’s knees, a way to make them easier to work with came in the form of “backpack” PCBs, which provided an accessible serial interface and superior display handling at the same time. [Barbouri] has updated that idea with a backpack board that mounts to OLED displays using the US2066 display driver, and provides an I2C interface with powerful and convenient high-level functions that make the display simple to use.

On the software side, the backpack uses this I2cCharDisplay driver project which provides functions like cursor control, fading, display shifting, and of course writing characters or strings. While [Barbouri] designed the board specifically to accommodate Newhaven Slim Character OLED displays, it should in theory work with any US2066-based OLED character display. [Barbouri]’s design files for the Slim-OLED Display backpack board are available for download directly from the project page (link is near the bottom), or boards can be purchased directly from OSH Park.

OLED technology is nifty as heck; we’ve seen some neat tricks done by stacking transparent OLED displays, and even seen OLEDs made in the home lab.

What If I Never Make Version Two?

When you make something, what does version one look like? What I mean is, how much thought do you put into the design? Do you try to make it look nice as you go along, or do you just build something that functions and say screw the presentation? Do you try to solve for everything upfront, or just plow through it and promise to fix your mistakes in version two? What if you never make version two?

No matter what you like to make, there’s a first time for everything. And it doesn’t seem to matter if you need the thing you’re making or just want to have it around: it’s a given that version one will probably be a bit rough around the edges. That’s just how it goes. Even if you’re well-versed in a skill, when you try a new type of project or a new pattern, it will be a new experience. For example, I’ve sewn a dozen different purses, but when I took on a new challenge I found I was only somewhat prepared to make my first backpack.

Great is the enemy of good, and perfection is the enemy of progress. Shooting for a pristine prototype on the first go steep and rocky path that never leads to finishing the build. So our goal here is to decide what makes rev1 good enough that we still love it, even if rev2 never happens.

Continue reading “What If I Never Make Version Two?”

Evolution Of A Backpack VR System

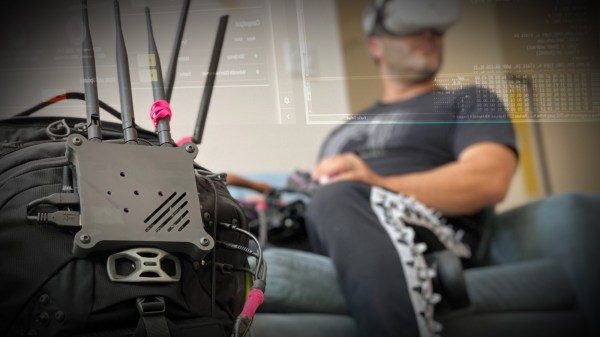
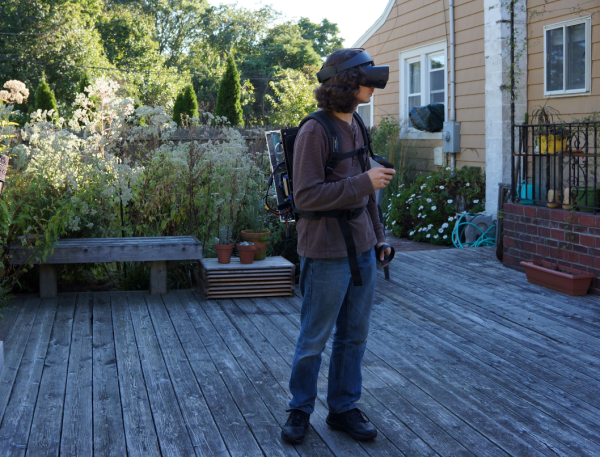
Persistence is what a hacker needs to make it to their goal. That’s exactly what it took for [Erik] to make an untethered VR backpack system.

Starting way back in the Spring of 2019, [Erik] began working on an untethered VR system. Sure, the Oculus Quest was coming out, but it wouldn’t be compatible with the game library of PC based systems. [Erik] decided he wanted the best of both worlds, so he decided to build a backpack that carries a computer powerful enough to drive the Rift S.

The initial system was to use a cut-up backpack, an HP mini PC with an external Nvidia 1060 GPU, and a basic DC-DC converter. The result? Just about nothing worked. The HP’s boot process didn’t play well with an external GPU.

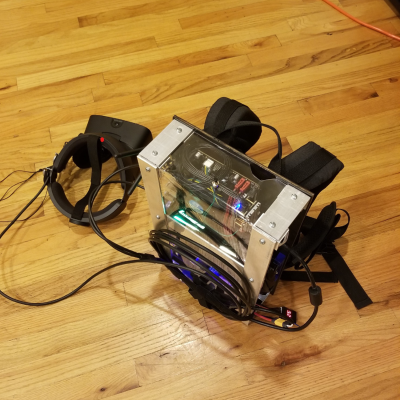
[Erik] went through several iterations of this project. He switched over to a standard PC motherboard and tried a few different DC-DC converters. He settled on a device from HDPLEX rated at 200 watts continuous. The converter plugs directly into a standard 24-pin ATX motherboard power connector and isn’t much larger than the connector itself.

The old backpack with its added padding and wood frame gave way to a Zotac VR go backpack. Only the straps and frame of the Zotac are used, with [Erik’s] custom parts mounted using plywood and 3D printed parts. The outer frame is aluminum, with acrylic panels.

Power comes from 7000 mAH LiFe batteries, with each pack providing an hour of runtime. The Backpack can hold two packs though, so wiring them up in parallel should double that runtime.

We have to say this is an extremely well-documented build. [Erik] explains how he chose each component and the advantages (and pitfalls) of the choices he made. An example would be the RAM he picked. He chose DDR4 with a higher spec than he needed, just so he could undervolt the parts for longer run-times.

Not everything in VR is fun and games though – you can ditch that monitor and go with a VR desktop.

Driving A 16×2 LCD With Voltage Modulation

The basic 16×2 LCD is an extremely popular component that we’ve seen used in more projects than we could possibly count. Part of that is because modern microcontrollers make it so easy to work with; if you’ve got an I2C variant of the display, it only takes four wires to drive it. That puts printing a line of text on one of these LCDs a step or two above blinking an LED on a digital pin on the hierarchy of beginner’s electronics projects.

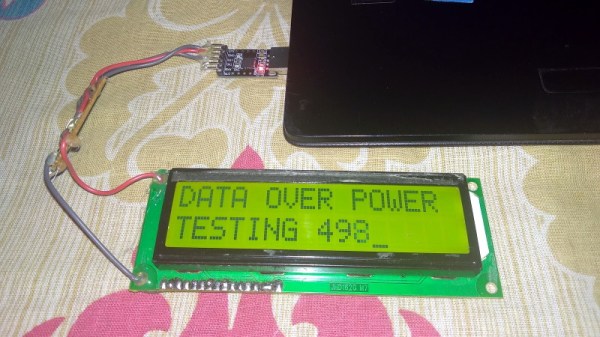
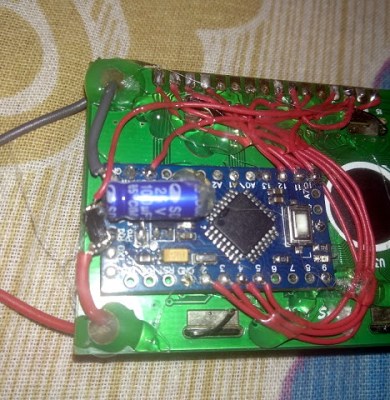
What’s that? Even four wires is too many? In that case, you might be interested in this hack from [Vinod] which shows how you can drive the classic 16×2 with data and power on the same pair of wires. You’ll still need a microcontroller “backpack” for the LCD to interpret the modulated voltage, but if you’ve got an application for a simple remote display, this is definitely worth checking out.

The basic idea is to “blink” the 5 V line so quick that a capacitor on the LCD side can float the electronics over the dips in voltage. As long as one of the pins of the microcontroller is connected to the 5 V line before the capacitor, it will be able to pick up when the line goes low. With a high enough data rate and a large enough capacitor as a buffer, you’re well on the way to encoding your data to be displayed.

For the transmitting side, [Vinod] is using a Python script on his computer that’s sending out the text for the LCD over a standard USB to UART converter. That’s fed into a small circuit put together on a scrap of perfboard that triggers a MOSFET off of the UART TX line.

We actually covered the theory behind this technique years ago, but it’s always interesting to see somebody put together a real-world example. There might not be too many practical uses for this trick in the era of dirt-cheap microcontrollers bristling with I/O, but it might make a fun gag at your hackerspace.

Continue reading “Driving A 16×2 LCD With Voltage Modulation”

Robots Invade Your Personal Space

If you have ever had to complete a task such as building a LEGO model over a remote connection, you will know that the challenges are like an absurd grade school group project. The person giving directions often has trouble describing what they are thinking, and the person doing the work has trouble interpreting what the instructor wants. “Turn the blue block over. No, only half way. Go back. Now turn it. No, the other way. NO! Not clockwise, downward. That’s Upward! Geez. Are you even listening‽” Good times.

While you may not be in this situation every day, the Keio University of Japan has an intuitive way to give instructors a way to physically interact with an instructee through a Moore/Swayze experience. The instructor has a camera in typical pirate parrot placement over the shoulder. Two arms are controlled by the instructor who can see through stereoscopic cameras to have a first-person view from across the globe. This natural way to interact with the user’s environment allows muscle memory to pass from the instructor to the wearer.

For some of the other styles of telepresence, see this deep-sea bot and a cylindrical screen that looks like someone is beaming up directly from the holodeck.

Continue reading “Robots Invade Your Personal Space”

Bouncing Pack Eases Those Tired Shoulders

If you are a hillwalker, wherever your preferred stomping ground may be you’ll know the importance of a pack with a good strap system. A comfortable pack will make the difference between tiredness and agony, and can easily add a considerable difference to your daily range.

At Arizona State University’s Human Integration Laboratory, they were approached by the US Army to investigate means by which the effect of carrying a heavy backpack could be mitigated. A soldier’s full kit is extremely heavy, and while the best available webbing systems will make a contribution to the comfort of carrying it, they can only go so far. There is still the jarring effect of the impulse force of such a significant load bearing down on the soldier’s shoulders as it comes down after every step, and this when taken over a lengthy march makes a significant difference to overall endurance.

The ASU lab’s solution was to mount the load on a spring-loaded vertical actuator attached to the pack harness and frame. The on-board microcontroller judges the moment of maximum downward impulse force as the wearer comes down from a step, and applies a corresponding upward force to the actuator. Power comes from a lithium-ion battery pack. The effect is to make the load oscillate up and down, and to lessen the wear and tear on the shoulders. It does not reduce the weight you are carrying, but it does lift it off your shoulders for an instant just when you need it.

There is a video of it being tested in the sun-drenched Arizona mountains, that we’ve placed below the break.

Continue reading “Bouncing Pack Eases Those Tired Shoulders”

Two-wire Serial Backpack For GLCD Screens

[Debraj] wrote in about his 2-wire serial backpack he developed for a Graphic LCD screen. It’s build on a hunk of protoboard and uses a pair of 595 shift registers to translate incoming serial data to the parallel interface which is used by the LCD screen. It takes more time to push commands this way, but the interface is still quite snappy as you can see in the clip after the jump.

The real trick here is how the hardware has been configured to get away without a third wire for latching the shift registers (if you need a primer on 595 chips check out this feature). The idea of using a latch is that all of the data can be shifted in over the serial pin before it appears on the output pins. Otherwise, the GLCD would see each bit as it shifts into the register, wreaking havoc on its communication protocol. [Debraj] gets around this by using a diode AND gate trick he learned from this other serial LCD project.

One good thing about this method is the 595 chips have a wide range of control voltage that will allow you to drive this with 3.3V or 5V microcontrollers. But you do need to implement the communication protocol and push those commands via serial. For nearly the same cost in chips something like an ATtiny2313 could be substituted to make an even simpler addressing scheme — or even switch to 1-wire protocol. But you’d then lose the wide input voltage tolerance.

Continue reading “Two-wire Serial Backpack For GLCD Screens”