Lens Mount

X-Ray Imaging Camera Lens Persuaded To Join Micro Four Thirds Camera

Anyone who is into photography knows that the lenses are the most expensive part in the bag. The larger the aperture or f-stop of the lens, the more light is coming in which is better for dimly lit scenes. Consequently, the price of the larger glass can burn a hole in one’s pocket. [Anthony Kouttron] decided that he could use a Rodenstock TV-Heligon lens he found online and adapt it for his micro four-third’s camera.

The lens came attached to a Fischer Imaging TV camera which was supposedly part of the Fluorotron line of systems used for X-ray imaging. We find [Anthony’s] exploration of the equipment, and discovery of previous hacks by unknown owners, to be entertaining. Even before he begins machining the parts for his own purposes, this is an epic teardown he’s published.

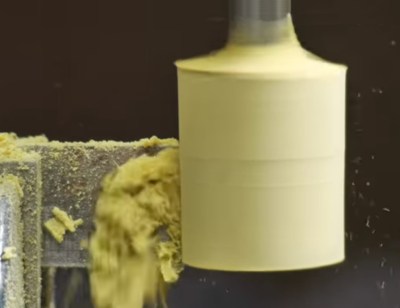
Since the lens was originally mounted on a brass part, [Anthony Kouttron] knew that it would be rather easy to machine the custom part to fit standardized lens adapters. He describes in detail the process for cleaning out the original mount by sanding, machining and threading it. Along the way you’ll enjoy his tips on dealing with a part that, instead of being a perfect circle on the outside, had a formidable mounting tab (which he no longer needed) protruding from one side.

The video after the break shows the result of shooting with a very shallow depth of field. For those who already have a manual lens but lack the autofocus motor, a conversion hack works like a charm as well.

Continue reading “X-Ray Imaging Camera Lens Persuaded To Join Micro Four Thirds Camera”

Budget Astrophotography With A Raspberry Pi

New to astrophotography, [Jason Bowling] had heard that the Raspberry Pi’s camera module could be used as a low-cost entry into the hobby. Having a Raspberry Pi B+ and camera module on hand from an old project, he dove right in, detailing the process for any other newcomers.

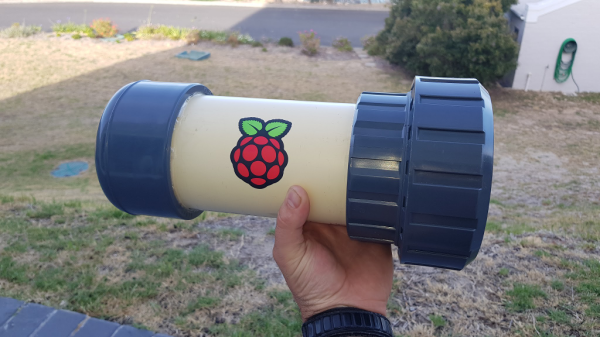
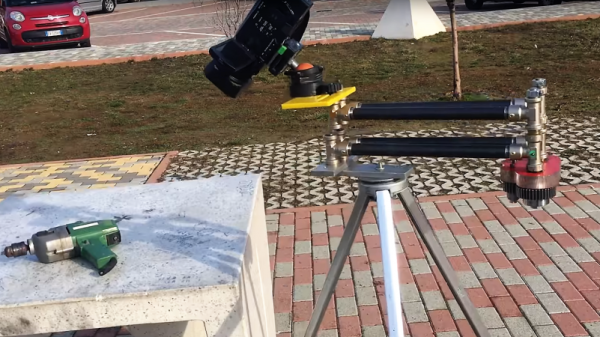
Gingerly removing the camera’s lens, the module fit snugly into a 3D printed case — courtesy of a friend — and connected it to a separate case for the Pi. [Bowling] then mounted he camera directly on the telescope — a technique known as prime-focus photography, which treats the telescope like an oversized camera lens. A USB battery pack is perfect for powering the Pi for several hours.

When away from home, [Bowling] has set up his Pi to act as a wireless access point; this allows the Pi to send a preview to his phone or tablet to make adjustments before taking a picture. [Bowling] admits that the camera is not ideal, so a little post-processing is necessary to flesh out a quality picture, but you work with what you have.
Continue reading “Budget Astrophotography With A Raspberry Pi”

$8 3D Printed Photo Turntable Uses Upcycled Parts

Whether you’re selling a product or just showing off your latest project, a photo turntable makes video shots a lot easier.  360° turntables allow the viewer to see every side of the object being photographed, while the camera stays locked down. Motorized turntables are available as commercial products costing anywhere from $30 to $150 or so. Rather than shell out cash, [NotionSunday] decided to create his own turntable using a few parts he had on hand and 3D printing everything else.

The motor for the turntable came from the eject mechanism of an old DVD-ROM drive. An Arduino Pro Mini controls the motor’s speed using an MX1508 H-bridge chip. Power comes from an 18650 Li-Ion battery. The whole assembly spins on the head assembly from a VCR.

Before you jump in on the comments, yes, VCR heads have motors. However, they’re typically brushless motors rated for 1,800 RPM. Running a motor like that at low-speed would mean rewinding the coils. In this case, using a DC motor and gear drive was the easier option.

[NotionSunday] 3D printed the turntable base and mount. The mount uses a magnet arrangement that makes it easy to switch between freewheeling or belt driven operation. The turntable itself is posterboard, with 3D printed edges.

Click through the break to see the whole video.

Continue reading “$8 3D Printed Photo Turntable Uses Upcycled Parts”

Turn That Pi Zero Into A Streaming Camera, Step-by-Step

What makes [mwagner1]’s Raspberry Pi Zero-based WiFi camera project noteworthy isn’t so much the fact that he’s used the hardware to make a streaming camera, but that he’s taken care to document every step in the process from soldering to software installation. Having everything in one place makes it easier for curious hobbyists to get those Pi units out of a drawer and into a project. In fact, with the release of the Pi Zero W, [mwagner1]’s guide has become even simpler since the Pi Zero W now includes WiFi.

Using a Raspberry Pi as the basis for a WiFi camera isn’t new, but it is a project that combines many different areas of knowledge that can be easy for more experienced people to take for granted. That’s what makes it a good candidate for a step-by-step guide; a hobbyist looking to use their Pi Zero in a project may have incomplete knowledge of any number of the different elements involved in embedding a Pi such as basic soldering, how to provide appropriate battery power, or how to install and configure the required software. [mwagner1] plans to use the camera as part of a home security system, so stay tuned.

If Pi Zero camera projects catch your interest but you want something more involved, be sure to check out the PolaPi project for a fun, well-designed take on a Pi Zero based Polaroid-inspired camera.

The Enchanting Power Of SDDSbot

Who doesn’t love a good robot? If you don’t — how dare you! — then this charming little scamp might just bring the hint of a smile to your face.

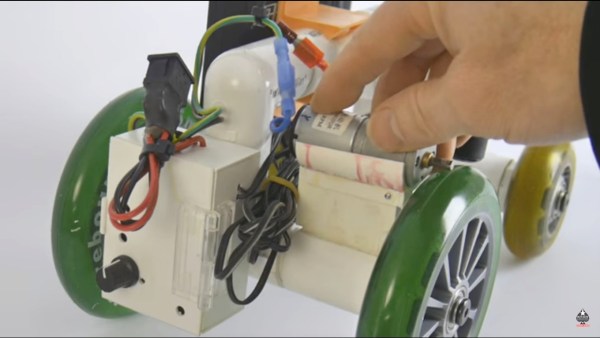
SDDSbot — built out of an old Sony Dynamic Digital Sound system’s reel cover — can’t do much other than turn left, right, or walk forwards on four D/C motor-controlled legs, but it does so using the power of a Pixy camera and an Arduino. The Pixy reads colour combinations that denote stop and go commands from sheets of paper, attempting to keep it in the center of its field of view as it toddles along. Once the robot gets close enough to the ‘go’ colour code, the paper’s  orientation directs the robot to steer itself left or right — the goal being the capacity to navigate a maze. While not quite there yet, it’s certainly a handful as it is.

Continue reading “The Enchanting Power Of SDDSbot”

Old Thermometer Gets New Eyes

As much as we’d like to have the right tools for the right job all of the time, sometimes our parts drawers have other things in mind. After all, what’s better than buying a new tool than building one yourself from things you had lying around? That’s at least what [Saulius] must have been thinking when he needed a thermometer with a digital output, but only had a dumb, but feature-rich, thermometer on hand.

Luckily, [Saulius] had a webcam lying around as well as an old thermometer, and since the thermometer had a LCD display it was relatively straightforward to get the camera to recognize the digits in the thermometer’s display. This isn’t any old thermometer, either. It’s a four-channel thermometer with good resolution and a number of other useful features (with an obvious lack of communications abilities), so it’s not something that he could just overlook.

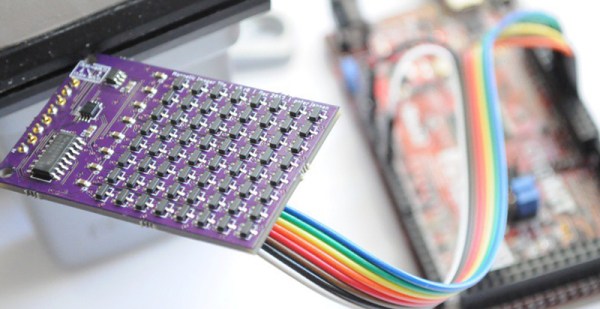
Once the camera was mounted to an arm and pointed at the thermometer’s screen, an algorithm running on a computer detects polygons and reports its information into a CSV file. This process is made simpler by the fact that LCD screens like this are very predictable. From there, the data is imported into LibreOffice and various charts and graphs can be made.

Although perhaps not the most elegant of hacks, sometimes you have to work with the supplies that are on hand at the time. Sometimes the tools you need are too expensive, politically dangerous, or too impractical to obtain. To that end [Saulius]’s hack is a great example of what hacks are possible with the right mindset.

Can A Bundle Of Soda Straws Be A Camera?

This one is hard to classify. Is it a hack, or is it art? Perhaps it’s both. However you want to classify it, it’s pretty cool to turn a bundle of drinking straws into a camera.

strawcamera_012
Click for larger image

If you’re looking for the technology here, you won’t find much. There’s no lens, no shutter, and no electronics of any kind in [Mick Farrell] and [Cliff Haynes]’ Straw Camera. This is literally a box full of drinking straws standing on end, with a sheet of photo paper behind it. Each straw sends a spot of light that represents the average hue and luminance of its limited view of the subject directly to the film. The process of making an exposure consists of composing the scene, turning out the lights, loading the camera, and setting off a flash.

The resulting images are defocused but recognizable, like seeing familiar sights through a heavy fog. The straws make a strong texture over the ghostly image of the subject – indeed, the straws are the only thing in focus. The fact that the straws don’t form a perfect honeycomb due to settling and imperfections in the bundles is jarring at first, but as you see the images you get used to the extra texture.

When we first saw this, we wondered about the possibility of putting a simple photosensor at the bottom of each straw to capture similar images digitally. The TCS3200 would be about the right size, but given that there are about 32,000 straws in the bundle, the BOM might get a little out of hand. Still, a scaled down digital straw camera might yield some interesting images.

Thanks to [Stuart Rogers] for the tip.