Mystery Effect Causing LEDs To Glow During Reflow

Sometimes you notice something small that nevertheless you can’t explain. [Greg Davill] found himself in just such a situation this week when he noticed some green LEDs glowing dimly when reflowing some boards. Naturally, [Greg] set out to investigate.

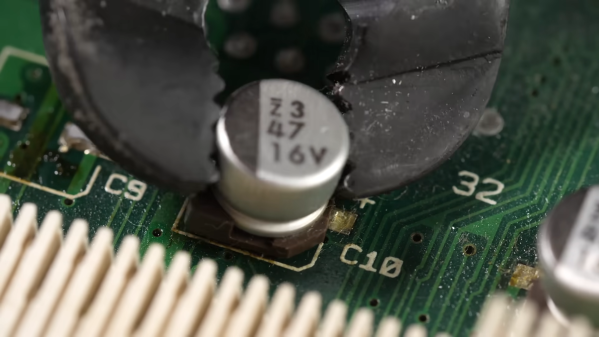
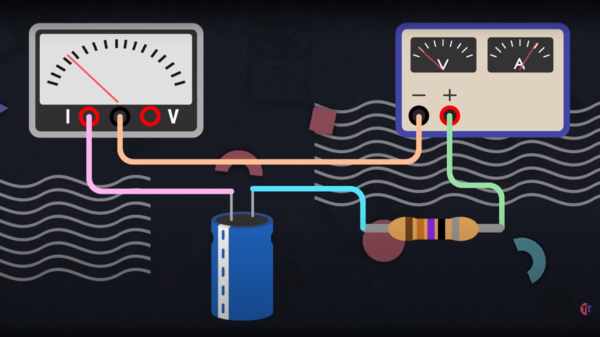
The green LEDs were wired up as power indicators, and [Greg] suspected that the polymer caps on the board might be generating a small current somehow that was causing the LEDs to light up ever so slightly. A simple test hooked a polymer cap directly up to a multimeter. When warmed with a heat gun, the meter showed a small current “in the 5-10 uA range.”

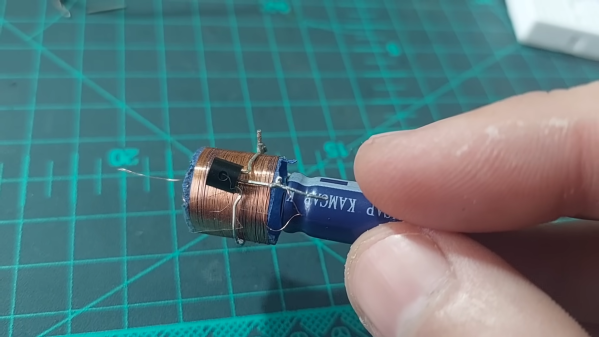
Going further, [Greg] soldered an LED to the cap and once again heated it up, this time to 100° C. The LED  glowed, continuing to do so for around 60 seconds with heat removed. The mystery also grew deeper – [Greg] noticed that this only happened with “fresh” capacitors. Once they’d been through one heat cycle, the caps would no longer light an LED when warmed up.

It’s a curious case, and has many speculating as to the causative mechanism on Twitter. Explanations from thermoelectric effects to chemical reactions inside the capacitor. If you’ve got the inside scoop on what’s going on here, don’t hesitate to let us know in the comments. Meanwhile, check out some of [Greg]’s best work – a glowing D20 dice featuring a whopping 2400 LEDs.

[Thanks to J Peterson for the tip!]

Build Your Own HV Capacitors

Finding high voltage capacitors can be tricky. Sure, you can buy these capacitors, but they are often expensive and hard to find exactly what you want. [RachelAnne] needed some low-value variable capacitors that would work at 100 kV. So she made some.

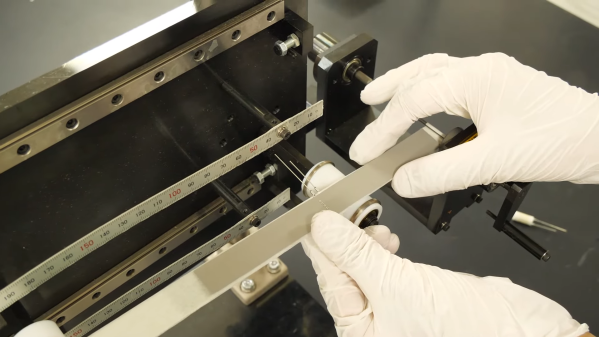
Instead of fabricating the plates directly, these capacitors use laminations from a scrap power transformer. These usually have two types of plates, one of which looks like a letter “E” and the other just like a straight bar. For dielectric, the capacitors use common transparency film.

Continue reading “Build Your Own HV Capacitors”

A tiny solar-powered robot that even works indoors

Tiny BEAM Robot Smiles Big At The Sun

What have you been working on during the Great Chip Shortage? [NanoRobotGeek] has been living up to their handle and building BEAM robots that are smaller than any we’ve seen before. What are BEAM robots, you say? Technically it stands for Biology Electronics Aesthetics and Mechanics, but basically the idea is to mimic the movement of bugs, usually with found components, and often with solar power. Here’s a bunch of tutorials to get you started.

The underbelly of what might be the world's smallest BEAM robot.
This was before the large, flat storage capacitor came and covered everything up.

This here is an example of a photovore or photopopper — it moves toward light using simple logic by charging up a capacitor and employing a voltage monitor to decide when there’s enough to run two tiny vibration motors that make up its legs and feet.

[NanoRobotGeek] started in a great place when they found these 25% efficient monocrystalline solar panels. They will even make the bot move indoors! If you want to build one of these, you can’t beat [NanoRobotGeek]’s guide. Be sure to watch it toddle around in the demo video after the break.

We love to see people work at all different scales. Last time we checked in with [NanoRobotGeek], they had built this solar-powered ball-flinging delight.

Continue reading “Tiny BEAM Robot Smiles Big At The Sun”

Automate The Farm With Acorn

Farming has been undergoing quite a revolution in the past few years. Since World War 2, most industrial farming has relied on synthetic fertilizer, large machinery, and huge farms with single crops. Now there is a growing number of successful farmers bucking that trend with small farms growing many crops and using natural methods of fertilizing that don’t require as much industry. Of course even with these types of farms, some machinery is still nice to have, so this farmer has been developing an open-source automated farming robot.

The robot is known as Acorn and is the project of [taylor] who farms in California. The platform is powered by an 800 watt solar array feeding a set of supercapacitors for energy storage. It uses mountain bike wheels and tires fitted with electric hub motors which give it four wheel drive and four wheel steering to make it capable even in muddy fields. The farming tools, as well as any computer vision and automation hardware, can be housed under the solar panels. This prototype uses an Nvidia Jetson module to handle the heavy lifting of machine learning and automation, with a Raspberry Pi to handle the basic operation of the robot, and can navigate itself around a farm using highly precise GPS units.

While the robot’s development is currently ongoing, [taylor] hopes to develop a community that will build their own versions and help develop the platform. Farming improvements like this are certainly needed as more and more farmers shift from unsustainable monocultures to more ecologically friendly methods involving multiple simultaneous crops, carbon sequestration, and off-season cover crops. It’s certainly a long row to hoe but plenty of people are already plowing ahead.

Continue reading “Automate The Farm With Acorn”

Battery Of The Future, Now Buildable Yourself

In theory, batteries and capacitors are fairly simple. One stores energy chemically and the other stores energy in an electric field. In practice though, building an energy storage device that has a practical amount of energy density is delicate, complex work. But if you have access to a few chemical compounds it’s actually not too difficult to produce useful batteries and electrolytic capacitors with the use of ionic liquids.

Ionic liquids are conductive liquids with a few other important qualities. Almost all of the ones shown can be built with relatively common compounds, and most of the products have advantageous physical qualities, making them stable and relatively safe for use. With some equipment found in a chemistry lab it’s possible to produce a wide variety of these liquids without too much hassle (although one method outlined uses an inert gas chamber), and from there batteries and capacitors can be built by allowing the ionic liquids to be absorbed into the device.

The video below shows the production of several of these devices and then illustrates their effects by running a small LED light. While they’re probably not going to be used to create DIY electric cars anytime soon, the production and improvement of atypical energy storage devices will be the key to a large part of the energy needs of society now and into the future, especially aluminum batteries like these.

Continue reading “Battery Of The Future, Now Buildable Yourself”

Homebrew Doorknob Caps For High-Voltage Fun

Mouser and Digi-Key are great for servicing most needs, and the range of parts they offer is frankly bewildering. But given the breadth of the hardware hacking community’s interests, few companies could afford to be the answer to everyone’s needs.

That’s especially true for the esoteric parts needed when one’s hobby involves high voltages and homemade lasers, like [Les Wright]. He recently came up with a DIY doorknob capacitor design that makes the hard-to-source high-voltage caps much easier to obtain. We’ve seen [Les] use these caps in his transversely excited atmospheric (TEA) lasers, a simple design that uses high-voltage discharge across a long, narrow channel filled with either room air or nitrogen. The big ceramic caps are needed for the HV supply, and while [Les] has a bunch, they’re hard to come by online. He tried a follow-up using plain radial-lead ceramic capacitors, and while the laser worked, he did get some flashover between the capacitor leads.

[Les]’s solution was to dunk the chunky caps in acetone for a week or so to remove their epoxy covering. Once denuded, the leads were bent into a more axial configuration and soldered to brass machine screws. The dielectric slug is then put in a small section of plastic tubing and potted in epoxy resin with the bolts protruding from each end. The result is hard to distinguish from a genuine doorknob cap; the video below shows the build process as well as some testing.

Hats off to [Les] for taking pity on those of us who want to replicate his work but find ourselves without these essentials. It’s nice to know there’s a way to make unobtanium parts when you need them.

Continue reading “Homebrew Doorknob Caps For High-Voltage Fun”

Chasing Down Bad Caps To Save A Troubled PSU

We know what you’re thinking. It’s a bad power supply, of course it was capacitors to blame. But even if we all intuitively know at this point that bad caps are almost always the culprit when a PSU gives up the ghost, it’s not always easy to figure out which one is to blame. Which is why this deep dive into a failed ETK450AWT by [eigma] is worth a look.

The first sign of trouble was when the computer would unexpectedly reboot with nothing in the system logs to indicate a problem. Eventually, [eigma] noticed a restart before the operating system even loaded, which confirmed the hardware was to blame. A quick look at the PSU output with a voltmeter showed things weren’t too far out of spec, but putting an oscilloscope on the 12 V line uncovered a nasty waveform that demanded further investigation.

Connecting all the dots.

By carefully following traces and comparing with common PSU diagrams, [eigma] was able to identify the SG5616 IC that checks the various voltages being produced by the PSU and generates the PWR_OK signal which tells the motherboard that everything is working normally. As before, all of the DC voltages at this chip seemed reasonable enough, but the pin that was measuring AC voltage from the transformer was showing the same ripple visible on the 12 VDC line.

Even more digging uncovered that the transformer itself had a control IC nestled away. The 13 VDC required by this chip to operate is pulled off the standby transformer by way of a Zener diode and a couple capacitors, but as [eigma] soon found, the circuit was producing another nasty ripple. Throwing a few new capacitors into the mix smoothed things out and got the PSU to kick on, but that’s not quite the end of the story.

Pulling the capacitors from the board and checking their values with the meter, [eigma] found they too appeared to be within reasonable enough limits. They even looked in good shape physically. But with the help of a signal generator, he was able to determine their equivalent series resistance (ESR) was way too high. Case closed.

While swapping out blown capacitors in older electronics is something of a rite of passage for hardware hackers, this case is an excellent example of how even the simplest of fixes can be tricky to troubleshoot.